**You can choose whatever hostname You want. Valid entries look similar to: vpn.mydomain.com, ourgreatvpn.mydomain.net. You can also dedicate whole domain ie: myVPNservices.com if You like. The important thing is to resolve the choosen IP address of the Mikrotik router in DNS server for Your domain.**
- In the **"Assigned IP Addresses field"**, enter a list of IP addresses that will be issued to users. ##### The format in which you need to enter a list of public IP addresses and private subnets is as follows. To define the available pool of IP addresses, for each available IP number you should enter another line where the data is separated by the "|" separator. Each line with an IP number definition has the following structure:<PUBLIC\_IP>|<MASK\_OF\_ PUBLIC\_NETWORK>|<PRIVATE\_NETWORK>|<MASK\_OF\_PRIVATE\_NETWORK>
[](https://doc.puq.info/uploads/images/gallery/2022-10/image-1666084404668.png) ##### Enter the correct data in the username and password field - In the **Server Details** section, select the "**PUQ Business-VPN**" module and enter the correct **username** and **password** for the **Mikrotik**. - To check, click the **"Test connection"** button [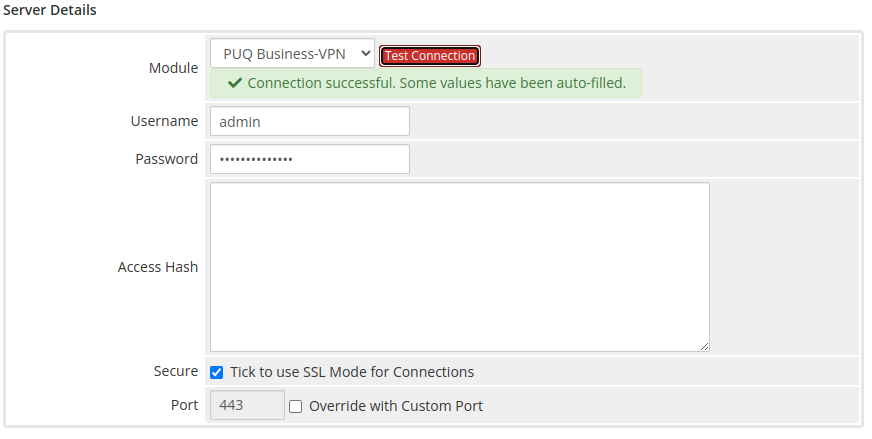](https://doc.puq.info/uploads/images/gallery/2022-10/image-1666084894938.png)