Client Area
- Home screen
- WEB section
- FTP user management section
- DNS section
- DNS Records section
- MAIL section
- MAIL Account section
- DB section
- Cron Job section
- BACKUP section
Home screen
HestiaCP module WHMCS
Order now | Download | FAQ
The end customer, after logging in to his own customer panel, has access to the following information and options:
1. The Manage tab
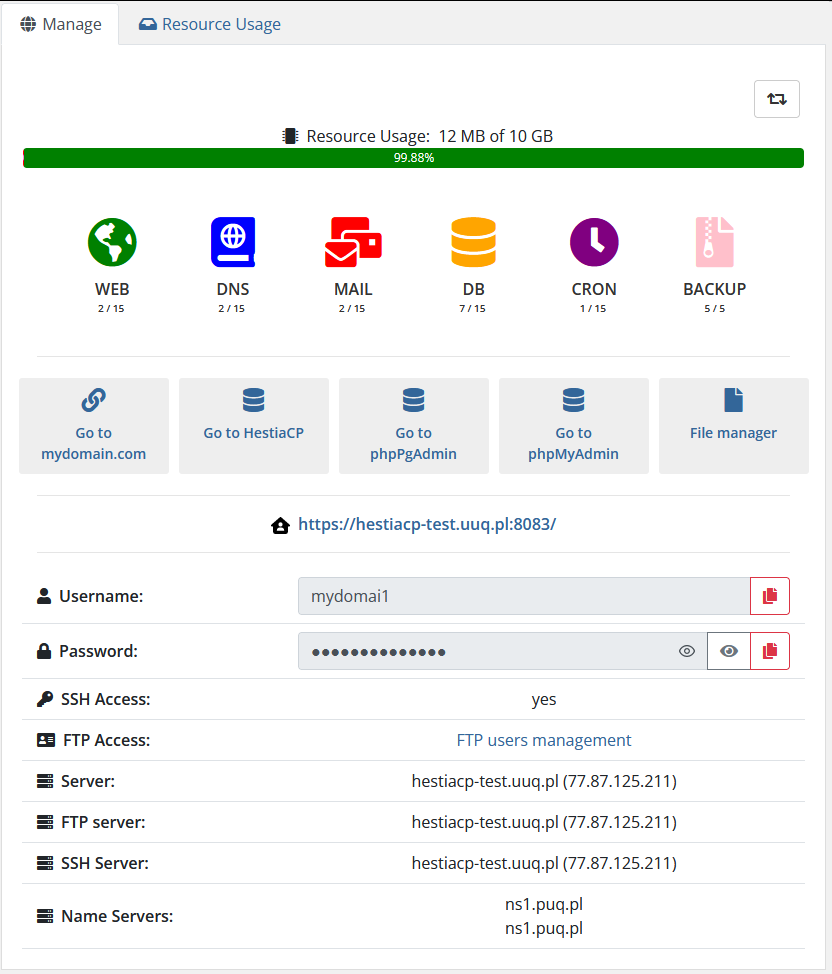
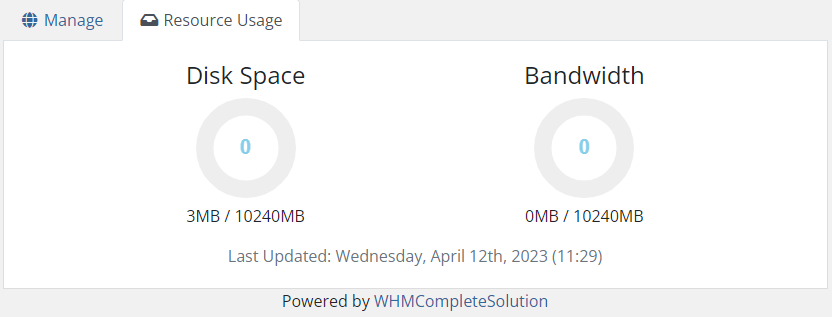
2. The Resource Usage tab
- Displays service usage statistics
WEB section
HestiaCP module WHMCS
Order now | Download | FAQ
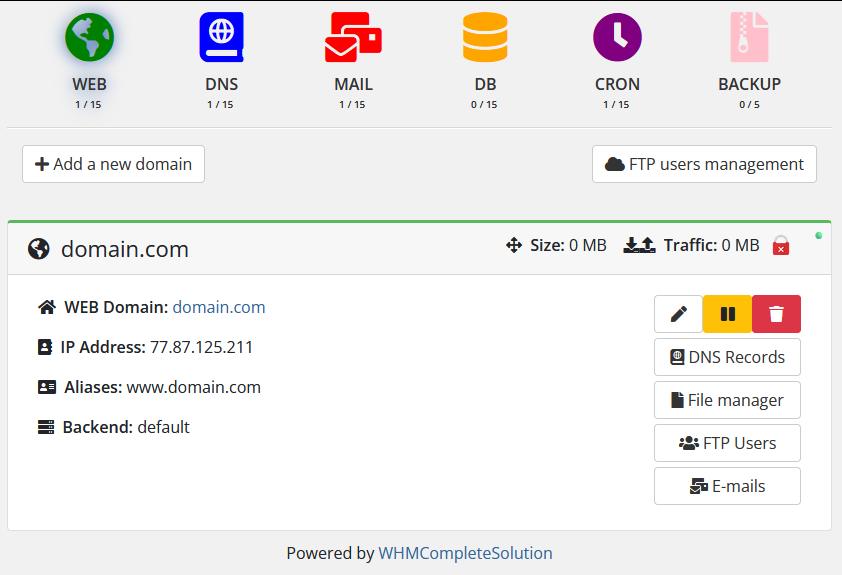
The end client, having entered the WEB section of the client panel, has access to the following information and parameters:
- Navigation bar and status information on each card.
- Button to go to add a new domain
- Button to go to FTP user management
- Cards with information about the client's WEB domains
- Domain name
- SSL certificate status

- Domain name status in the system HestiaCP is suspended or not suspended (Active)

- IP Address
- Aliases
- Backend
- Disk Space (Size)
- Bandwidth (Traffic)
- Button to go to domain DNS zone settings
- Button to go to the root of the site (if you have enabled and configured the file manager)
- Button to go to the mail domain management section
- Buttons for managing WEB domain
- Edit
- Suspend / Unsuspend
- Delete


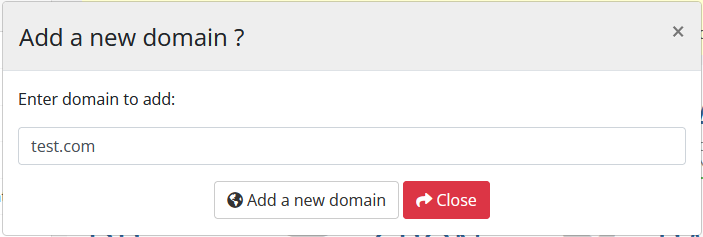
Adding a new WEB domain
After clicking on the button in the pop-up window, you must enter the name of the domain that you want to add. DNS Zones and Mail Domain will also be created
WEB domain editing
After clicking on the button, the following configuration is available in the pop-up window:
- Adding a WWW Alias
- Let's Encrypt certificate generation and delete (Enable SSL / Disable SSL)
Attention! Requires a properly configured DNS zone for HestiaCP to properly obtain a certificate.
- Enabling and disabling redirect to HTTPS (Enable SSL Force / Disable SSL Force)
Attention! Will only work if you have an SSL certificate.
- List of aliases with the ability to delete each
- Dropdown list of available backend templates on the server

Attention! Web domains are the main setting. When creating a new web domain, a DNS zone will be created as well as a Mail domain. Also, if you delete the Web domain, the DNS zone of this domain will be deleted as well as the Mail domain. It also works when Suspend / Unsuspend.
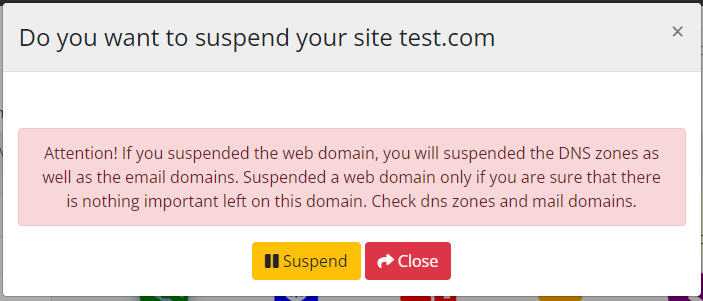
WEB domain suspend
After clicking on the button, confirmation of the action is available in a pop-up window.
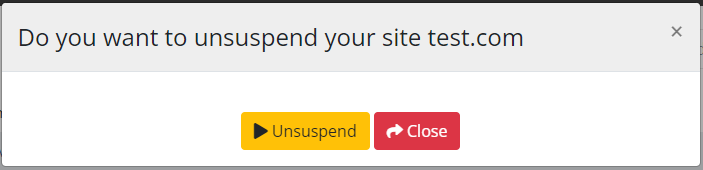
WEB domain unsuspend
After clicking on the button, confirmation of the action is available in a pop-up window.
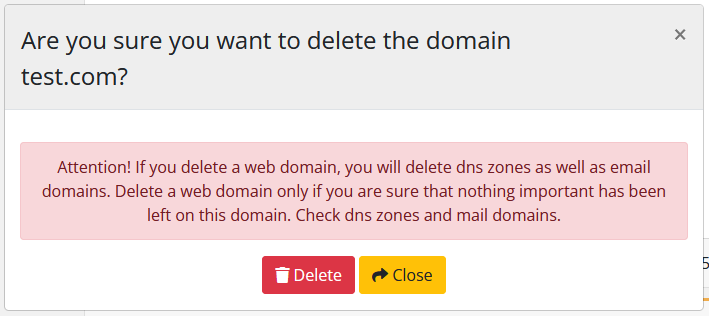
WEB domain delete
After clicking on the button, confirmation of the action is available in a pop-up window.
FTP user management section
HestiaCP module WHMCS
Order now | Download | FAQ
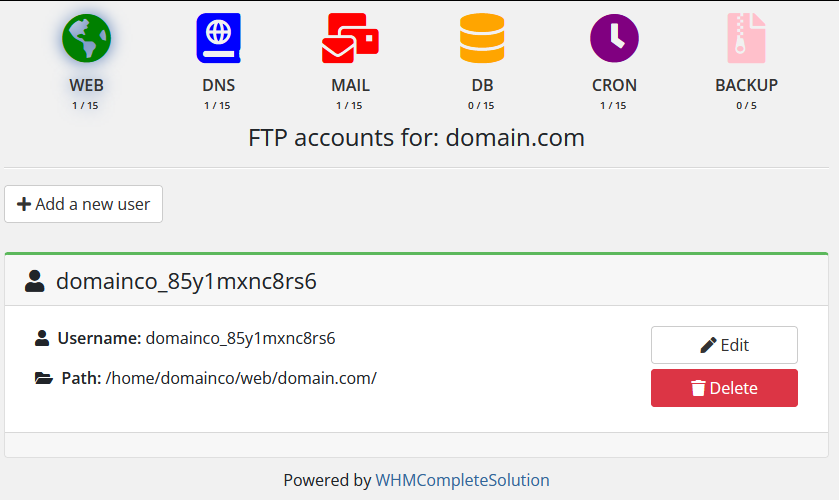
1. Simple configuration of FTP users
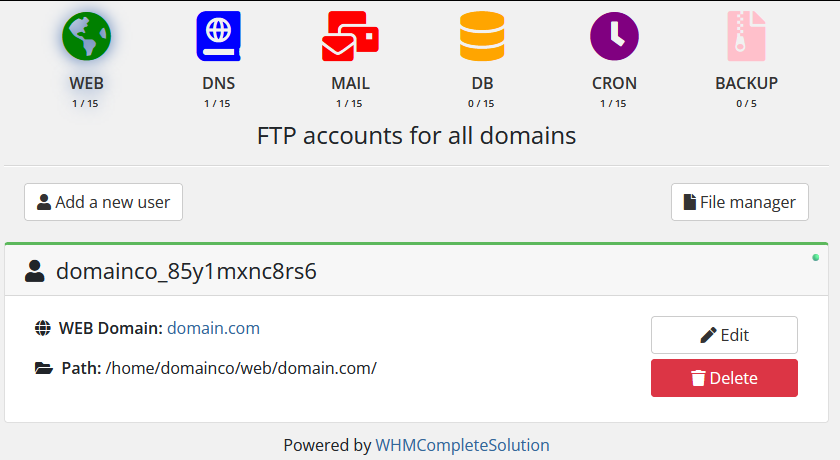
The end client, having entered the FTP user management section of the client panel, has access to the following information and parameters:
- Navigation bar and status information on each card.
- Button to go to add a new user
- Button to go to File manager
- Cards with information about each FTP user
- Username
- Domain name status to which this user is associated in the system HestiaCP is suspended or not suspended (Active)

- The domain name to which this user is associated
- Link to go to the site
- Link to access users settings for a specific domain
- IP Address
- Buttons for managing FTP user
- Edit
- Delete

Attention! If the WEB domain is suspended, users of the domain name will also be suspended.
Adding a new FTP user
After clicking on the button in the pop-up window, you must select the domain name to which you want to add a new FTP user. The username and password will be randomly generated.
FTP user editing
After clicking on the button, the following configuration is available in the pop-up window:
FTP user delete
After clicking on the button, confirmation of the action is available in a pop-up window.
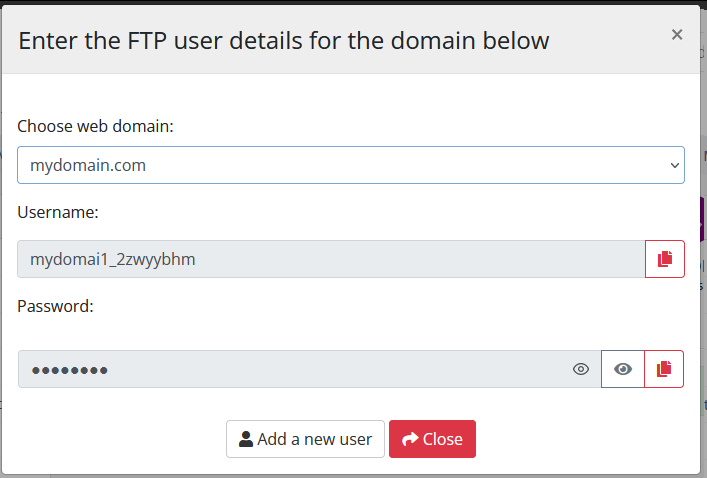
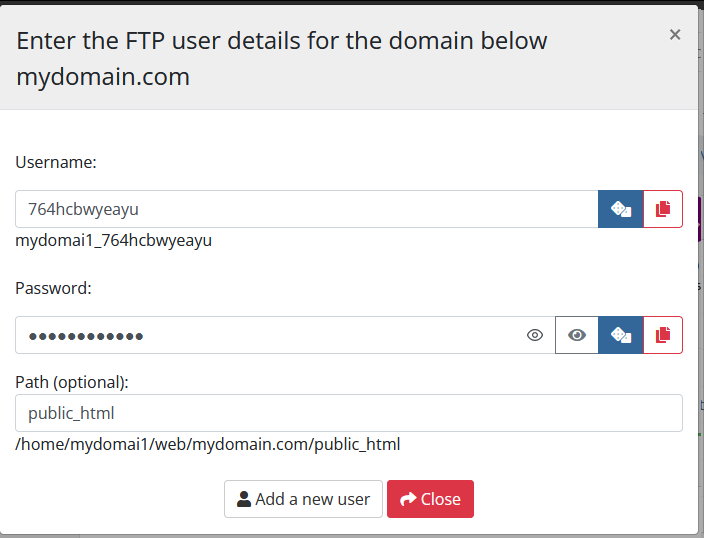
2. For each domain User FTP Configuration
The section that displays FTP users for each domain has a little more settings and options. In this section, it is possible to enter a username and password, as well as specify the target folder to which this FTP user will have access. The end client, having entered the FTP user management advanced section of the client panel, has access to the following information and parameters:
Adding a new FTP user (Advanced)
After clicking on the button in the pop-up window, you must enter the username and password, as well as specify the final path (optional).
Attention! If the folder does not exist, the user will not be able to connect to the system, so the entered path is checked for compliance, and if the path is not found, the user will be deleted immediately after the creation attempt.
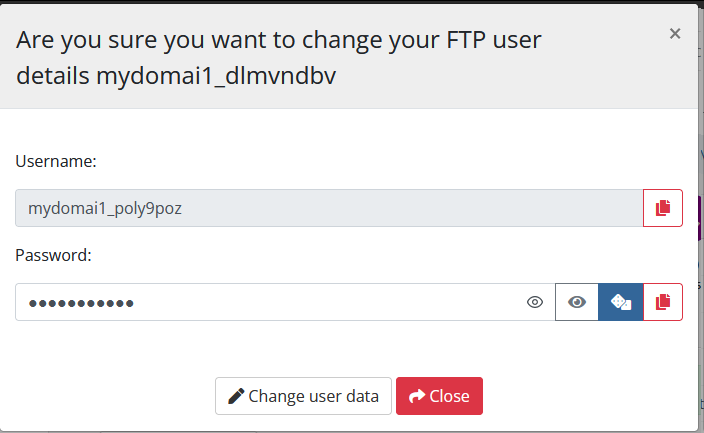
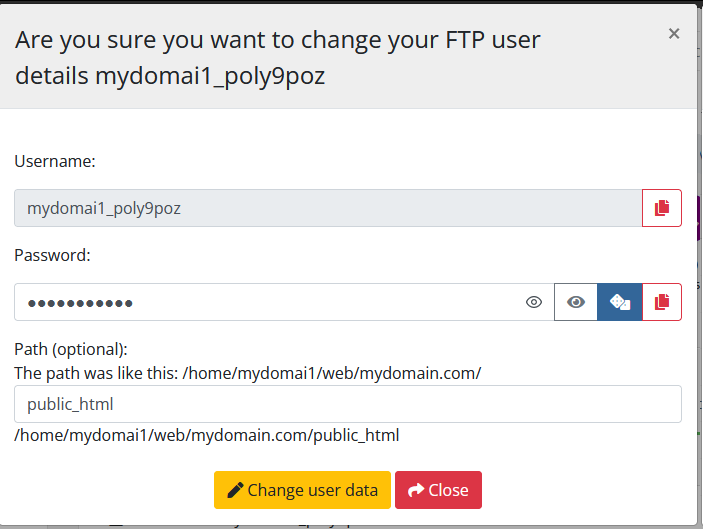
FTP user editing (Advanced)
After clicking on the button, the following configuration is available in the pop-up window:
- Password change
- Change of path
Attention! If the path is not found, then the folder path for the user will be automatically reset to the root of the domain.
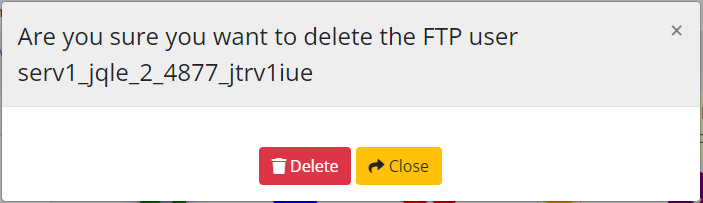
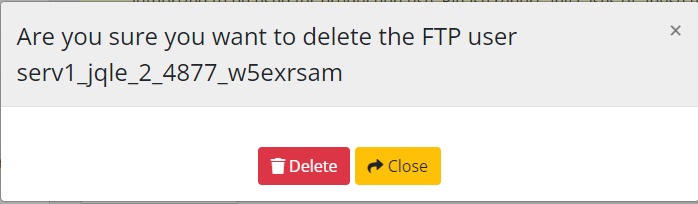
FTP user delete (Advanced)
After clicking on the button, confirmation of the action is available in a pop-up window.
DNS section
HestiaCP module WHMCS
Order now | Download | FAQ
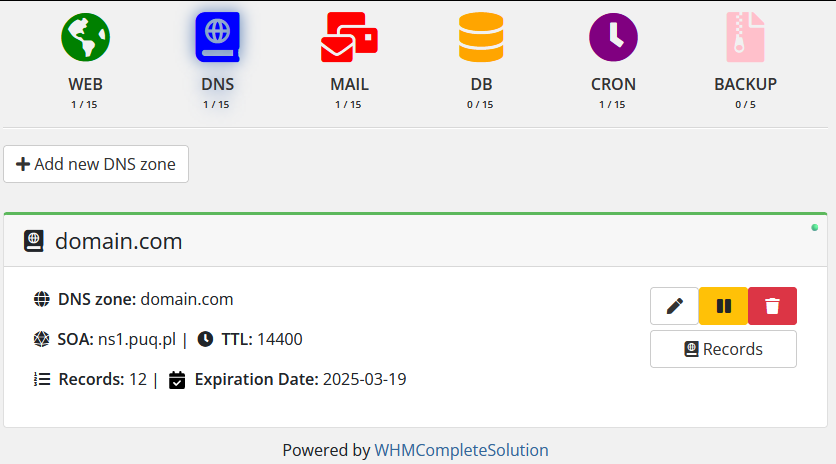
The end client, having entered the DNS section of the client panel, has access to the following information and parameters:
- Navigation bar and status information on each card.
- Button to go to add a new domain
- Button to go to FTP user management
- Cards with information about the client's WEB domains
- DNS zone name
- DNS zone status in the system HestiaCP is suspended or not suspended (Active)
- IP Address
- SOA
- TTL
- Number of records in the domain zone
- Expiration Date
- Time and date the entry was created
- Buttons for managing DNS zone

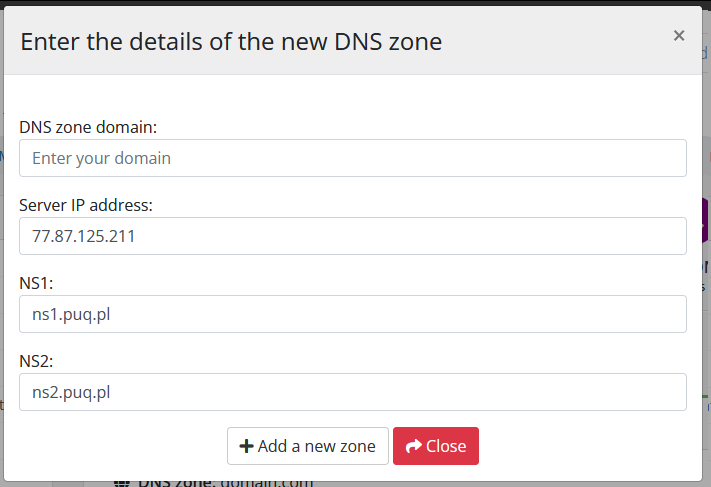
Adding a new DNS zone
After clicking on the button in the pop-up window, you must enter the name of the domain for which you want to create a domain zone, IP Address, Nameservers (up to 10).
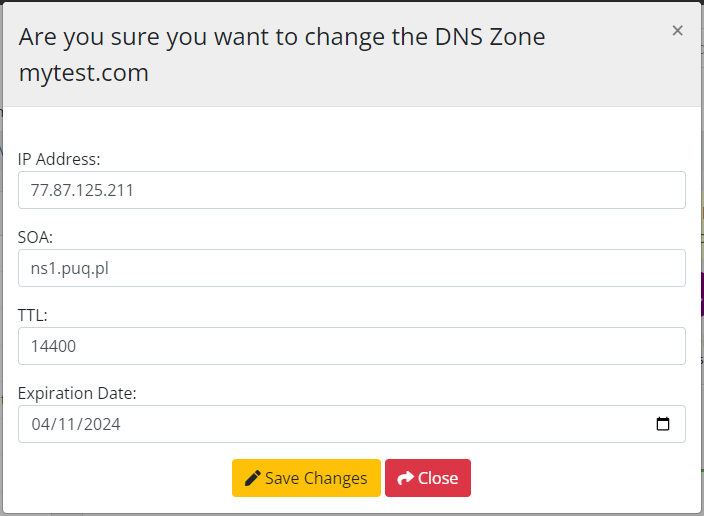
DNS zone editing
After clicking on the button, the following configuration is available in the pop-up window:
- IP Address
- SOA
- TTL
- Expiration Date
DNS zone suspend
After clicking on the button, confirmation of the action is available in a pop-up window.

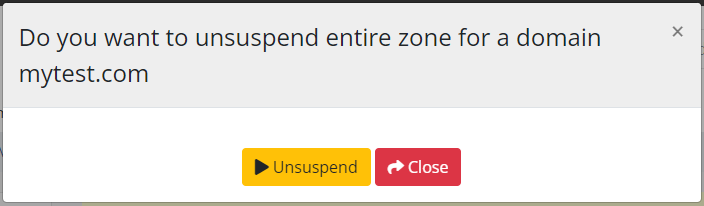
DNS zone unsuspend
After clicking on the button, confirmation of the action is available in a pop-up window.
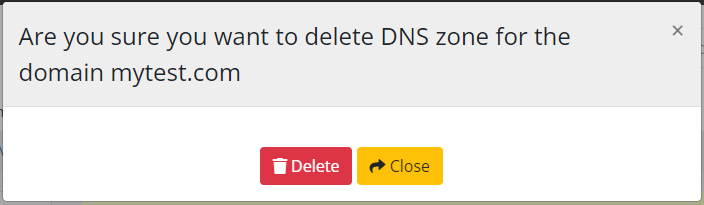
DNS zone delete
After clicking on the button, confirmation of the action is available in a pop-up window.
If when creating domain zones you see: Error: DNS_RECORDS limit is reached :: upgrade user package. This means that a limit has been set. When setting limits, take into account the number of standard DNS records, by default this value is 15 records.
DNS Records section
HestiaCP module WHMCS
Order now | Download | FAQ
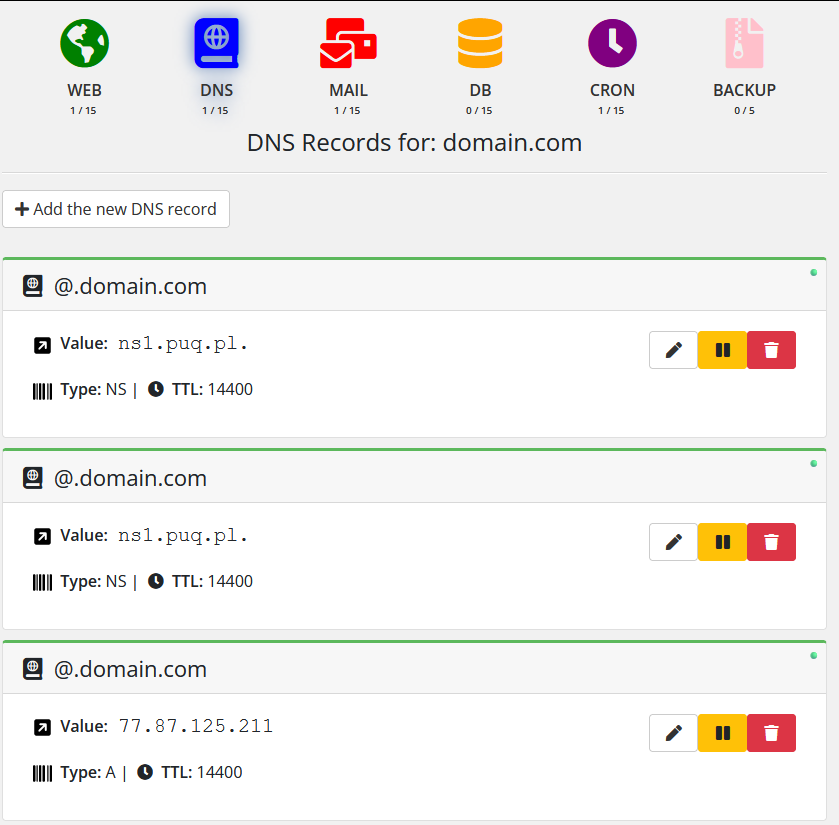
The end client, having entered the DNS Records section of the client panel, has access to the following information and parameters:
- Navigation bar and status information on each card.
- Button to go to add a new DNS record
- Cards with information about the client's DNS records
- Record
- DNS record status in the system HestiaCP is suspended or not suspended (Active)
- Value
- Type
- TTL
- Time and date the entry was created
- Buttons for managing DNS record
- Edit
- Suspend / Unsuspend
- Delete

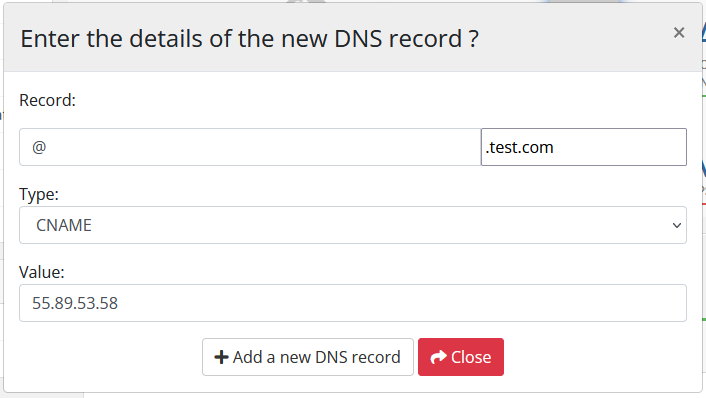
Adding a new DNS record
After clicking on the button in the pop-up window, you must enter the record, type, value that you want to add.
DNS record editing
After clicking on the button, the following configuration is available in the pop-up window:
- Record
- Type
- Value
- TTL

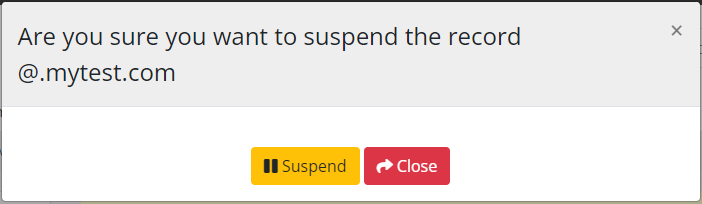
DNS record suspend
After clicking on the button, confirmation of the action is available in a pop-up window.
DNS record unsuspend
After clicking on the button, confirmation of the action is available in a pop-up window.
DNS record delete
After clicking on the button, confirmation of the action is available in a pop-up window.
MAIL section
HestiaCP module WHMCS
Order now | Download | FAQ
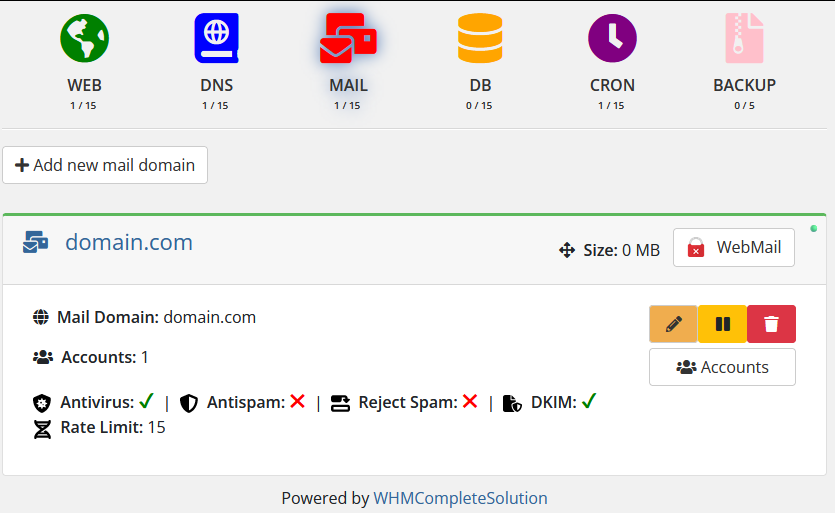
The end client, having entered the MAIL section of the client panel, has access to the following information and parameters:
- Navigation bar and status information on each card.
- Button to go to add a new mail domain
- Cards with information about the client's mail domains
- Mail domain name
- Button to go to WebMail
- SSL certificate status

- Mail domain name status in the system HestiaCP is suspended or not suspended (Active)
- Number of email accounts in the domain
- Antivirus
- Antispam
- Reject Spam
- DKIM
- Disk Space (Size)
- Time and date the entry was created
- Buttons for managing mail domain


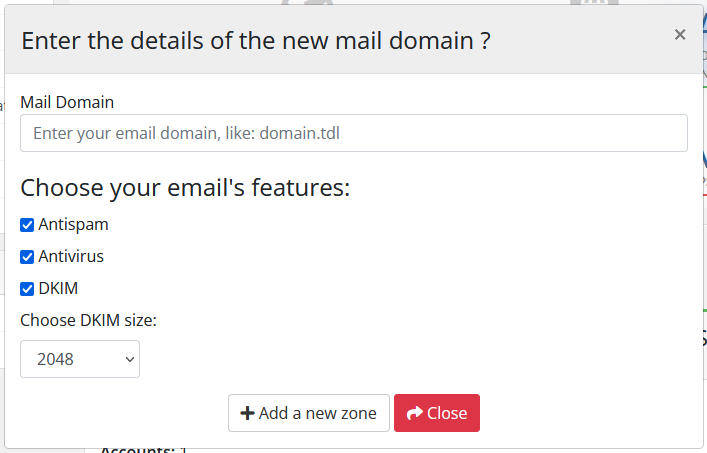
Adding a new mail domain
After clicking on the button in the pop-up window, you must enter the name of the email domain you want to add, as well as set additional parameters.
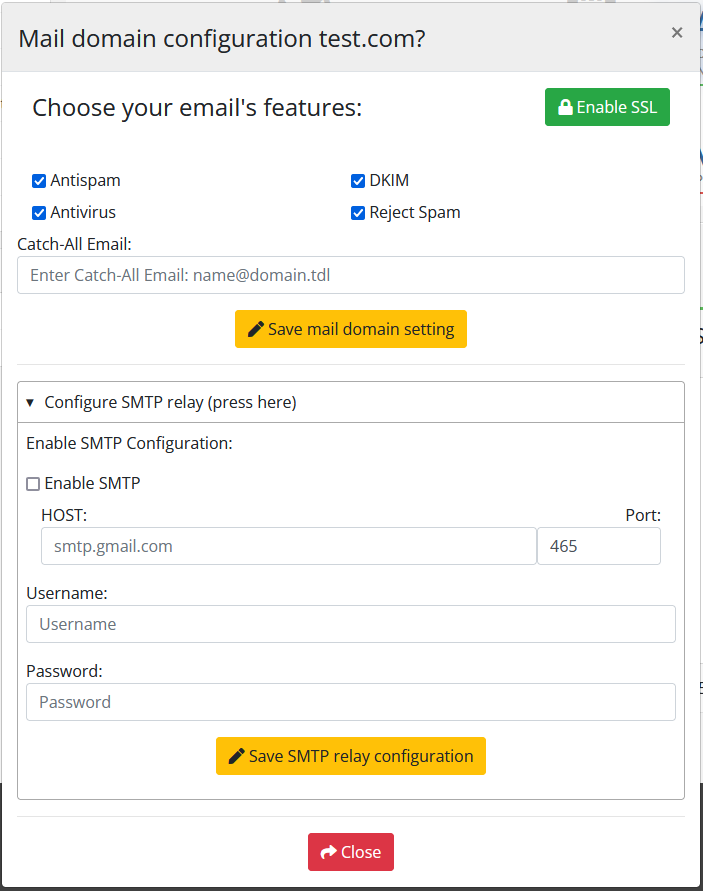
Mail domain editing
After clicking on the button, the following configuration is available in the pop-up window:
- Let's Encrypt certificate generation and delete (Enable SSL / Disable SSL)
Attention! Requires a properly configured DNS zone for HestiaCP to properly obtain a certificate.
- Antispam
- Antivirus
- DKIM
- Reject Spam
- Catch-All Email
- Configure SMTP relay
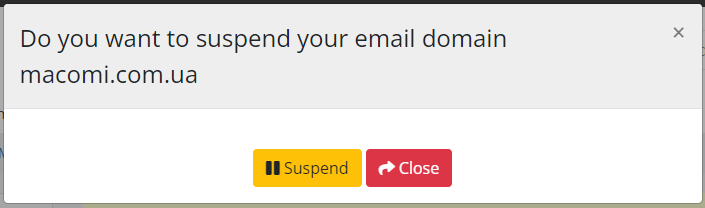
Mail domain suspend
After clicking on the button, confirmation of the action is available in a pop-up window.
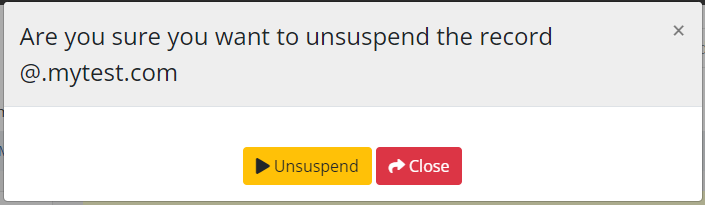
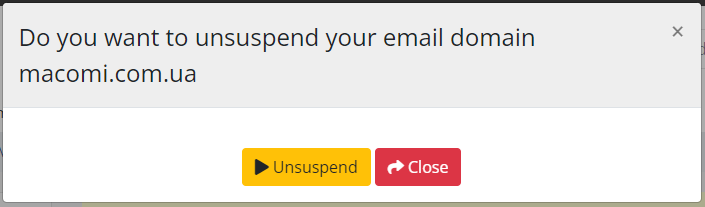
Mail domain unsuspend
After clicking on the button, confirmation of the action is available in a pop-up window.
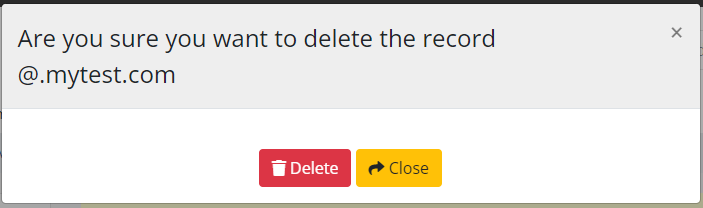
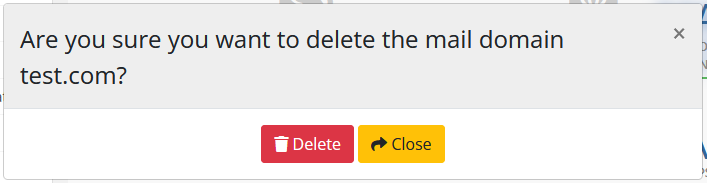
Mail domain suspend delete
After clicking on the button, confirmation of the action is available in a pop-up window.
MAIL Account section
HestiaCP module WHMCS
Order now | Download | FAQ
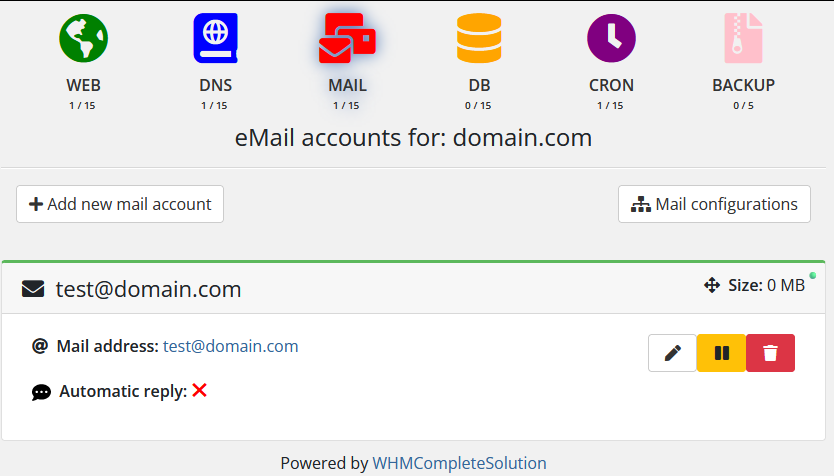
The end client, having entered the MAIL account section of the client panel, has access to the following information and parameters:
- Navigation bar and status information on each card.
- Button to go to add a new mail account
- Button to go to show domain settings for client connection
- Cards with information about the client's mail account
- Mail account name
- Mail account name status in the system HestiaCP is suspended or not suspended (Active)
- Additional account information
- Buttons for managing mail account
Adding a new mail account
After clicking on the button in the pop-up window, you must enter the name of the email domain you want to add, as well as set additional parameters.

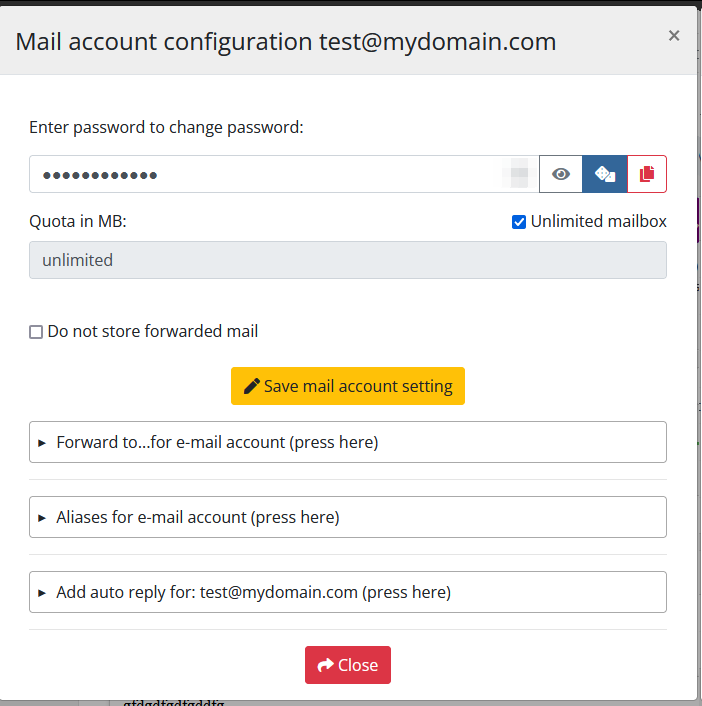
Mail account editing
After clicking on the button, the following configuration is available in the pop-up window:
- Forward to...for e-mail account
- Aliases for e-mail account
- Add auto reply for
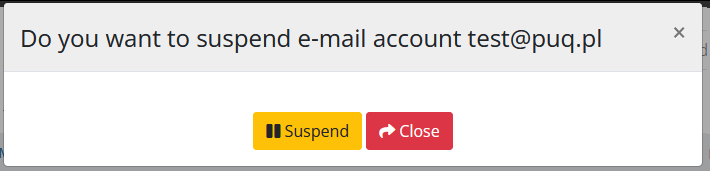
Mail account suspend
After clicking on the button, confirmation of the action is available in a pop-up window.
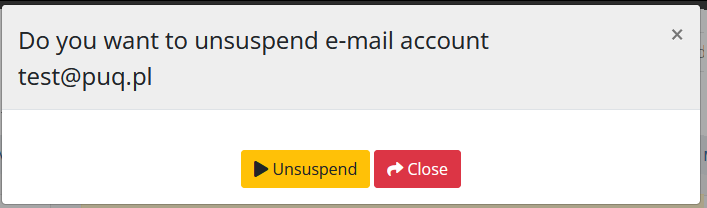
Mail account unsuspend
After clicking on the button, confirmation of the action is available in a pop-up window.
Mail account suspend delete
After clicking on the button, confirmation of the action is available in a pop-up window.
DB section
HestiaCP module WHMCS
Order now | Download | FAQ
The end client, having entered the DB section of the client panel, has access to the following information and parameters:
- Navigation bar and status information on each card.
- Button to go to add a new database
- Button to go to phpPgAdmin / phpMyAdmin
- Cards with information about the client's databases
- Database name
- Database status in the system HestiaCP is suspended or not suspended (Active)
- Username
- Type
- Charset
- Host
- Disk Space (Size)
- Time and date the entry was created
- Buttons for managing database


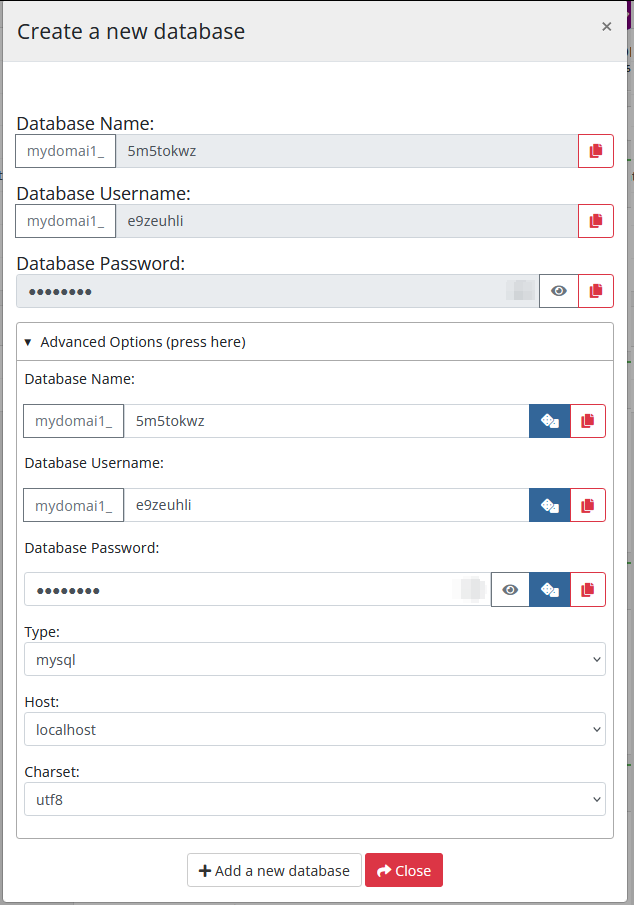
Adding a new database
After clicking on the button, a pop-up window will offer random data to create a database, as well as the user has the opportunity to enter their own values in the advanced section.
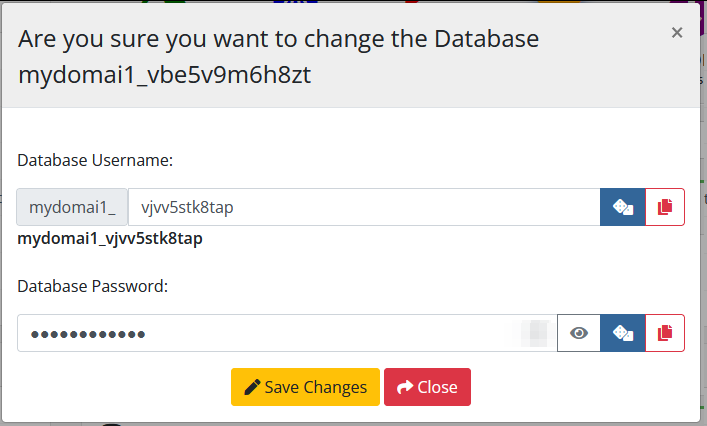
Database editing
After clicking on the button, the following configuration is available in the pop-up window:
- Database Username
- Database Password
Database suspend
After clicking on the button, confirmation of the action is available in a pop-up window.
Database unsuspend
After clicking on the button, confirmation of the action is available in a pop-up window.

Database delete
After clicking on the button, confirmation of the action is available in a pop-up window.

Cron Job section
HestiaCP module WHMCS
Order now | Download | FAQ
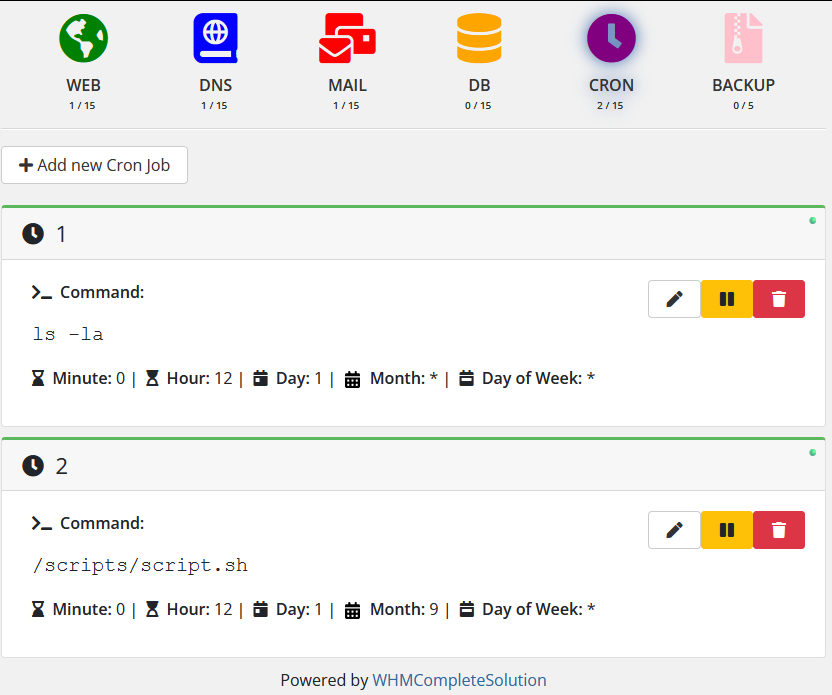
The end client, having entered the MAIL section of the client panel, has access to the following information and parameters:
- Navigation bar and status information on each card.
- Button to go to add a new Cron Job
- Cards with information about the client's Cron Jobs
- Cron Job number
- Cron Job status in the system HestiaCP is suspended or not suspended (Active)
- Command
- Minute
- Hour
- Day
- Month
- Day of Week
- Time and date the entry was created
- Buttons for managing Cron Jobs

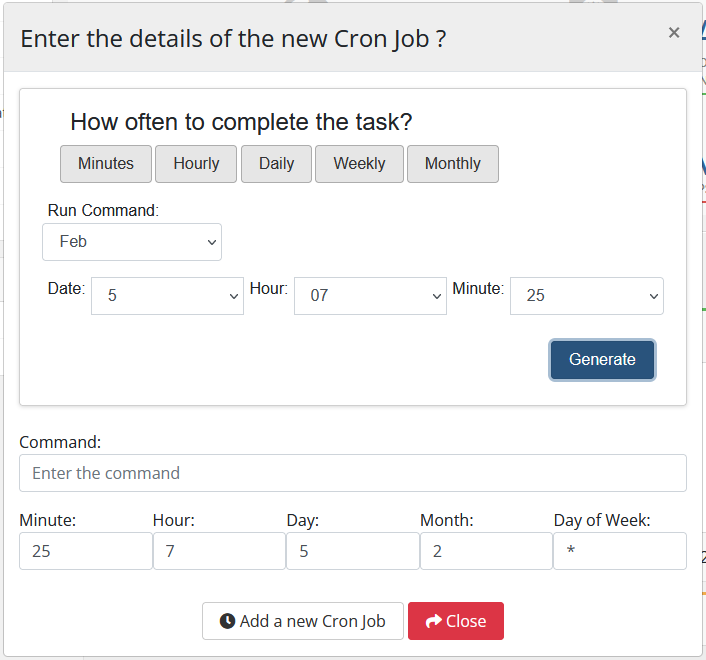
Adding a new Cron Job
After clicking on the button in the pop-up window, you must enter the command to be executed, as well as the time interval, to facilitate the execution of the action, a convenient generator is provided.
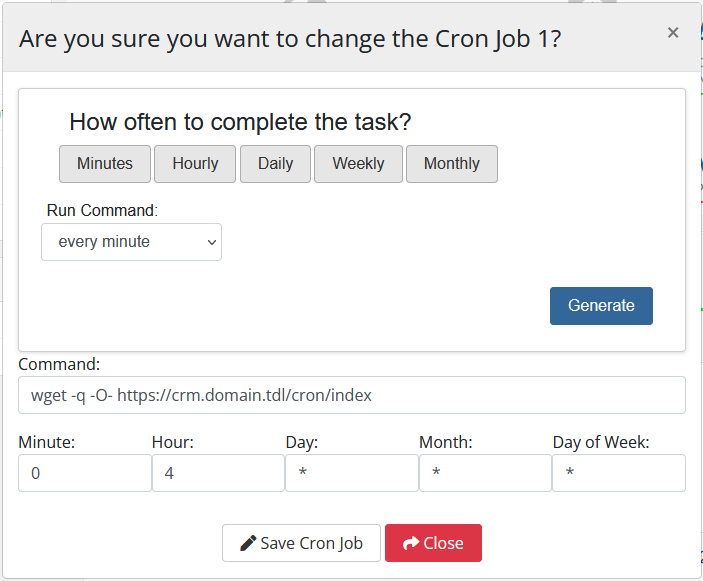
Cron Job editing
After clicking on the button, the following configuration is available in the pop-up window:
- Scheduled Task Generator
- Command
- Minute
- Hour
- Day
- Month
- Day of Week
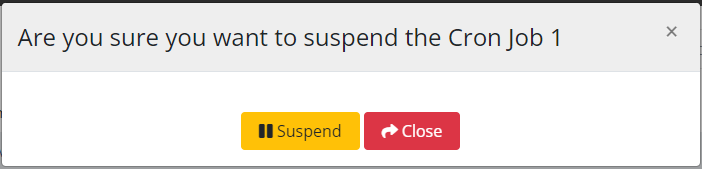
Cron Job suspend
After clicking on the button, confirmation of the action is available in a pop-up window.
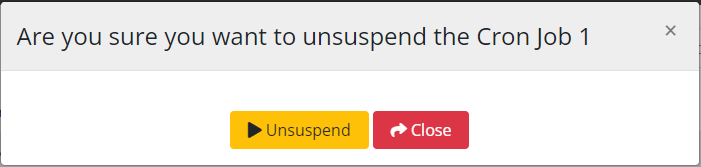
Cron Job unsuspend
After clicking on the button, confirmation of the action is available in a pop-up window.
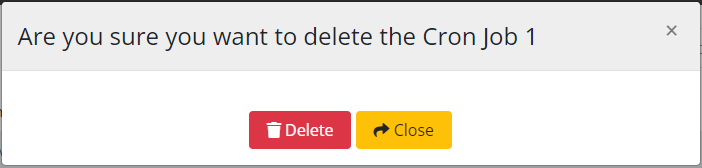
Cron Job delete
After clicking on the button, confirmation of the action is available in a pop-up window.
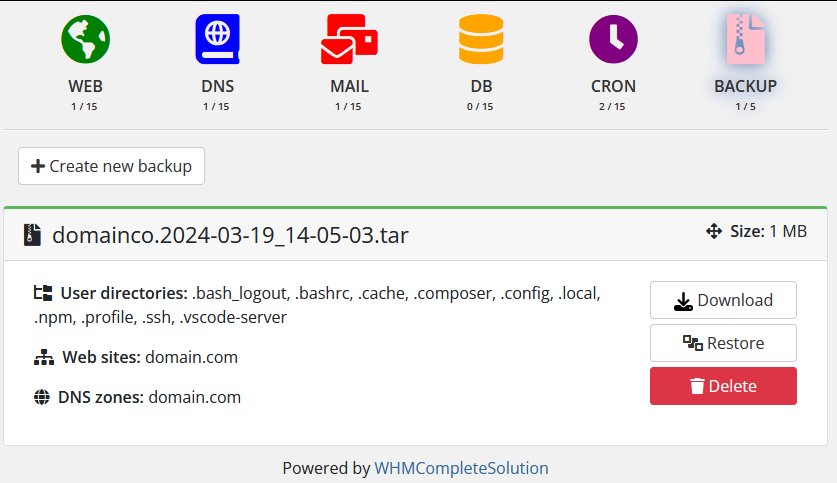
BACKUP section
HestiaCP module WHMCS
Order now | Download | FAQ
The end client, having entered the BACKUP section of the client panel, has access to the following information and parameters:
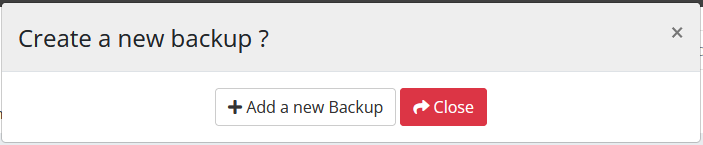
Adding a new backup
After clicking on the button, confirmation of the action is available in a pop-up window.
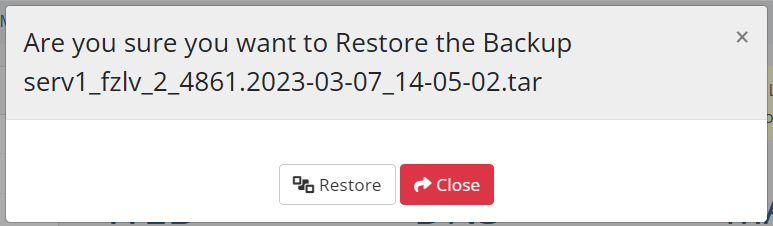
Backup restore
After clicking on the button, confirmation of the action is available in a pop-up window.
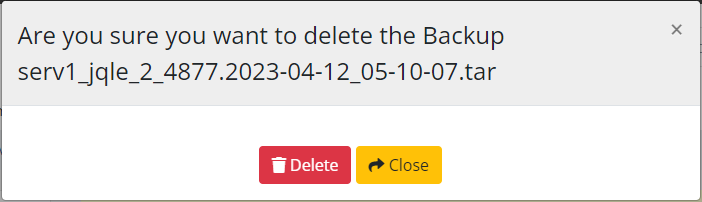
Backup delete
After clicking on the button, confirmation of the action is available in a pop-up window.