Installation and configuration guide
- WHMCS setup(install/update)
- Basic concepts and requirements
- Setup guide: WHMCS preparation and configuration
- Add server (Hetzner)
- Product Configuration
- Email Template (puqHetznerDatacenter Custom Welcome Email)
- Email Template (puqHetznerDatacenter Custom start stop service Email)
- Email Template (puqHetznerDatacenter Custom reset password Email)
- Email Template (puqHetznerDatacenter Custom snaphot action service Email)
- Email Template (puqHetznerDatacenter Custom backup action service Email)
- Email Template (puqHetznerDatacenter Custom ISO action service Email)
- Email Template (puqHetznerDatacenter Custom reinstall action service Email)
- Configurable Option
WHMCS setup(install/update)
Hetzner Datacenter module WHMCS
Order now | Download | FAQ
Module is coded ionCube v13
Supported php version:
- php 7.4 WHMCS 8.11.0 -
- php 8.1 WHMCS 8.11.0 +
- php 8.2 WHMCS 8.11.0 +
To install and update a module, you must perform one and the same action.
1. Download the latest version of the module.
PHP 8.2
wget http://download.puqcloud.com/WHMCS/servers/PUQ_WHMCS-HetznerDatacenter/php82/PUQ_WHMCS-HetznerDatacenter-latest.zipPHP 8.1
wget http://download.puqcloud.com/WHMCS/servers/PUQ_WHMCS-HetznerDatacenter/php81/PUQ_WHMCS-HetznerDatacenter-latest.zipPHP 7.4
wget http://download.puqcloud.com/WHMCS/servers/PUQ_WHMCS-HetznerDatacenter/php74/PUQ_WHMCS-HetznerDatacenter-latest.zipAll versions are available via link: http://download.puqcloud.com/WHMCS/servers/PUQ_WHMCS-HetznerDatacenter/
2. Unzip the archive with the module
unzip PUQ_WHMCS-HestiaCP-latest.zip3. Copy and Replace "puqHetznerDatacenter" to "WHMCS_WEB_DIR/modules/servers/"
Basic concepts and requirements
Hetzner Datacenter module WHMCS
Order now | Download | FAQ
Requirements for the successful operation of the module
- Minimal WHMCS version 8+
- Hetzner API
The logic of the module.
You can offer your clients virtual machines from Hetzner. The module allows you to deploy almost any service based on Hetzner.
Creating a new Account.
- Checking the module license
- Generating the server name in the format
NameServer-[*user_id*]-[*service_id*] - Generating data to create a server
- Sending data via API and creating a server
Package change
- The package change function allows you to enable and disable backups
Suspending an Account
- Checking the module license
- Selecting the suspension method: server shutdown or enabling firewall rules
- Executing the suspension via API
Unsuspending an Account
- Checking the module license
- Selecting the restoration method: server power on or restoring firewall rules
- Executing the restoration via API
Terminating an Account
- Checking the module license
- Deleting the server via API
- Updating information in the WHMCS database
Client Area
The module provides clients with the ability to manage virtual machines through the WHMCS client area, including functions for creating, suspending, restoring, and deleting servers, as well as managing backups and snapshots.
Automatic Pricing & Rounding — how prices are generated
The module can automatically calculate and maintain product prices. You define the rules once; the module keeps prices in sync.
- Base price source: Hetzner Cloud API pricing (currency is taken from
/pricing.currency), not hard-coded EUR. - Base mode: Choose Net or Gross as the starting point for calculations.
- Margin: Set a percentage margin; it is applied to the Hetzner base price.
- Currencies & periods (bulk): Select one or more currencies and billing cycles (Monthly, Quarterly, Semi-Annually, Annually, Biennially). A live preview table shows resulting prices before saving.
- Rounding policy (unified): Always round up to ISO-4217 minor units (0/2/3 decimals). The monthly price is rounded first; then it’s multiplied by the period factor and rounded again. The UI preview and server-side logic are identical.
- Apply Bulk Pricing: Creates or updates the necessary
tblpricingrows in WHMCS for the selected currencies and periods. - Daily sync (cron): When enabled, the module fetches fresh Hetzner base prices once per run and automatically re-applies your margin and rounding rules, keeping prices consistent every day.
- Persistence & safety: Your bulk pricing configuration is stored per product and merged safely so other saved fields are not overwritten. Detailed actions are logged to the Module Log with
traceId.
Notes: setup fees are not changed by automatic pricing; only recurring prices are updated according to your selection. Make sure WHMCS currency rates are configured.
Stock Control & Availability — automatic enable/disable
The module can manage product availability based on the Hetzner API. If a configuration becomes unavailable at the provider, the product is automatically marked as out of stock; when it reappears, availability is restored.
- Provider awareness: On scheduled sync and on admin actions, the module checks availability of server types, images, placement groups and networks returned by the Hetzner API.
- Auto disable: If a previously offered configuration is no longer available in the API, the module enables WHMCS
stockcontrolfor the affected product and setsqtyto0— the offer becomes unavailable to order. - Auto enable: When the configuration becomes available again in the API, the module restores
stockcontrol/qtyto the last saved values, re-enabling orders. - Manual recovery tools: In the product settings there is a Clear and Reset button and an AJAX action
restore_saved_stockcontrolto restore values from the saved record. Logged states: input, not_found, updated_product, deleted_saved, done, error. - Safety first: The module never deletes your custom settings; it only toggles availability and qty according to provider state. All changes are written to the Module Log.
Scope: stock control affects ordering only. Existing services are not terminated or suspended because of provider stock changes.
Setup guide: WHMCS preparation and configuration
Hetzner Datacenter module WHMCS
Order now | Download | FAQ
1. Download the latest version of the module.
PHP 8.X
wget http://download.puqcloud.com/WHMCS/servers/PUQ_WHMCS-HetznerDatacenter/PUQ_WHMCS-HetznerDatacenter-latest.zipPHP 7.4
wget http://download.puqcloud.com/WHMCS/servers/PUQ_WHMCS-HetznerDatacenter/php74/PUQ_WHMCS-HetznerDatacenter-latest.zipAll versions are available via link: http://download.puqcloud.com/WHMCS/servers/PUQ_WHMCS-HetznerDatacenter/
2. Unzip the archive with the module
unzip PUQ_WHMCS-HetznerDatacenter-latest.zip3. Copy "HetznerDatacenter" to "WHMCS_WEB_DIR/modules/servers/"
4. Create new server HetznerDatacenter in WHMCS (System Settings -> Products/Services -> Servers)
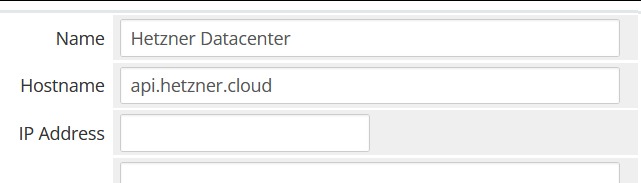
System Settings->Servers->Add New Server- Enter the correct Name and API url
api.hetzner.cloud
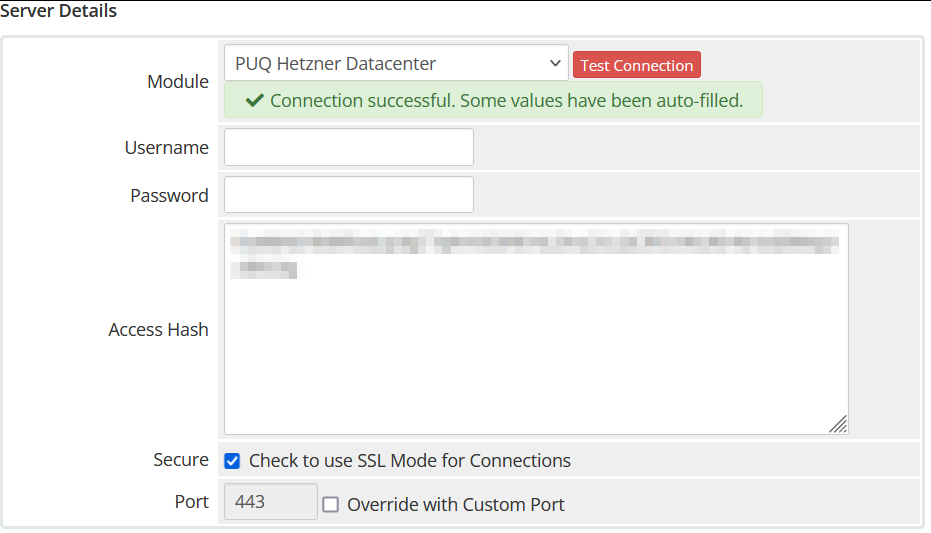
- In the Server Details section, select the "PUQ Hetzner Datacenter" module and enter the correct api key and for the Hetzner API. To get an API key, go to the Hetzner console -> Security -> API tokens -> Generate API token
- To check, click the "Test connection" button
6. Create a new server Group
For the module to work correctly, you need to create a group and add our server that we created to it. If you want to use several projects, you need to create your own server for each project and create a group and add one server to one group.
System Settings->Products/Services->Create New Group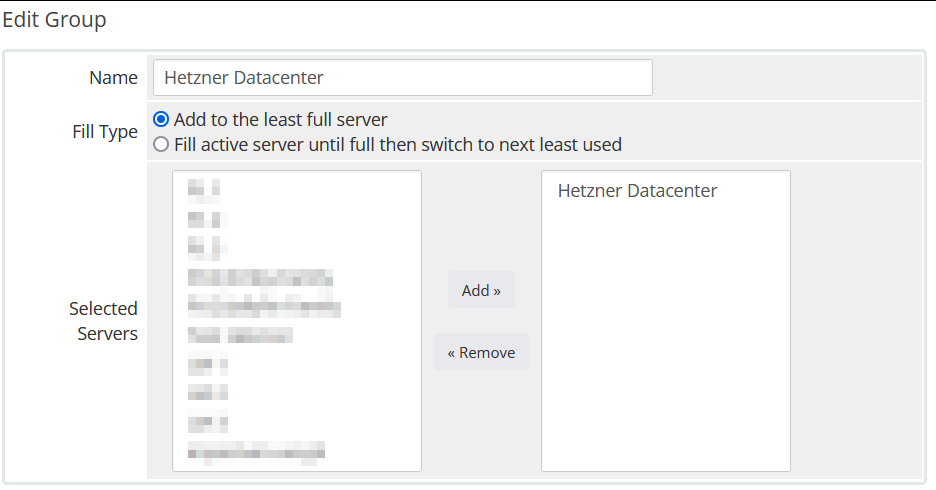
6. Create a new Products/Services
System Settings->Products/Services->Create a New Product
In the Module settings section, select the "PUQ Hetzner Datacenter" module
Please note that you need to select a group with a configured server, so we can separate services by projects in the Hetzner console
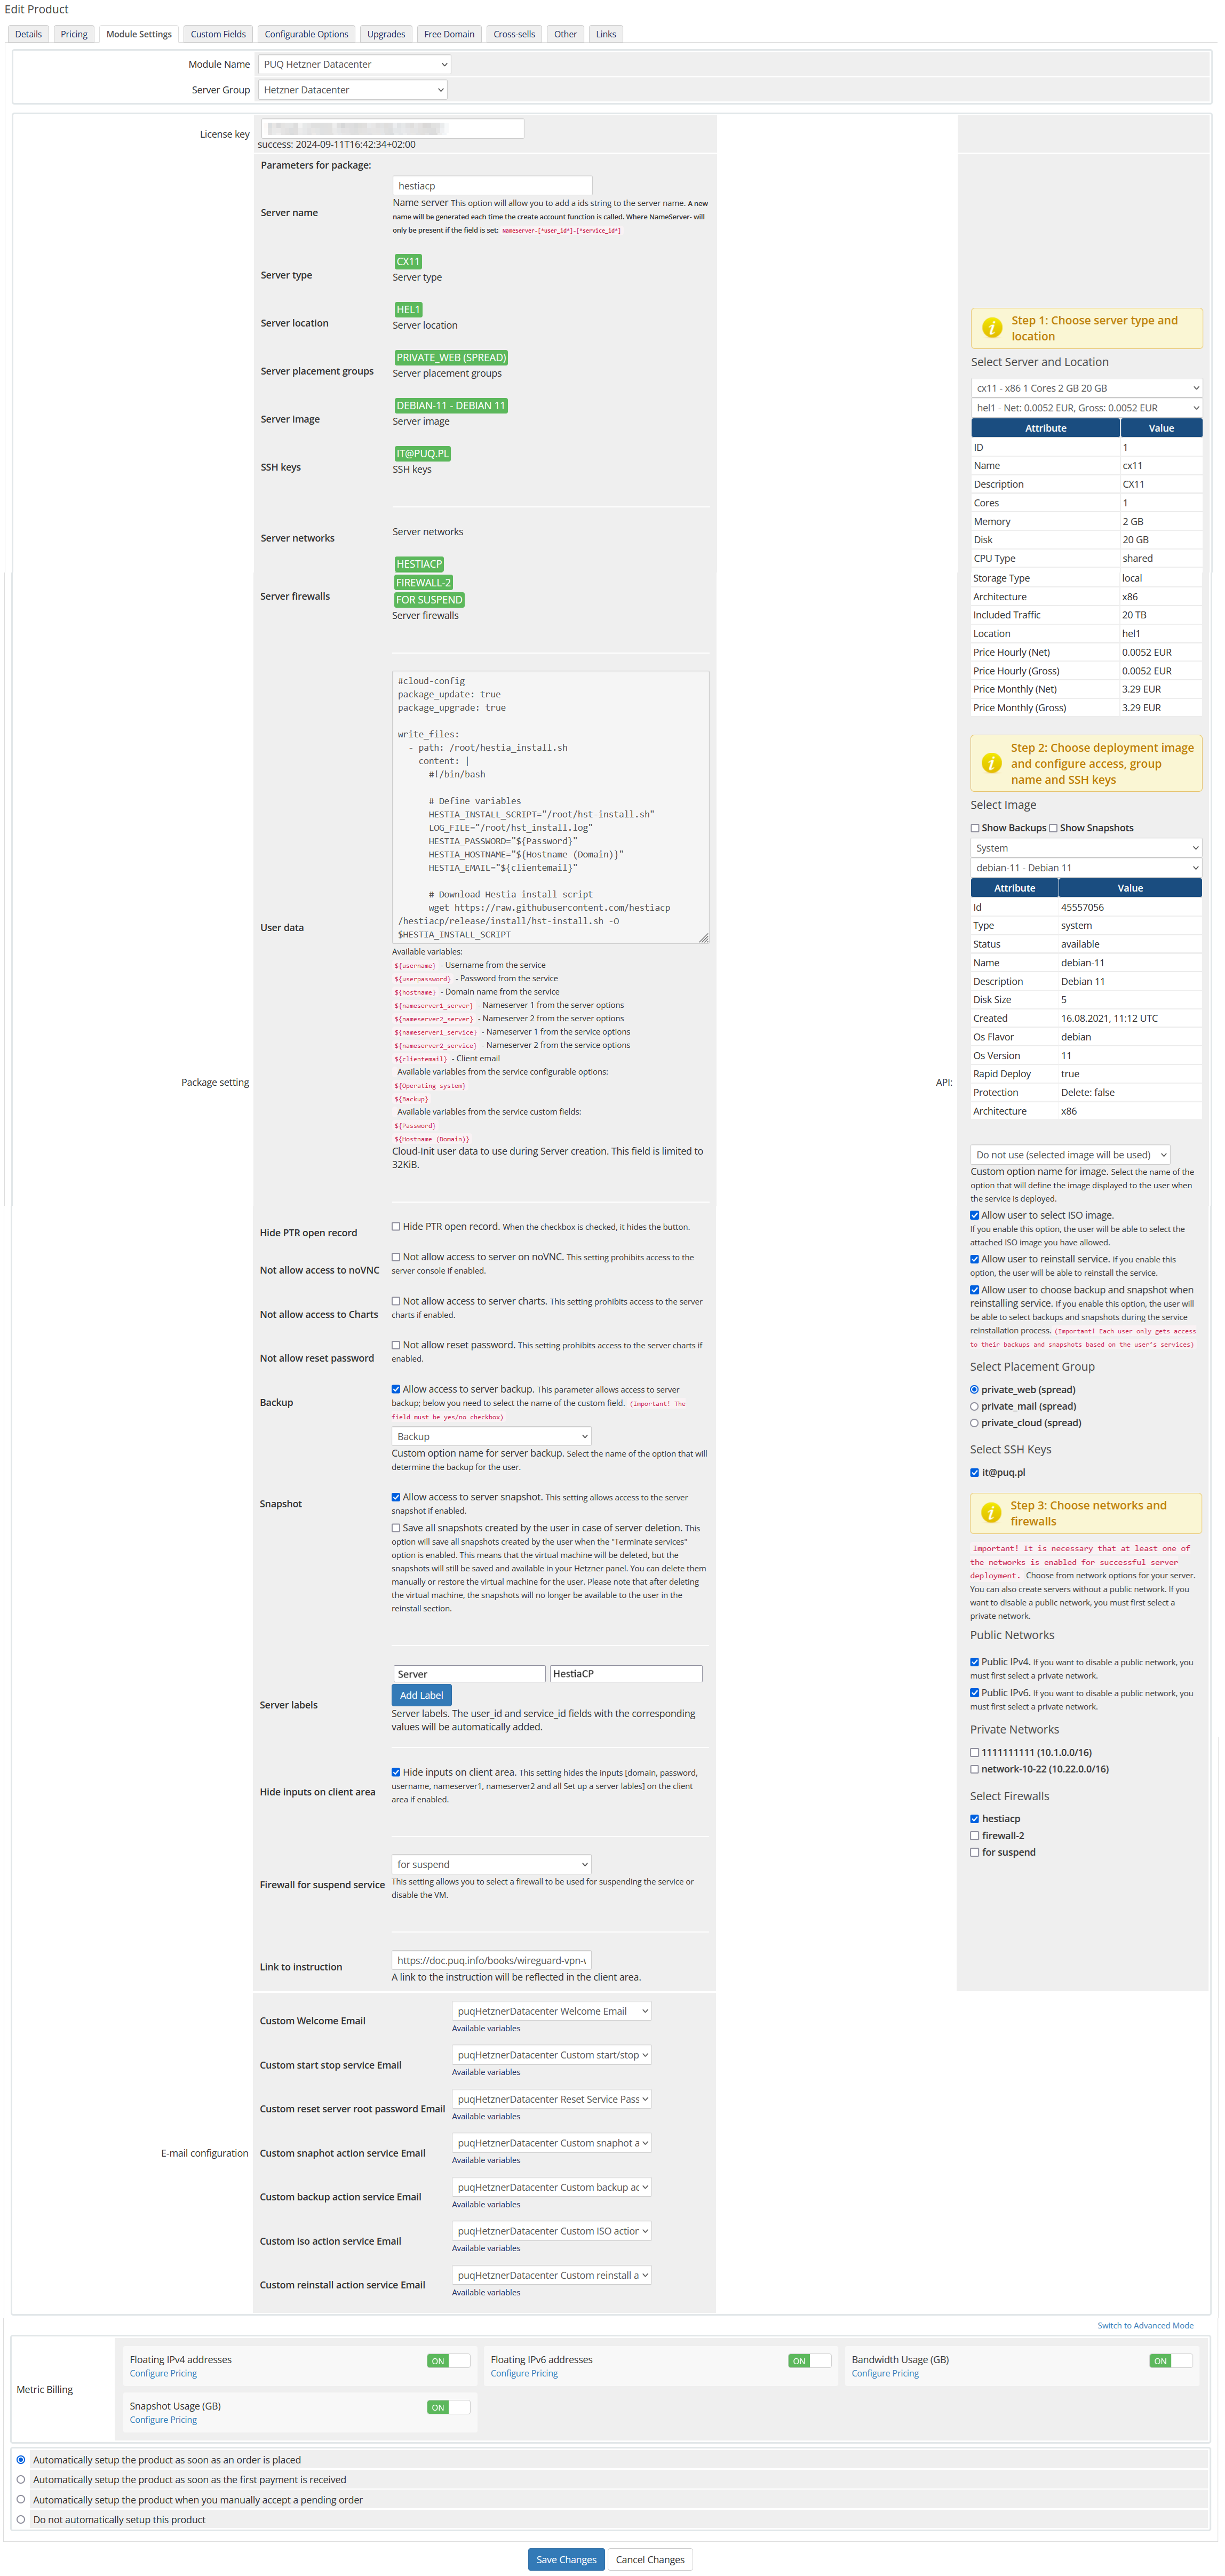
Package Settings
License key: A pre-purchased license key for the "PUQ Hetzner Datacenter" module. For the module to work correctly, the key must be active.
Server name: This option allows you to add a prefix string to the server name. A new name will be generated each time the create account function is called. When NameServer will only be present if the field is set: NameServer-[*user_id*]-[*service_id*].
Server type: The type of server to be deployed. This is selected from the available server types provided by Hetzner. This field is automatically populated based on your selection from Select Server and Location.
Server location: The physical location of the server. This is selected from the available locations provided by Hetzner. This field is automatically populated based on your selection from Select Server and Location.
Server placement groups: The placement groups for the server. This allows you to specify how the server should be grouped within the data center. This field is automatically populated based on your selection from the Select Placement Group.
Server image: The operating system image to be used for the server. This is selected from the available images provided by Hetzner. This field is automatically populated based on the selection from Select Image.
SSH keys: The SSH keys to be used for accessing the server. You can add multiple SSH keys. This field is automatically populated based on your selection from Select SSH Keys.
Server networks: The networks to which the server will be connected. This field is automatically populated based on your selection from Private Networks.
Server firewalls: The firewall rules to be applied to the server. You can select from predefined firewall rules or create custom ones. This field is automatically populated based on your selection from Select Firewalls.
User data: Custom user data to use during server creation. This field is limited to 32KB. You can use this to provide cloud-init configuration scripts or other initialization data.
Package setting: Additional settings for the package, including:
- Hide PTR open record: Hide PTR open record. When the checkbox is checked, it hides the button.
- Not allow access to server on VNC/NC: This setting prohibits access to the server console if enabled.
- Not allow access to Charts: This setting prohibits access to the server charts if enabled.
- Not allow reset password: This setting prohibits access to the server charts if enabled.
- Backup: Allow access to server backup. The parameter allows access to server backups. You need to select the name of the custom field. (Default: Backup)
- Snapshot: Allow access to server snapshot. The setting allows access to the server snapshot if enabled.
- Server labels: Add labels to the server. The user_id and service_id fields with the corresponding values will be automatically added.
- Hide inputs on client area: Hide inputs in client area. This setting hides the inputs (domain, password, username, nameserver1, and nameserver2) and sets up a server label(s) in the client area if enabled.
- Firewall for suspend service: This setting allows you to select a firewall to be used for suspending the service or disable the VM.
- Link to instruction: A link to the instruction will be reflected in the client area.
API Settings
Select Server and Location: Choose the server type and location from the available options provided by Hetzner.
Select Image: Choose the operating system image for the server from the available options provided by Hetzner.
Custom option name for image: Specify a custom option name for the server image if needed.
Allow user to select ISO image: Enable this option to allow users to select an ISO image.
Allow user to reinstall service: Enable this option to allow users to reinstall the service from the client area.
Allow user to choose backup and snapshot when reinstalling service: Enable this option to allow users to choose a backup and snapshot when reinstalling the service.
Select Placement Group: Choose the placement group for the server from the available options provided by Hetzner.
Select SSH Keys: Choose the SSH keys to be used for accessing the server from the available options provided by Hetzner.
Public Networks: Configure the public network settings for the server. This includes enabling or disabling public IPv4 and IPv6 addresses.
Private Networks: Configure the private network settings for the server.
Select Firewalls: Choose the firewall rules to be applied to the server from the available options provided by Hetzner.
Email configuration: Setting up email templates. Selection of pre-prepared templates to inform the user about some actions:
- Custom Welcome Email: Template for the welcome email.
- Custom start stop service Email: Template for the start/stop service email.
- Custom reset server password Email: Template for the reset server password email.
- Custom snapshot action Email: Template for the snapshot action email.
- Custom backup action Email: Template for the backup action email.
- Custom ISO action Email: Template for the ISO action email.
- Custom reinstall action service Email: Template for the reinstall action service email.
Metric Billing: Configuration for metric billing, including:
- Floating IPv4 addresses: Configure pricing for floating IPv4 addresses.
- Floating IPv6 addresses: Configure pricing for floating IPv6 addresses.
- Bandwidth Usage (GB): Configure pricing for bandwidth usage.
- Snapshot Usage (GB): Configure pricing for snapshot usage.
Add server (Hetzner)
Hetzner Datacenter module WHMCS
Order now | Download | FAQ
Add a new server to the system WHMCS.
System Settings->Servers->Add New Server- Enter the correct Name and API url
api.hetzner.cloud
- In the Server Details section, select the "PUQ Hetzner Datacenter" module and enter the correct api key and for the Hetzner API. To get an API key, go to the Hetzner console -> Security -> API tokens -> Generate API token
- To check, click the "Test connection" button
Product Configuration
Hetzner Datacenter module WHMCS
Order now | Download | FAQ
Add new product to WHMCS
System Settings → Products/Services → Create a New ProductIn the Module settings section, select the "PUQ Hetzner Datacenter" module.

Package Settings
License key: A pre-purchased license key for the "PUQ Hetzner Datacenter" module. The key must be active.
Server name: Adds a prefix to the generated server name. A new name is generated on create. Format: NameServer-[*user_id*]-[*service_id*].
Server type: Type of server to deploy. Auto-filled from the Select Server and Location panel.
Server location: Physical location. Auto-filled from Select Server and Location.
Server placement groups: Placement group for the server. Auto-filled from Select Placement Group.
Server image: OS image to use. Auto-filled from Select Image.
SSH keys: Keys for server access. Auto-filled from Select SSH Keys.
Server networks: Networks to attach. Auto-filled from Private Networks.
Server firewalls: Firewall profiles to apply. Auto-filled from Select Firewalls.
User data: Custom cloud-init or init script used during server creation (limit 32KB).
Package setting: Additional options:
- Hide PTR open record: Hides PTR control button.
- Not allow access to server on VNC/NC: Blocks access to the server console.
- Not allow access to Charts: Hides resource charts.
- Not allow reset password: Disables password reset.
- Backup: Allows access to server backups (select the custom field name; default: Backup).
- Snapshot: Allows access to server snapshots.
- Server labels: Adds labels;
user_idandservice_idare added automatically. - Hide inputs on client area: Hides inputs (domain, password, username, nameserver1/2) and sets server label(s).
- Username as root: Use
rootas the administrative username (or keep image defaults). - Firewall for suspend service: Select a firewall profile used when suspending the service (or disabling the VM).
- Link to instruction: A documentation link shown in the client area.
Automatic Pricing & Rounding (UI)
The right-hand panel includes a new Automatic Pricing UI for consistent price management.
- Base price (Net/Gross): Displays Hetzner base price; choose Net or Gross.
- Percentage margin: Set a markup applied to Hetzner base price.
- Automatic price generation – How it works? Collapsible help explaining rules and examples.
- Select currencies: Bulk select one or multiple currencies.
- Select periods: Bulk select billing cycles (Hourly, Monthly, Quarterly, Semi-Annually, Annually, Biennially).
- Preview table: Live recalculation per currency and period before applying.
- Apply Bulk Pricing: Writes or creates
tblpricingrows according to selection. - Automatically apply price daily: Enables cron-based daily sync using saved configuration.
- Rounding policy: Always round up to ISO-4217 minor units (0/2/3 decimals). Monthly price is rounded first; then multiplied by the period factor and rounded again. JS preview and server-side logic are identical.
- Currency source: Uses Hetzner Cloud API
/pricing.currency(not hard-coded EUR). - Expanded server dropdowns: Server selectors show name – architecture – cores – memory – disk.
API Settings
Select Server and Location: Choose server type and region from Hetzner’s catalog (Step 1).
Select Image: Choose OS image or snapshot (Step 2).
Custom option name for image: (Optional) Provide a custom option label for the image selector.
Allow user to select ISO image: Let users choose an ISO for boot/install.
Allow user to reinstall service: Enables one-click reinstall from the client area.
Allow user to choose backup and snapshot when reinstalling service: Allow selecting a backup/snapshot during reinstall.
Select Placement Group: Pick a placement group for spreading/affinity (Step 2/3).
Select SSH Keys: Choose keys for access.
Public Networks: Enable/disable public IPv4/IPv6.
Private Networks: Attach private networks.
Select Firewalls: Choose firewall rules to apply.
Admin Tools for Stock Management
- Clear and Reset: Button in the product configuration that restores
stockcontrolandqtyto saved values. - Restore saved stockcontrol: Internal action that recovers data from the stored record and removes the obsolete entry. Actions are logged (input, not_found, updated_product, deleted_saved, done, error).
Email configuration:
Choose pre-built templates to notify users about actions:
- Custom Welcome Email
- Custom start stop service Email
- Custom reset server password Email
- Custom snapshot action Email
- Custom backup action Email
- Custom ISO action Email
- Custom reinstall action service Email
Metric Billing:
- Floating IPv4 addresses: Configure pricing.
- Floating IPv6 addresses: Configure pricing.
- Bandwidth Usage (GB): Configure pricing.
- Snapshot Usage (GB): Configure pricing.
Email Template (puqHetznerDatacenter Custom Welcome Email)
Hetzner Datacenter module WHMCS
Order now | Download | FAQ
Create an email template for customer notifications.
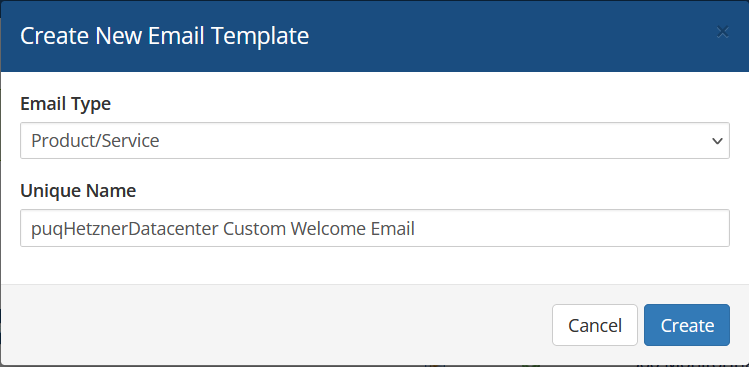
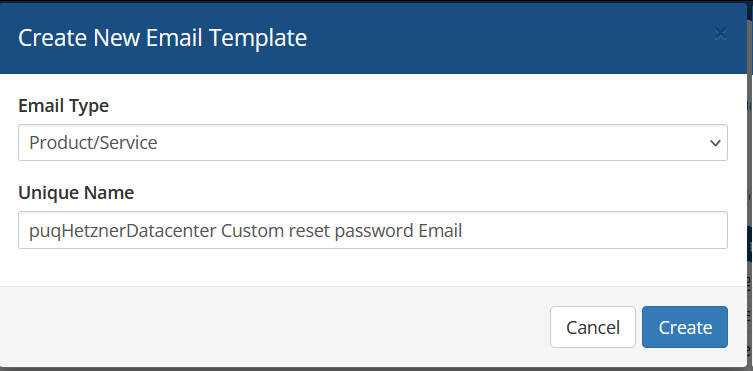
System Settings->Email Templates->Create New Email Template- Email Type: Product/service
Unique Name: puqHetznerDatacenter Custom Welcome Email
Subject:
Your Server is Now Ready for UseBody:
Dear {$client_name},

Congratulations! Your server has been successfully deployed and is ready for you to begin configuring.

Server Details:
IPv4 DNS PTR: {$ipv4_dns_ptr}
IPv4 IP: {$ipv4_ip}
IPv6 IP: {$ipv6_ip}
Server Cores: {$server_cores}
Server Memory: {$server_memory}
Server Disk: {$server_disk}
Root Password: {$root_password}
Accessing Your Server

To begin managing your new server, you will need to connect via SSH (Secure Shell). Here’s how you can do that:

    Open an SSH client on your computer. For Windows, we recommend using PuTTY, while macOS and Linux users can use the built-in Terminal application.

    Connect to your server by executing the following command in your terminal or SSH client:
    ssh root@{$ipv4_ip}

    When prompted, enter the root password provided below:

    Root Password: {$root_password}

Once connected, you’ll have full access to your server’s console and can monitor the installation.
Need Assistance?

If you have any questions or encounter any issues during this process, please do not hesitate to reach out to our support team. We are here to help! You can submit a support ticket via the following link: Submit a Ticket.

Thank you for choosing us as your hosting provider. We’re excited to be part of your journey and are committed to ensuring your experience is successful.

Kind regards,
{$signature}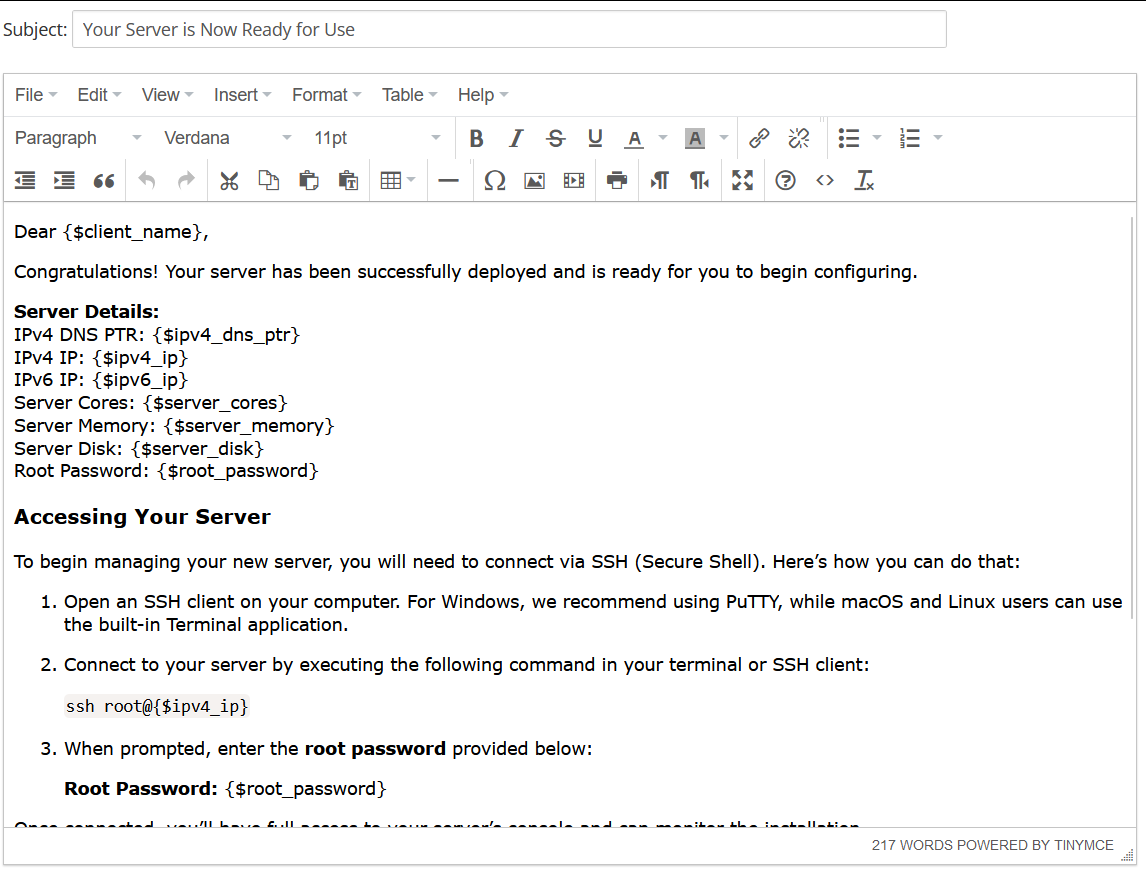
Email Template (puqHetznerDatacenter Custom start stop service Email)
Hetzner Datacenter module WHMCS
Order now | Download | FAQ
Create an email template for customer notifications.
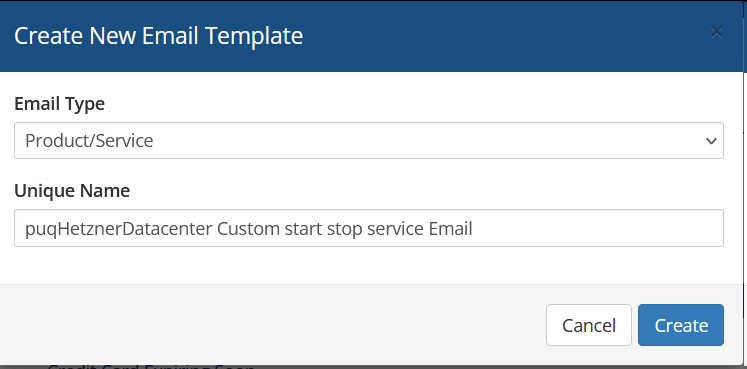
System Settings->Email Templates->Create New Email Template- Email Type: Product/service
Unique Name: puqHetznerDatacenter Custom start stop service Email
Subject:
{if $server_action eq "start"}Your Server Has Been Successfully Started{/if}{if $server_action eq "stop"}Important: Your Server Has Been Stopped{/if}Body:
Dear {$client_name},

{if $server_action eq "start"}Your server has been successfully started.{/if}{if $server_action eq "stop"}Your server has been stopped.{/if}

Product/Service: {$service_product_name}

If you have any questions or need further assistance, do not hesitate to contact our support team.

Thank you for choosing us.

{$signature}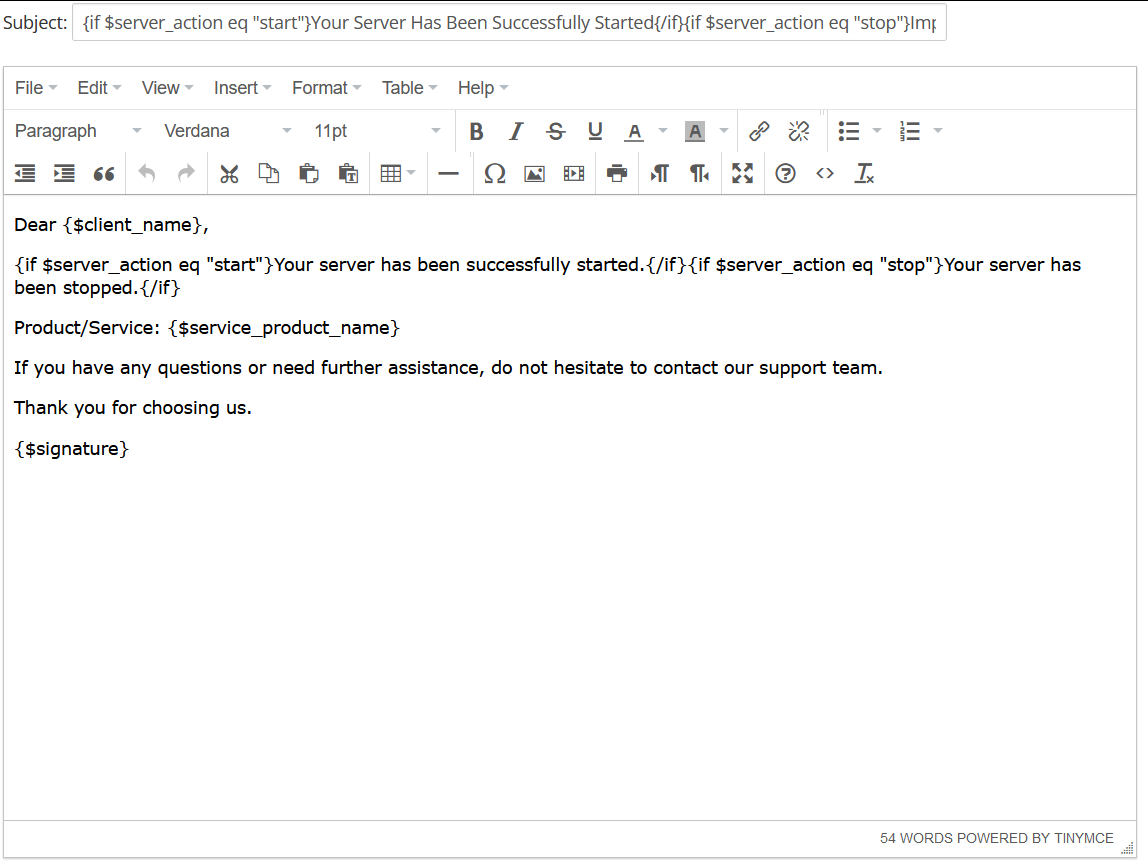
Email Template (puqHetznerDatacenter Custom reset password Email)
Hetzner Datacenter module WHMCS
Order now | Download | FAQ
Create an email template for customer notifications.
System Settings->Email Templates->Create New Email Template- Email Type: Product/service
Unique Name: puqHetznerDatacenter Custom reset password Email
Subject:
For user {$user} on Product/Service: {$service_product_name} password has been changeBody:
Dear {$client_name},

You change password for user {$user} on Product/Service: {$service_product_name}. Below is the user logging data.

User: {$user}
New password: {$password}


{$signature}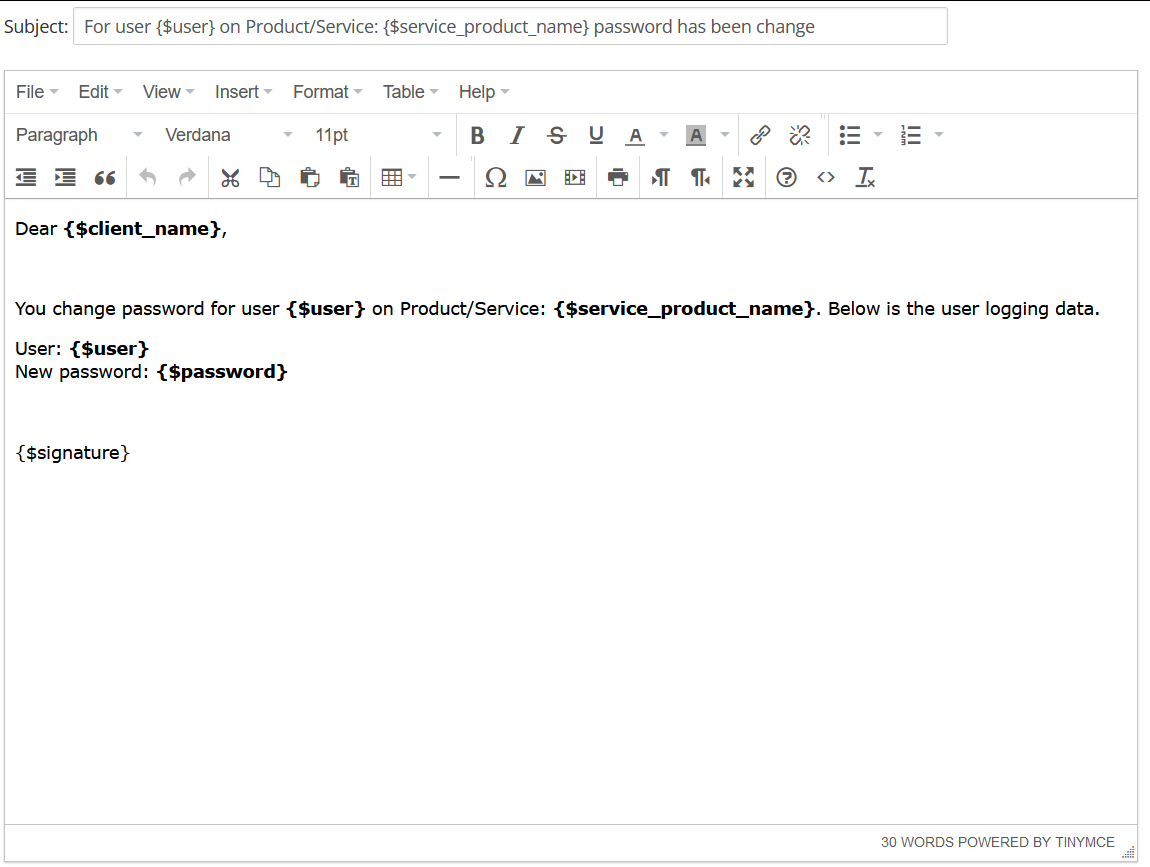
Email Template (puqHetznerDatacenter Custom snaphot action service Email)
Hetzner Datacenter module WHMCS
Order now | Download | FAQ
Create an email template for customer notifications.
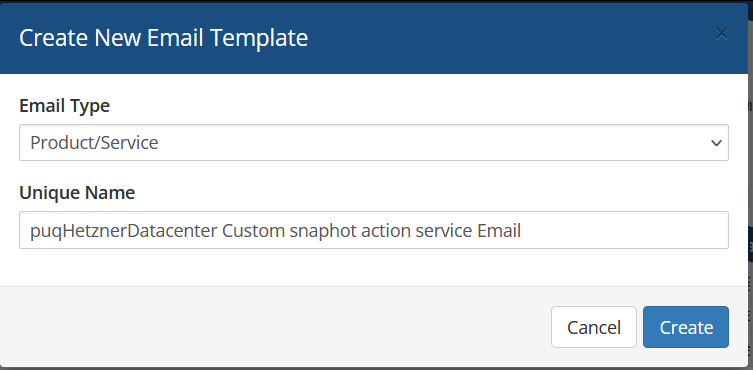
System Settings->Email Templates->Create New Email Template- Email Type: Product/service
Unique Name: puqHetznerDatacenter Custom snaphot action service Email
Subject:
{if $snapshot_action eq "create"}Snapshot started create Successfully{/if}{if $snapshot_action eq "remove"}Snapshot Removed Successfully{/if}{if $snapshot_action eq "rollback"}A restore from your snapshot has been initiated{/if}Body:
Dear {$client_name},

{if $snapshot_action eq "create"}Snapshot creation started.{/if}{if $snapshot_action eq "remove"}Your snapshot has been successfully removed.{/if}{if $snapshot_action eq "rollback"}A restore from your snapshot has been initiated.{/if}

{if $snapshot_id}Snapshot ID: {$snapshot_id}{/if}
{if $snapshot_description}Snapshot Description: {$snapshot_description}{/if}
{if $service_product_name}Service name: {$service_product_name}{/if}

If you have any questions or need further assistance, do not hesitate to contact our support team.

Thank you for choosing us.

{$signature}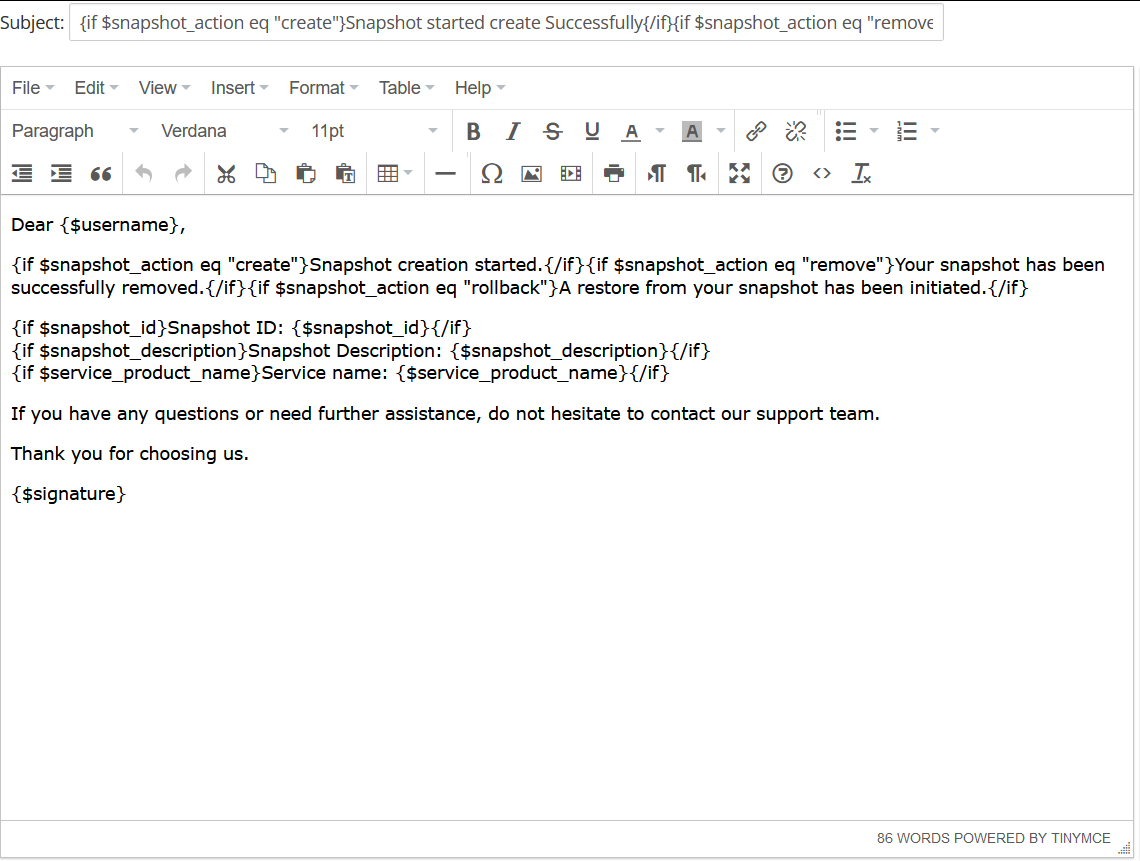
Email Template (puqHetznerDatacenter Custom backup action service Email)
Hetzner Datacenter module WHMCS
Order now | Download | FAQ
Create an email template for customer notifications.
System Settings->Email Templates->Create New Email Template- Email Type: Product/service
Unique Name: puqHetznerDatacenter Custom backup action service Email

Subject:
{if $backup_action eq "enable"}Backup Enabled Successfully{/if}{if $backup_action eq "disable"}Backup Disabled Successfully{/if}{if $backup_action eq "create"}Backup Creation Initiated Successfully{/if}{if $backup_action eq "remove"}Backup Removed Successfully{/if}{if $backup_action eq "restore"}Backup Restoration Initiated Successfully{/if}Body:
Dear {$client_name},

{if $backup_action eq "enable"}Your backup has been successfully enabled.{/if}{if $backup_action eq "disable"}Your backup has been successfully disabled.{/if}{if $backup_action eq "create"}The creation of your backup has been successfully initiated.{/if}{if $backup_action eq "remove"}Your backup has been successfully removed.{/if}{if $backup_action eq "restore"}The restoration of your backup has been successfully initiated.{/if}

{if $backup_id}Backup ID: {$backup_id}{/if}
{if $backup_description}Backup Description: {$backup_description}{/if}

If you have any questions or need further assistance, do not hesitate to contact our support team.

Thank you for choosing us.

{$signature}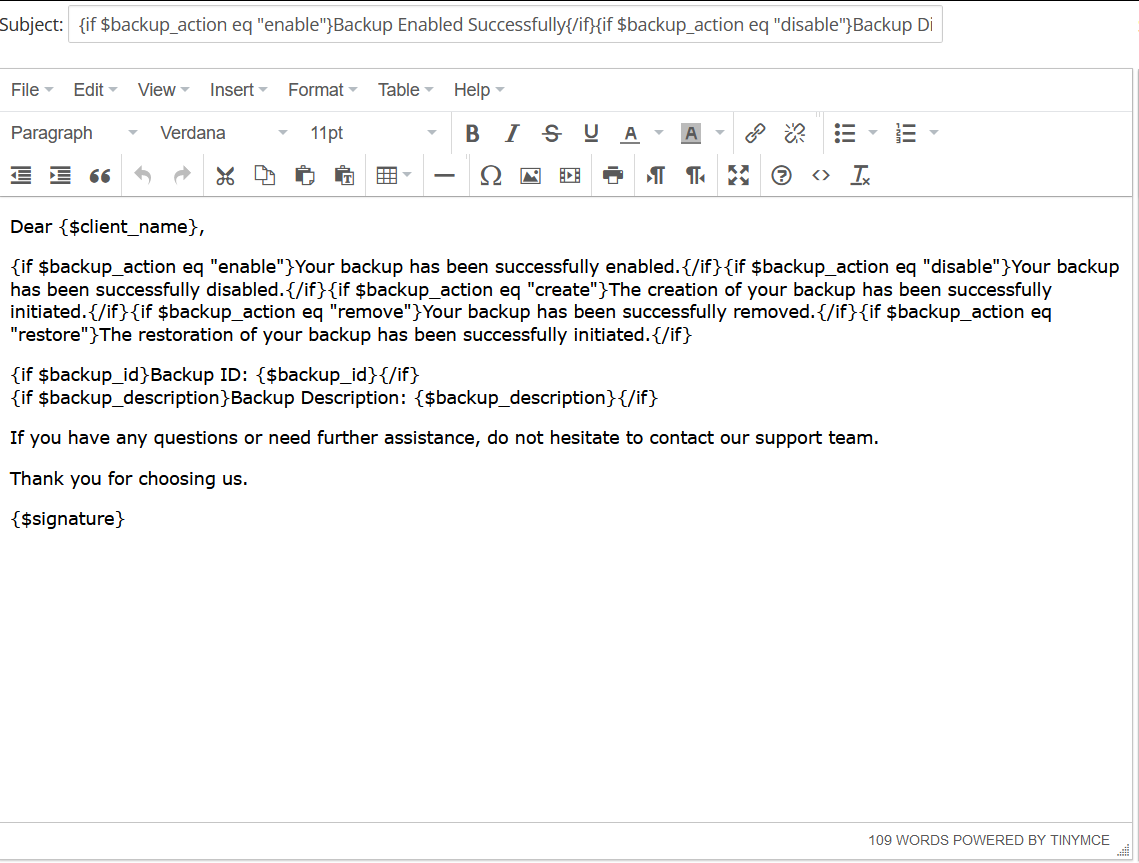
Email Template (puqHetznerDatacenter Custom ISO action service Email)
Hetzner Datacenter module WHMCS
Order now | Download | FAQ
Create an email template for customer notifications.
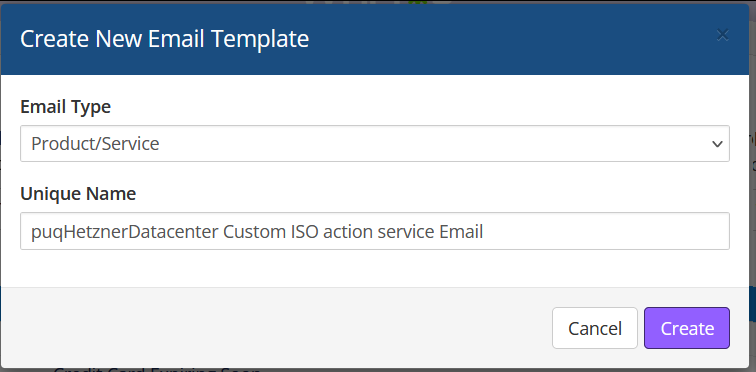
System Settings->Email Templates->Create New Email Template- Email Type: Product/service
Unique Name: puqHetznerDatacenter Custom ISO action service Email
Subject:
{if $iso_action eq "mount"}ISO Mounted Successfully{/if}{if $iso_action eq "unmount"}ISO Unmounted Successfully{/if}Body:
Dear {$client_name},

{if $iso_action eq "mount"}Your ISO has been successfully mounted.{/if}{if $iso_action eq "unmount"}Your ISO has been successfully unmounted.{/if}

{if $iso_id}ISO ID: {$iso_id}{/if}
{if $iso_name}ISO Name: {$iso_name}{/if}
{if $iso_description}ISO Description: {$iso_description}{/if}

If you have any questions or need further assistance, do not hesitate to contact our support team.

Thank you for choosing us.

{$signature}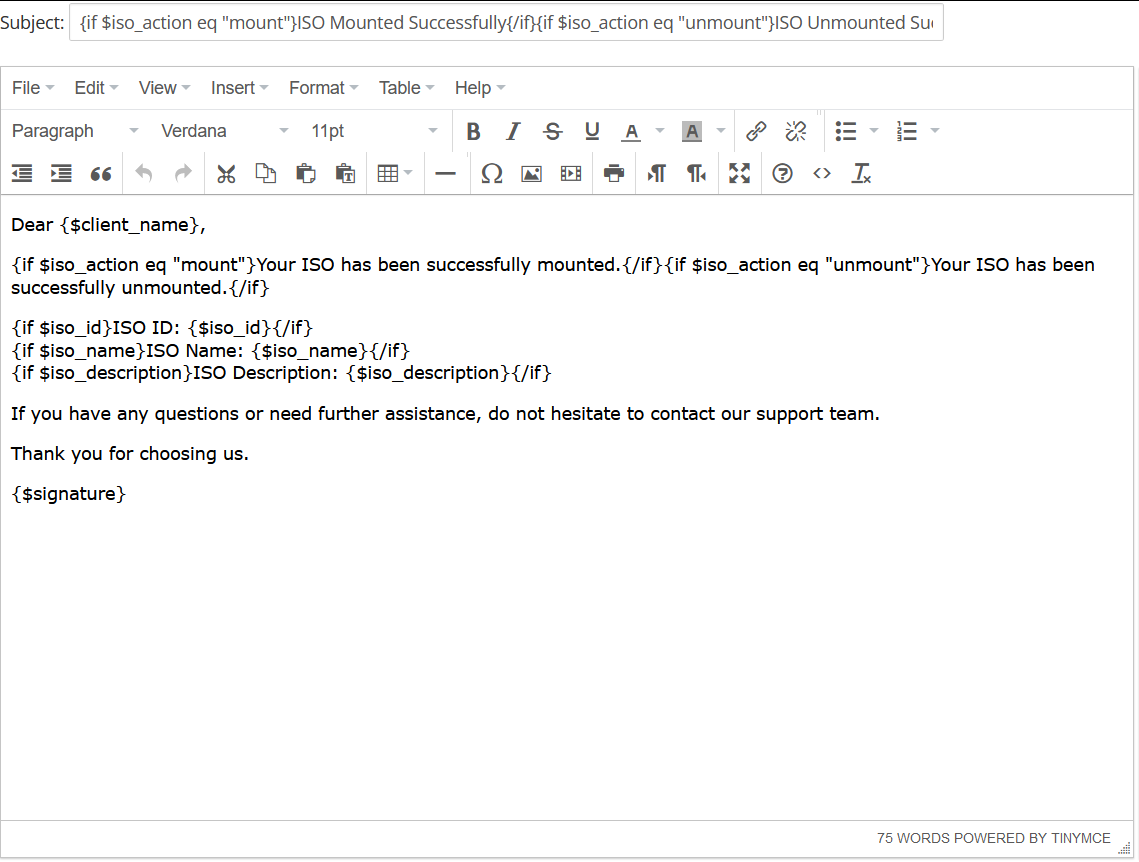
Email Template (puqHetznerDatacenter Custom reinstall action service Email)
Hetzner Datacenter module WHMCS
Order now | Download | FAQ
Create an email template for customer notifications.
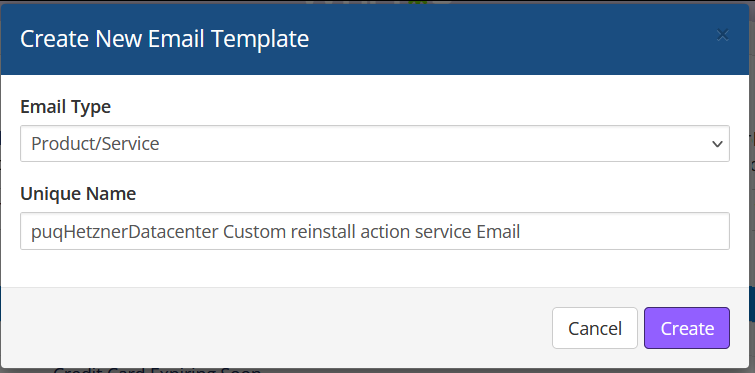
System Settings->Email Templates->Create New Email Template- Email Type: Product/service
Unique Name: puqHetznerDatacenter Custom reinstall action service Email
Subject:
Server Rebuild Initiated SuccessfullyBody:
Dear {$client_name},

We are pleased to inform you that the rebuild of your server has been successfully initiated. The server will be rebuilt using the following image:

Image Name: {$image_name}
Image Description: {$image_description}
Disk Size: {$image_disk_size} GB
Architecture: {$image_architecture}
Image Type: {$image_type}

Please be patient as the rebuild process completes. If you have any questions or need further assistance, do not hesitate to contact our support team.

Thank you for choosing us.

{$signature}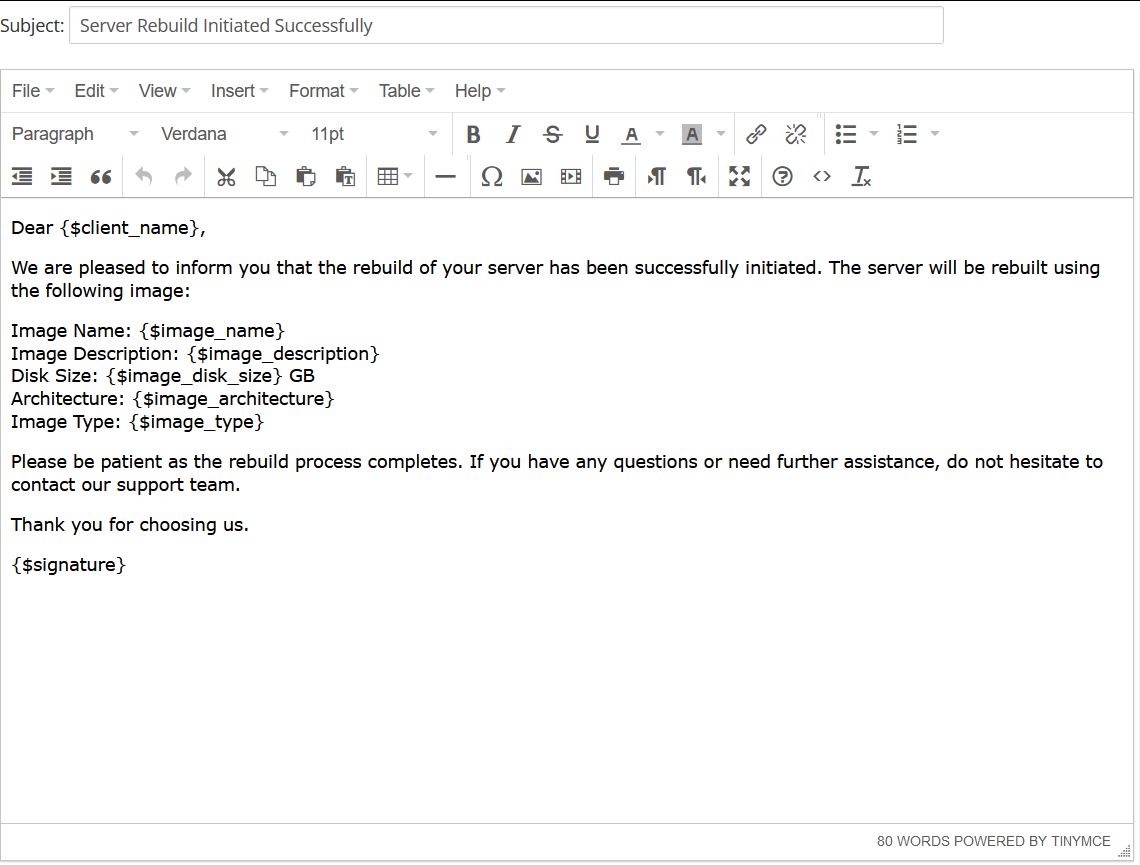
Configurable Option
Hetzner Datacenter module WHMCS
Order now | Download | FAQ
Overview
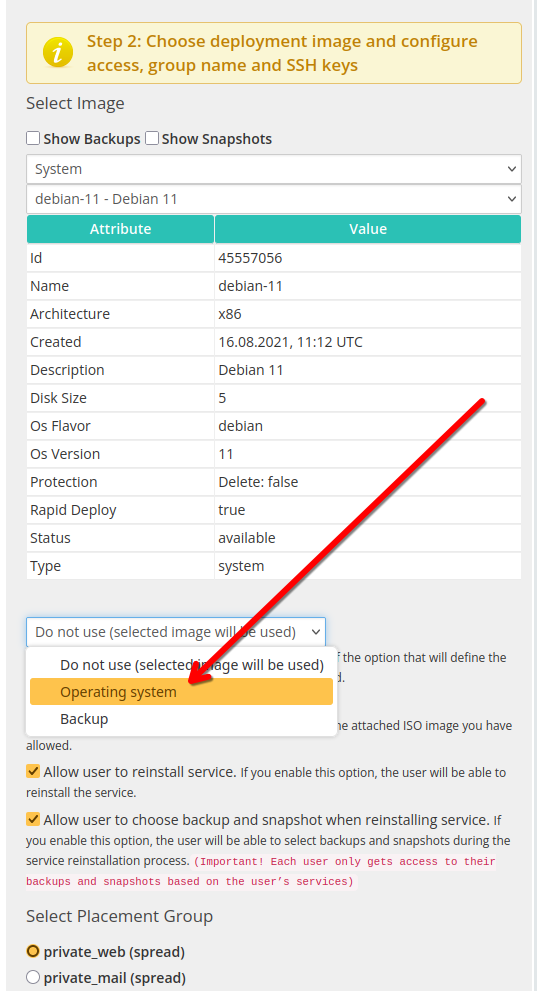
Configurable Options in WHMCS allow clients to choose specific configurations while ordering a product. In the PUQ Hetzner Datacenter module, these options are used to select an Operating System image and enable Backup access.
What this does
WHMCS Configurable Options let clients choose parameters during order. In this module they are used to: (1) pick an Operating system image; (2) enable/disable Backup access.
Step 1 — Create a Configurable Option Group and link it to your product
- Go to
System Settings → Products/Services → Configurable Optionsand click Create a New Group. - Set Group Name (e.g., “hetzner”) and Description (optional).
- In Assigned Products select your Hetzner product (e.g., “Hetzner Datacenter – Hetzner product”).
- Click Save Changes.
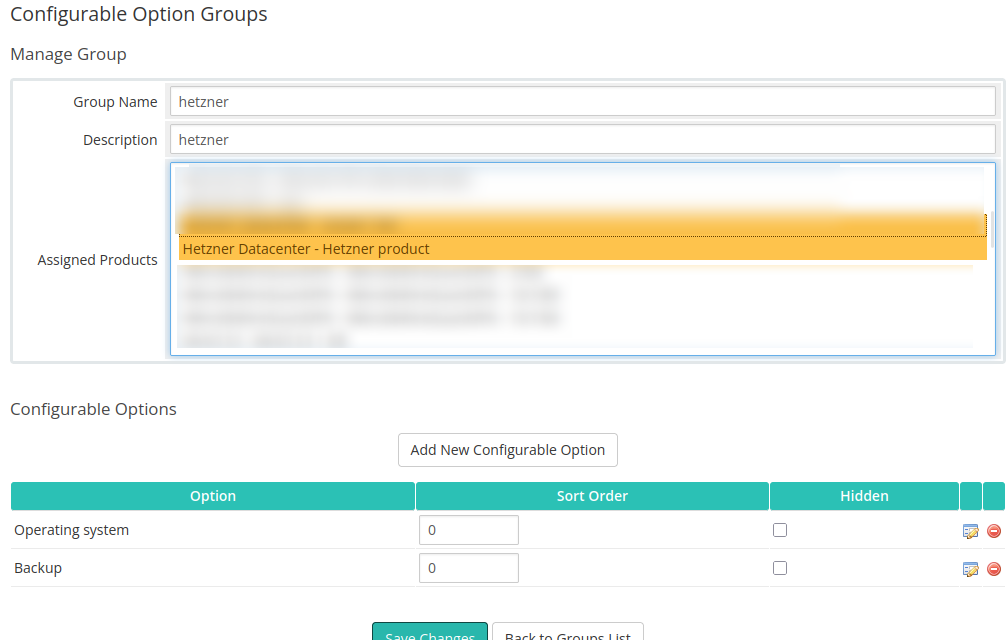
Step 2 — Add options inside the group
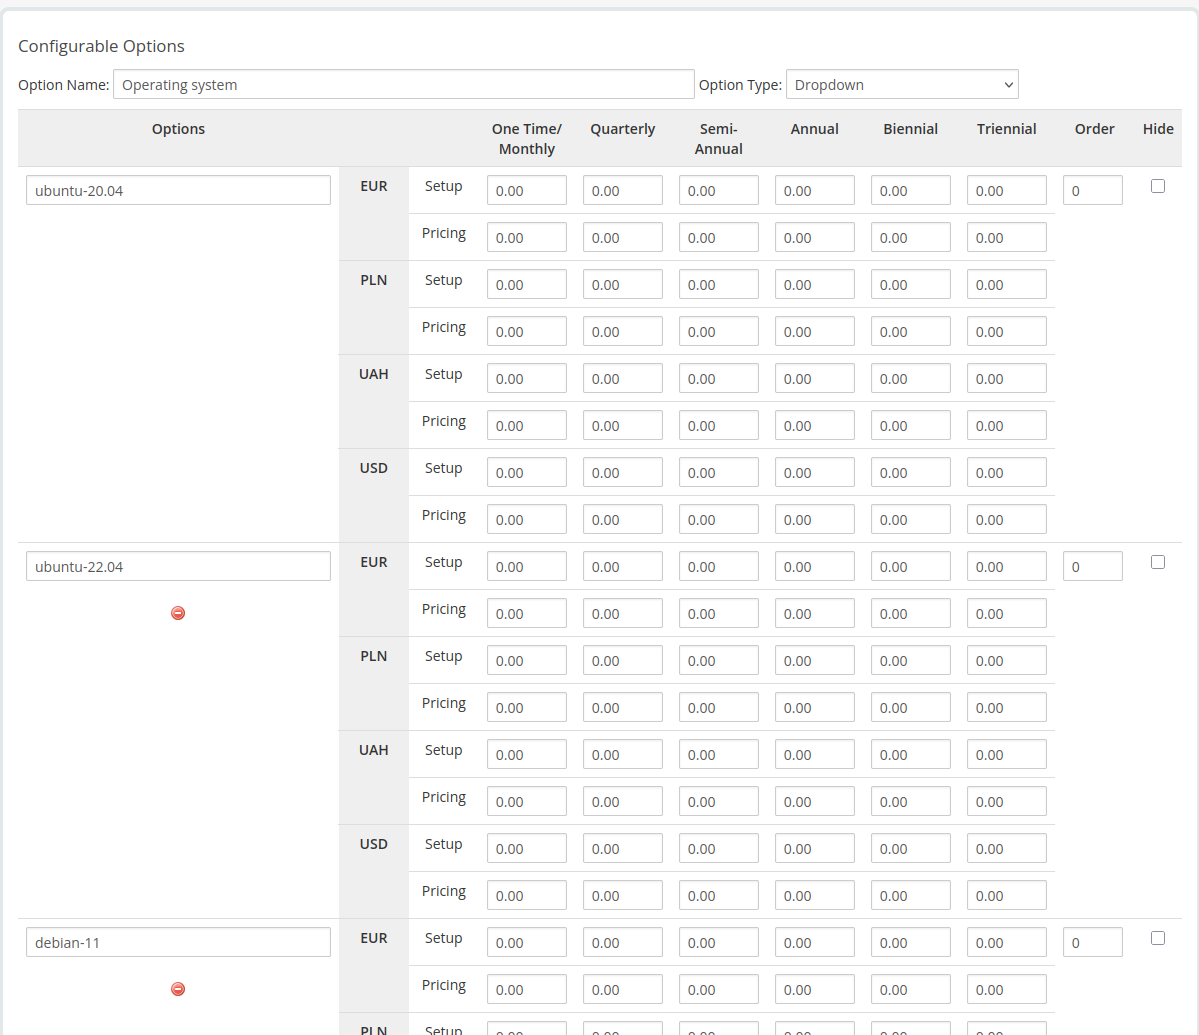
2.1 Operating system (Dropdown)
- Click Add New Configurable Option.
- Set Option Name: Operating system; Option Type: Dropdown.
- Add values (examples): ubuntu-20.04, ubuntu-22.04, debian-11 etc.
- Optionally define pricing per currency and billing cycle.
- Save.
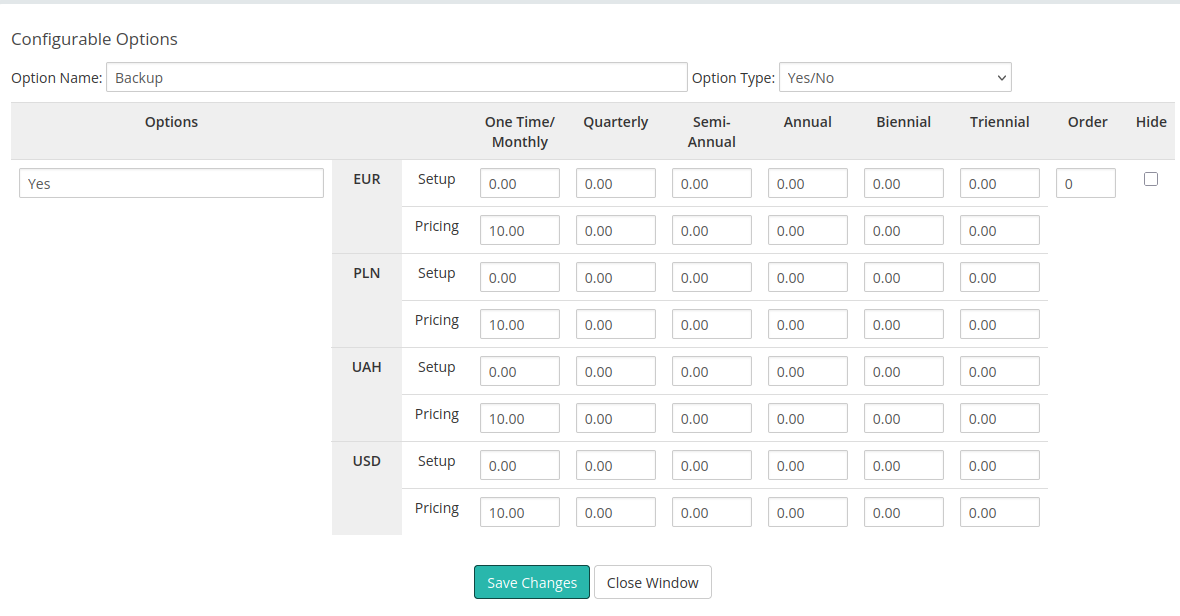
2.2 Backup (Yes/No)
- Click Add New Configurable Option again.
- Set Option Name: Backup; Option Type: Yes/No.
- Optionally add a price for enabling backup (per currency/cycle).
- Save.
Step 3 — Map these options in the module settings
Open your product → Module Settings (PUQ Hetzner Datacenter) and map the WHMCS options to the module controls:
- Custom option name for image — choose Operating system. This lets clients select the OS during order.

- Backup — tick Allow access to server backup and select the Backup option from the dropdown.


Available Operating Systems and Application Images
All available operating system and application images can be viewed in the dropdown list when selecting an ISO image in the product configuration.
This list is always dynamically updated from the Hetzner API, so it reflects the most recent system templates.
The module uses the Name field value (for example: debian-11).
Examples of available system images that can be added to the Operating system configurable option:
-
debian-11
-
debian-12
-
debian-13
-
ubuntu-20.04
-
ubuntu-22.04
-
ubuntu-24.04
-
centos-stream-9
-
centos-stream-10
-
rocky-8
-
rocky-9
-
rocky-10
-
alma-8
-
alma-9
-
alma-10
-
fedora-41
-
fedora-42
-
opensuse-15
In addition to standard operating systems, the Hetzner catalog also includes preconfigured application images.
These can also be added to the same configurable option group if you want to allow clients to deploy ready-to-use environments:
-
lamp
-
wordpress
-
jitsi
-
nextcloud
-
docker-ce
-
gitlab
-
prometheus-grafana
-
wireguard
-
owncast
-
photoprism
-
rustdesk
-
coolify
All these image names can be used directly in the Operating system dropdown when creating configurable options in WHMCS.
How it behaves for the client
- At order time, the client chooses an OS from Operating system and toggles Backup (Yes/No).
- The module deploys the server with the selected image. If Backup is enabled, backup management becomes available in the client area.
Naming rules (important)
- Option names in WHMCS must match those selected in the module: exactly Operating system and Backup.
- If you rename an option later, revisit the Module Settings and re-select it in the dropdowns.