How to manage modules
- How to Activate a Module
- How to Deactivate a Module
- How to Clean Up (Remove) a Module
- How to Update or Refresh a Module
How to Activate a Module
PUQcloud Panel
Order Now | Download | FAQ
Overview
This guide explains how to activate a module in PUQcloud Panel.
Activation makes a module available in the system and automatically creates all required database tables and configuration entries.
Steps to Activate a Module
-
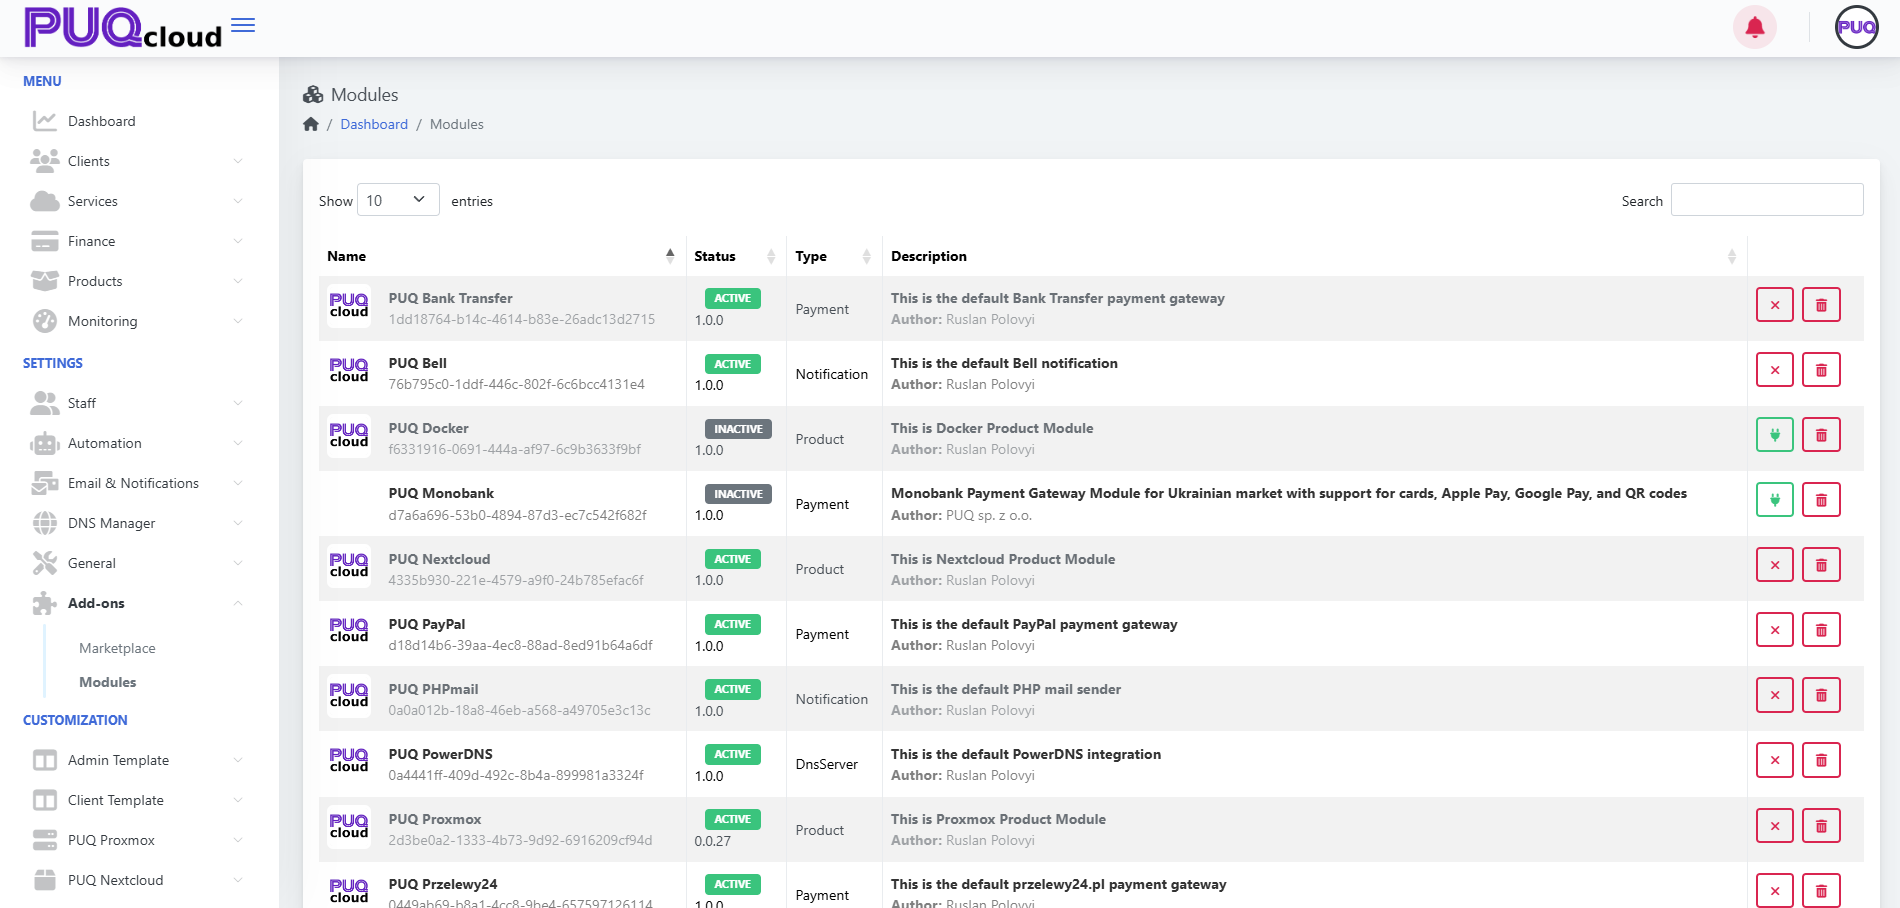
Open the Modules section in the admin panel.
-
Find the desired module in the list.
-
If its status shows INACTIVE, click the green button ().
-
The system will:
-
Run the
Activatefunction. -
Create or update the database tables required by the module.
-
Initialize default settings.
-
Change the module status to ACTIVE.
-
Result
The module is now active and can be configured or used immediately in other parts of the system (for example, as a payment gateway or product integration).
Example
How to Deactivate a Module
PUQcloud Panel
Order Now | Download | FAQ
Overview
Deactivation temporarily turns off a module while keeping its core data and configuration intact.
It’s useful if you want to pause a module without uninstalling it.
Steps to Deactivate a Module
-
Go to Dashboard → Modules.
-
Locate the active module (marked as ACTIVE).
-
Click the red cross (❌) button to deactivate it.
-
The system executes the
Deactivatefunction, which:-
Stops the module’s background tasks and integrations.
-
Removes temporary tables and runtime data.
-
Keeps the configuration in place for future reactivation.
-
Note
Deactivation does not delete the module from the system — it simply disables its functionality until reactivated.
Result
The module becomes INACTIVE but can be reactivated anytime with the green arrow button.
Example
How to Clean Up (Remove) a Module
PUQcloud Panel
Order Now | Download | FAQ
Overview
The Clean Up function completely removes a module from the PUQcloud system.
This includes deleting all related database records, configurations, and references.
Use this only for non-activated modules.
Steps to Clean Up a Module
Important
If the same module is installed again later, it will:
-
Receive a new unique ID.
-
Be treated as a fresh installation.
Result
The module is permanently removed from PUQcloud.
No data remains in the system.
Example
How to Update or Refresh a Module
PUQcloud Panel
Order Now | Download | FAQ
Overview
The Refresh (Update) button allows you to safely upgrade or downgrade a module version.
This function ensures all database tables and settings are synchronized with the new configuration file.
When to Use Refresh
-
When the module’s version number in the configuration file changes.
-
When the module stops appearing in the list after updating its files.
-
When switching to an older version (downgrade).
Steps to Update a Module
-
Replace the module files with the new (or old) version.
-
Go to Dashboard → Modules.
-
Click the blue Refresh (🔄) button next to the affected module.
-
The system runs the
Updatefunction, which:-
Compares installed and config versions.
-
Updates database structure and settings.
-
Re-registers the module in the system.
-
Result
The module becomes visible and active again under the correct version.
This process ensures safe, controlled updates without breaking dependencies.
Example