To install and update a module, you must perform one and the same action.
##### ##### 1. Download the latest version of the module. ```Powershell wget https://download.puqcloud.com/WISECP/Product/PUQ_WISECP-Mikrotik-WireGuard-VPN/php81/PUQ_WISECP-Mikrotik-WireGuard-VPN-latest.zip ```All versions are available: [https://download.puqcloud.com/WISECP/Product/PUQ\_WISECP-Mikrotik-WireGuard-VPN/](https://download.puqcloud.com/WISECP/Product/PUQ_WISECP-Mikrotik-WireGuard-VPN/)
##### ##### 2. Unzip the archive with the module. ```Powershell unzip PUQ_WISECP-Mikrotik-WireGuard-VPN-latest.zip ``` ##### ##### 3. Copy and Replace "puqMikrotikWireGuardVPN" from "PUQ\_WISECP-Mikrotik-WireGuard-VPN" to "WISECP\_WEB\_DIR/coremio/modules/Product/" # License Activation ### Mikrotik WireGuard VPN module **[WISECP](https://puqcloud.com/link.php?id=78)** ##### [Order now](https://puqcloud.com/index.php?rp=/store/wisecp-module-mikrotik-wireguard-vpn) | [Download](https://download.puqcloud.com/WISECP/Product/PUQ_WISECP-Mikrotik-WireGuard-VPN/) | [FAQ](https://faq.puqcloud.com/) ##### 1. Log in to the administrative area of your **[WISECP](https://puqcloud.com/link.php?id=78)**. ##### 2. Go to module configuration. ``` Services -> Service Management -> Module Settings -> Other -> All Modules -> PUQ Mikrotik WireGuard VPN ``` [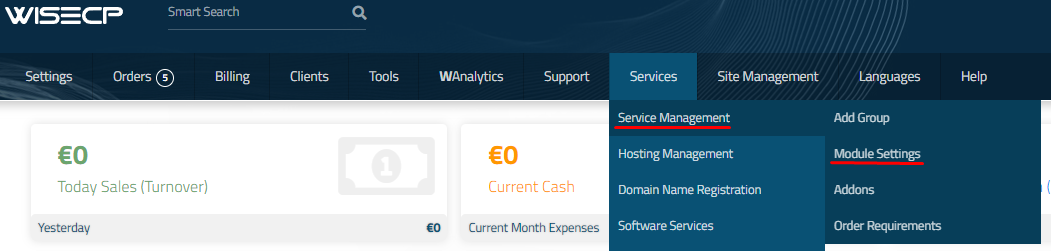](https://doc.puq.info/uploads/images/gallery/2023-11/image-1700485721333.png) [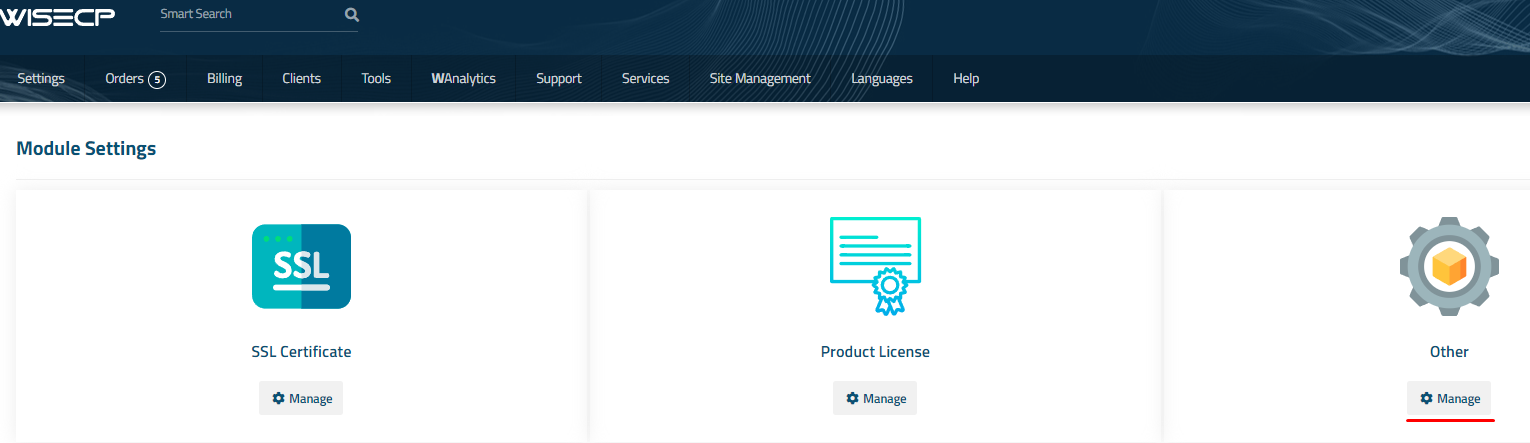](https://doc.puq.info/uploads/images/gallery/2023-11/image-1700485726951.png) [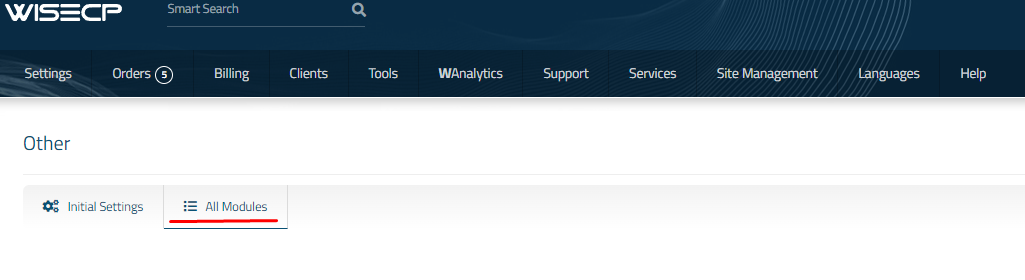](https://doc.puq.info/uploads/images/gallery/2023-11/image-1700485737918.png) [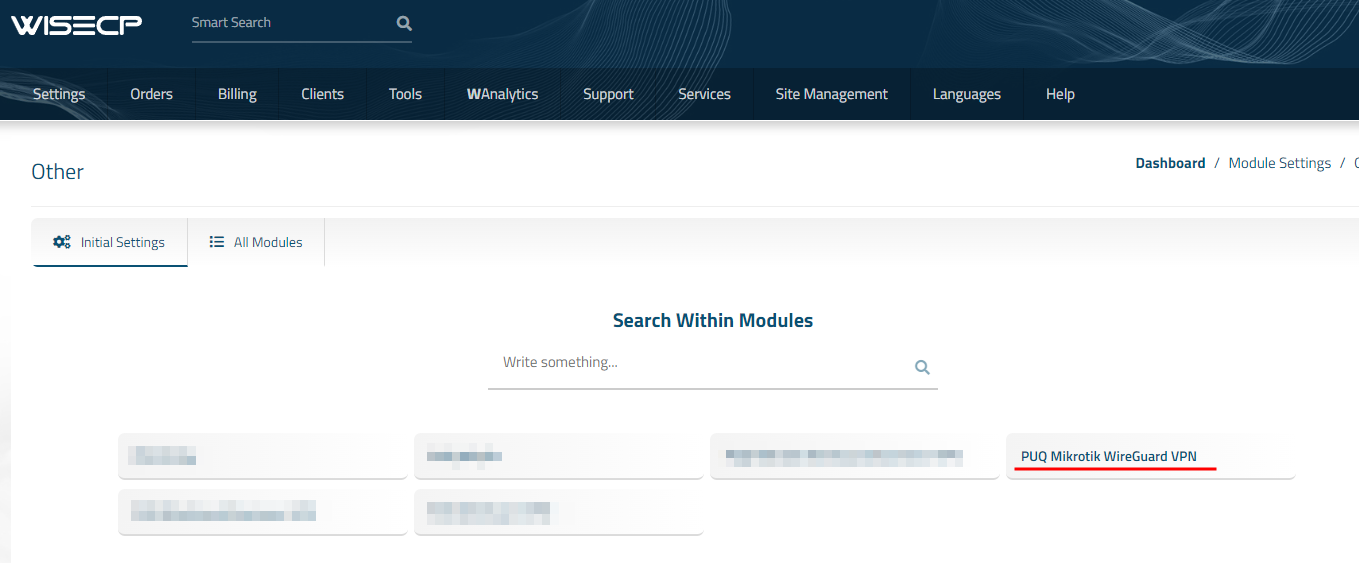](https://doc.puq.info/uploads/images/gallery/2023-11/image-1700908237215.png) ##### 3. On the open page, enter the purchased license key for this product and click the '**Check and Save**' button to validate the key and save it. [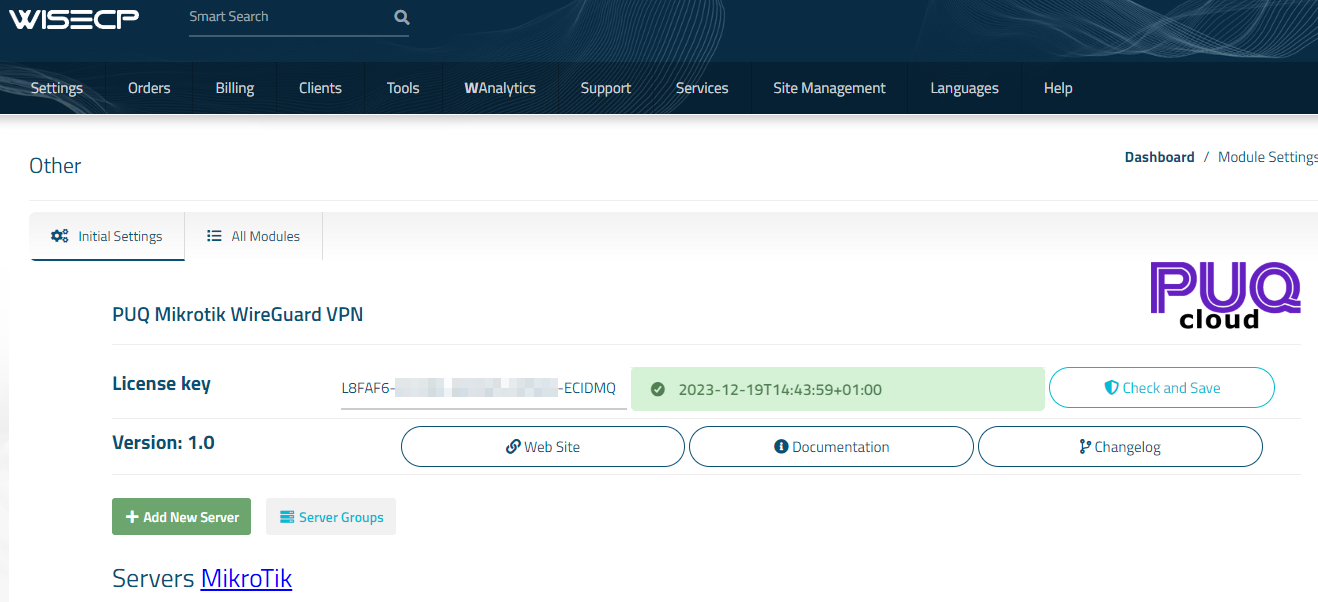](https://doc.puq.info/uploads/images/gallery/2023-11/image-1700908330652.png) ##### # Mikrotik preparation and configuration ### Mikrotik WireGuard VPN module **[WISECP](https://puqcloud.com/link.php?id=78)** ##### [Order now](https://puqcloud.com/index.php?rp=/store/wisecp-module-mikrotik-wireguard-vpn) | [Download](https://download.puqcloud.com/WISECP/Product/PUQ_WISECP-Mikrotik-WireGuard-VPN/) | [FAQ](https://faq.puqcloud.com/)Note: **Enter the following commands one by one and wait for the command to complete.**
##### Check RouterOS version**Make sure that the version of RouterOS is 7+**
```shell system/package/print ``` ##### ##### Enabling HTTPS Create your own root CA on your router ``` /certificate add name=LocalCA common-name=LocalCA key-usage=key-cert-sign,crl-sign ``` ##### ##### Sign the newly created CA certificate ``` /certificate sign LocalCA ``` ##### Create a new certificate for Webfig (non-root certificate)Note: as common-name=XXX.XXX.XXX.XXX You enter public IP adddress of the router.
``` /certificate add name=Webfig common-name=XXX.XXX.XXX.XXX ``` ##### ##### Sign the newly created certificate for Webfig ``` /certificate sign Webfig ca=LocalCA ``` ##### ##### Enable SSL (*www-ssl)* and specify to use the newly created certificate for Webfig ``` /ip service set www-ssl certificate=Webfig disabled=no ``` ##### ##### Enable api-ssl and specify to use the newly created certificate for Webfig ``` /ip service set api-ssl certificate=Webfig disabled=no ``` ##### ##### Enable WireGuard VPN server [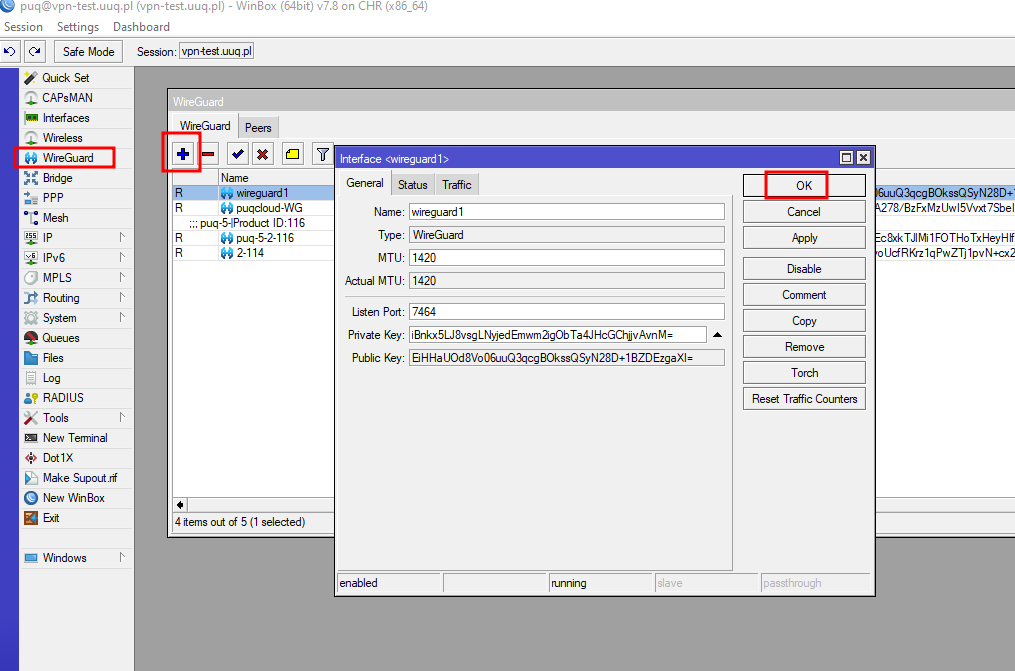](https://doc.puq.info/uploads/images/gallery/2023-11/image-1700908664667.png) ##### Add IP address on Wireguard interface [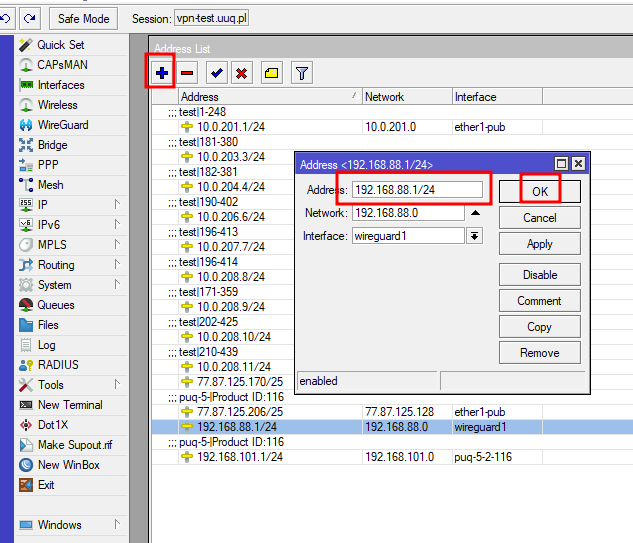](https://doc.puq.info/uploads/images/gallery/2023-11/image-1700908821470.png) ##### Configuring NAT rules on the firewall [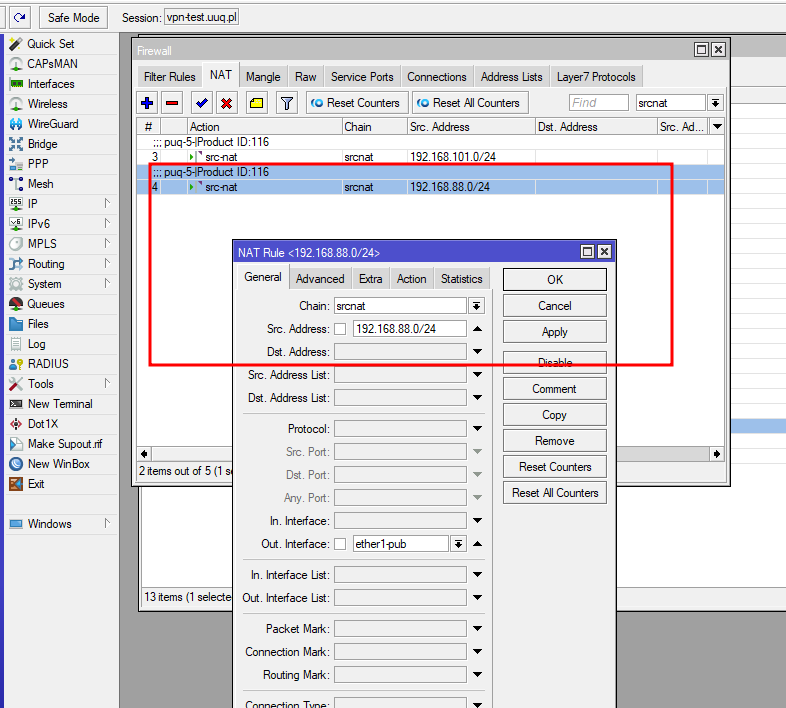](https://doc.puq.info/uploads/images/gallery/2023-11/image-1700908941106.png) # Add server (Mikrotik) in WISECP ### Mikrotik WireGuard VPN module **[WISECP](https://puqcloud.com/link.php?id=78)** ##### [Order now](https://puqcloud.com/index.php?rp=/store/wisecp-module-mikrotik-wireguard-vpn) | [Download](https://download.puqcloud.com/WISECP/Product/PUQ_WISECP-Mikrotik-WireGuard-VPN/) | [FAQ](https://faq.puqcloud.com/) ##### 1. Log in to the administrative area of your **[WISECP](https://puqcloud.com/link.php?id=78)**. ##### 2. Go to module configuration. ``` Services -> Service Management -> Module Settings -> Other -> All Modules -> PUQ Mikrotik WireGuard VPN ``` [](https://doc.puq.info/uploads/images/gallery/2023-11/image-1700485721333.png) [](https://doc.puq.info/uploads/images/gallery/2023-11/image-1700485726951.png) [](https://doc.puq.info/uploads/images/gallery/2023-11/image-1700485737918.png) [](https://doc.puq.info/uploads/images/gallery/2023-11/image-1700908237215.png) ##### ##### 3. In the opened page, click the '**Add Server**' button. [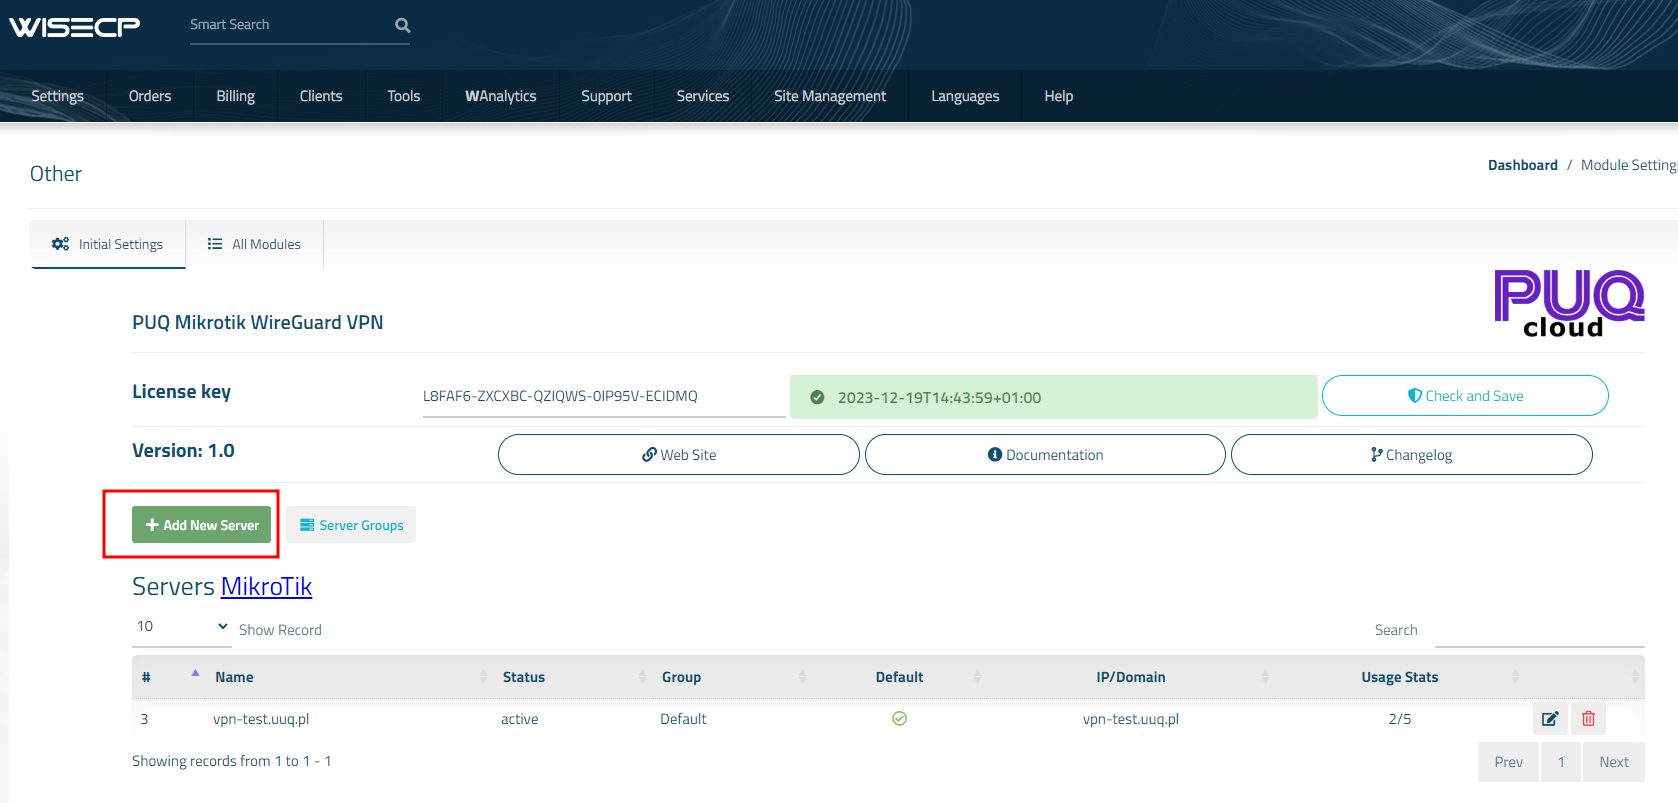](https://doc.puq.info/uploads/images/gallery/2023-11/image-1700912374796.png) ##### 4. On the opened page, enter all the necessary information: - **Name**: Displayed name of the server. - **Maximum Number of Accounts**: The number of services that can be on this server. - **Server Group**: Optionally, choose the server group. - **DNS 1 and DNS 2**: are DNS servers that will be specified in the configuration of WireGuard clients. - **Assigned IP Addresses**: a list of IP addresses that will be assigned to WireGuard VPN clients, with each address on a new line. - **IP Address or Domain**: The address of the [MikroTik](https://mikrotik.com/) router you are connecting to. - **Username:** is the username for the account on [MikroTik](https://mikrotik.com/). - **Password:** is the password for the account on [MikroTik](https://mikrotik.com/). - Check the **SSL** box if you want to use SSL-encrypted connection. If necessary, specify the port and perform a connection test. [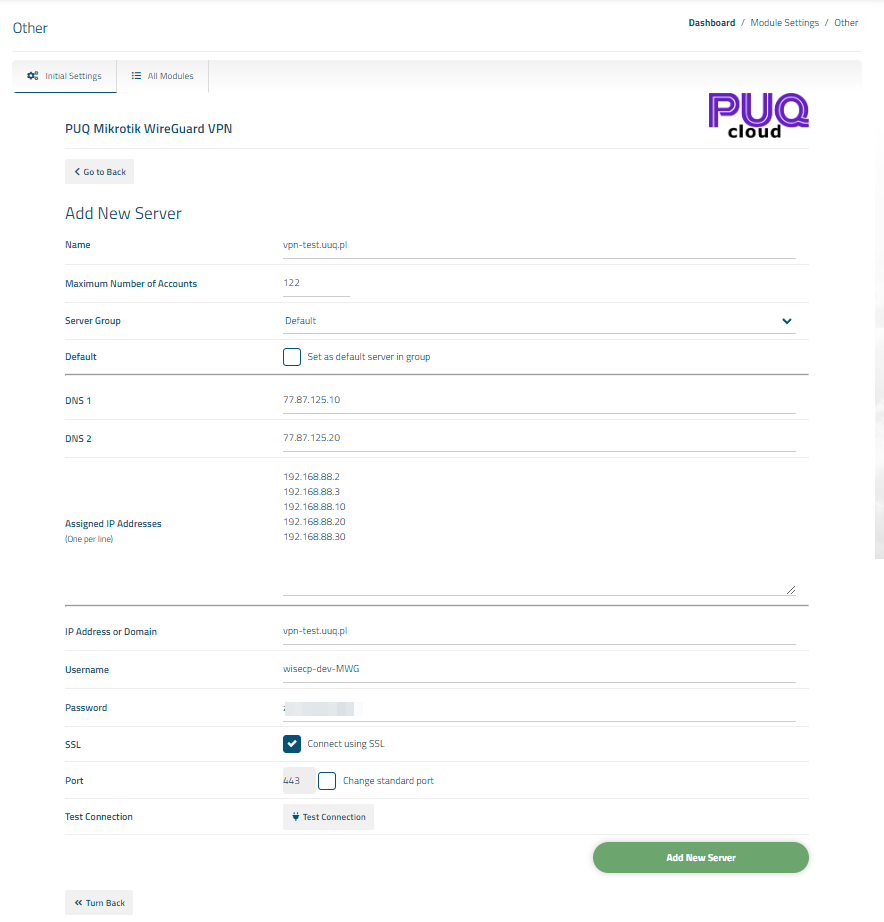](https://doc.puq.info/uploads/images/gallery/2023-11/image-1700912532762.png) #####If you do not have a **Service Group** where you want to place the new service, you need to create a new **Service Group**
##### 1. Log in to the administrative area of your **[WISECP](https://puqcloud.com/link.php?id=78)**. ##### 2. Create New Service Group Go to ``` Services -> Service Management -> Add Group ``` [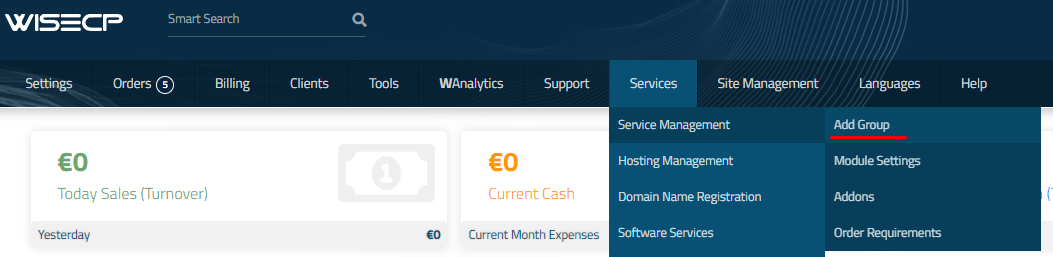](https://doc.puq.info/uploads/images/gallery/2023-11/image-1700487270737.png) Enter all the necessary data and click the '**Create Group**' button. [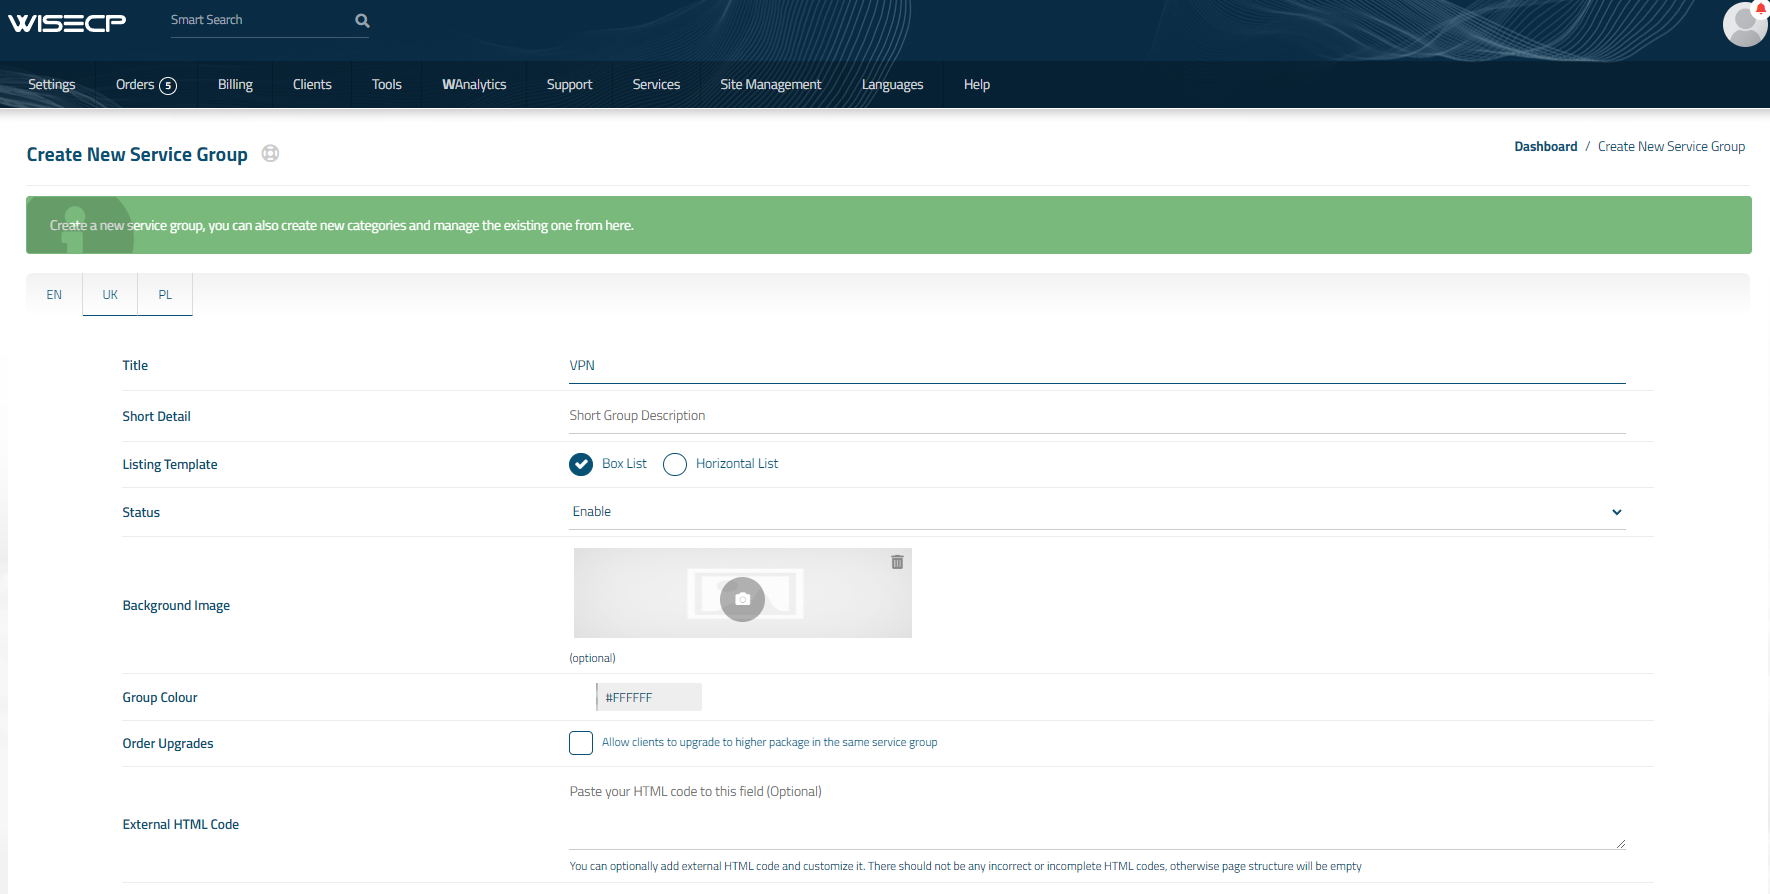](https://doc.puq.info/uploads/images/gallery/2023-11/image-1700487384497.png) ##### 3. Adding a New Service Go to ``` Services -> our service group where you need to add the new service. ``` [](https://doc.puq.info/uploads/images/gallery/2023-11/image-1700487595449.png) In the opened window, click the '**Create New Service**' button. [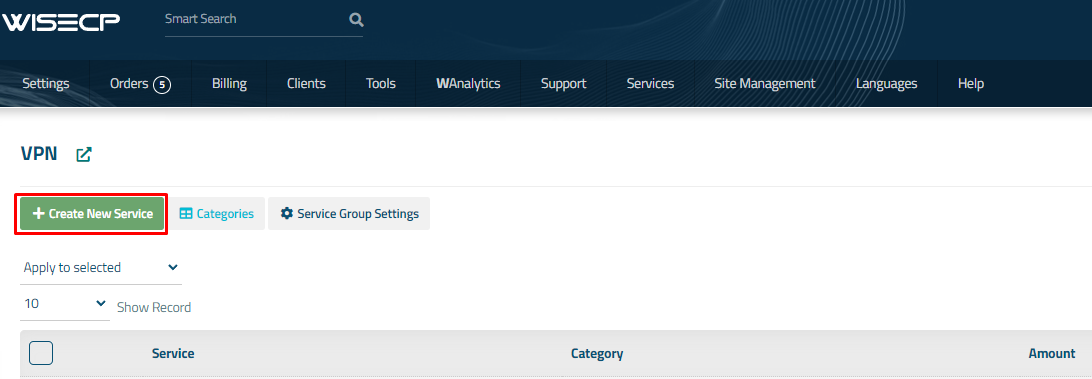](https://doc.puq.info/uploads/images/gallery/2023-11/image-1700487653237.png) On the opened page, enter all the necessary details for your new service and navigate to the '**Core**' tab. Select the '**PUQ Mikrotik WireGuard VPN**' module from the drop-down list of modules. [](https://doc.puq.info/uploads/images/gallery/2025-03/image-1743016508078.png) ##### 4. Fill in the configuration options according to your preferences. - **Server Group** is the group of servers from which a server will be chosen for provisioning the service - **WireGuard Server** is the name of the **WireGuard** server that was created in **[MikroTik](https://mikrotik.com/)****Attention:** The **WireGuard Server field** is updated only after saving or adding the service. You will need to revisit this section to select the **WireGuard Server** and save the service. Additionally, the **WireGuard Server** must be created on all servers within the group.
- **Bandwidth Download** and **Bandwidth Upload** represent the connection speed that will be restricted by these parameters, in megabits per second, respectively. - **Comment Prefix** will be added at the comment in **[MikroTik](https://mikrotik.com/)** - **Persistent Keepalive** and **AllowedIPs:** parameters of configuration WireGuard clients - **Tabs in Config -** Configuration file format with tabs or not - **MTU in Config -**Display MTU in config file - **Link to Instruction** Provide the link to the instruction for the service, and it will be displayed in the client area as a separate button - **Link to VPN Clients** Provide the link to the page for downloading VPN clients for the service, and it will be displayed in the client area as a separate button -