If you do not have a **Service Group** where you want to place the new service, you need to create a new **Service Group**
##### 1. Log in to the administrative area of your **[WISECP](https://puqcloud.com/link.php?id=78)**. ##### 2. Create New Service Group Go to ``` Services -> Service Management -> Add Group ``` [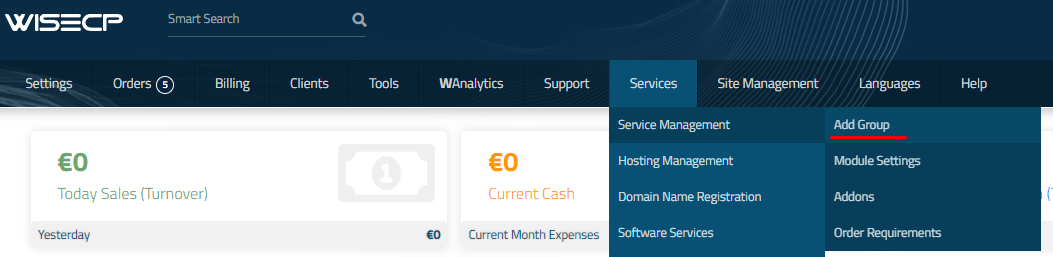](https://doc.puq.info/uploads/images/gallery/2023-11/image-1700487270737.png) Enter all the necessary data and click the '**Create Group**' button. [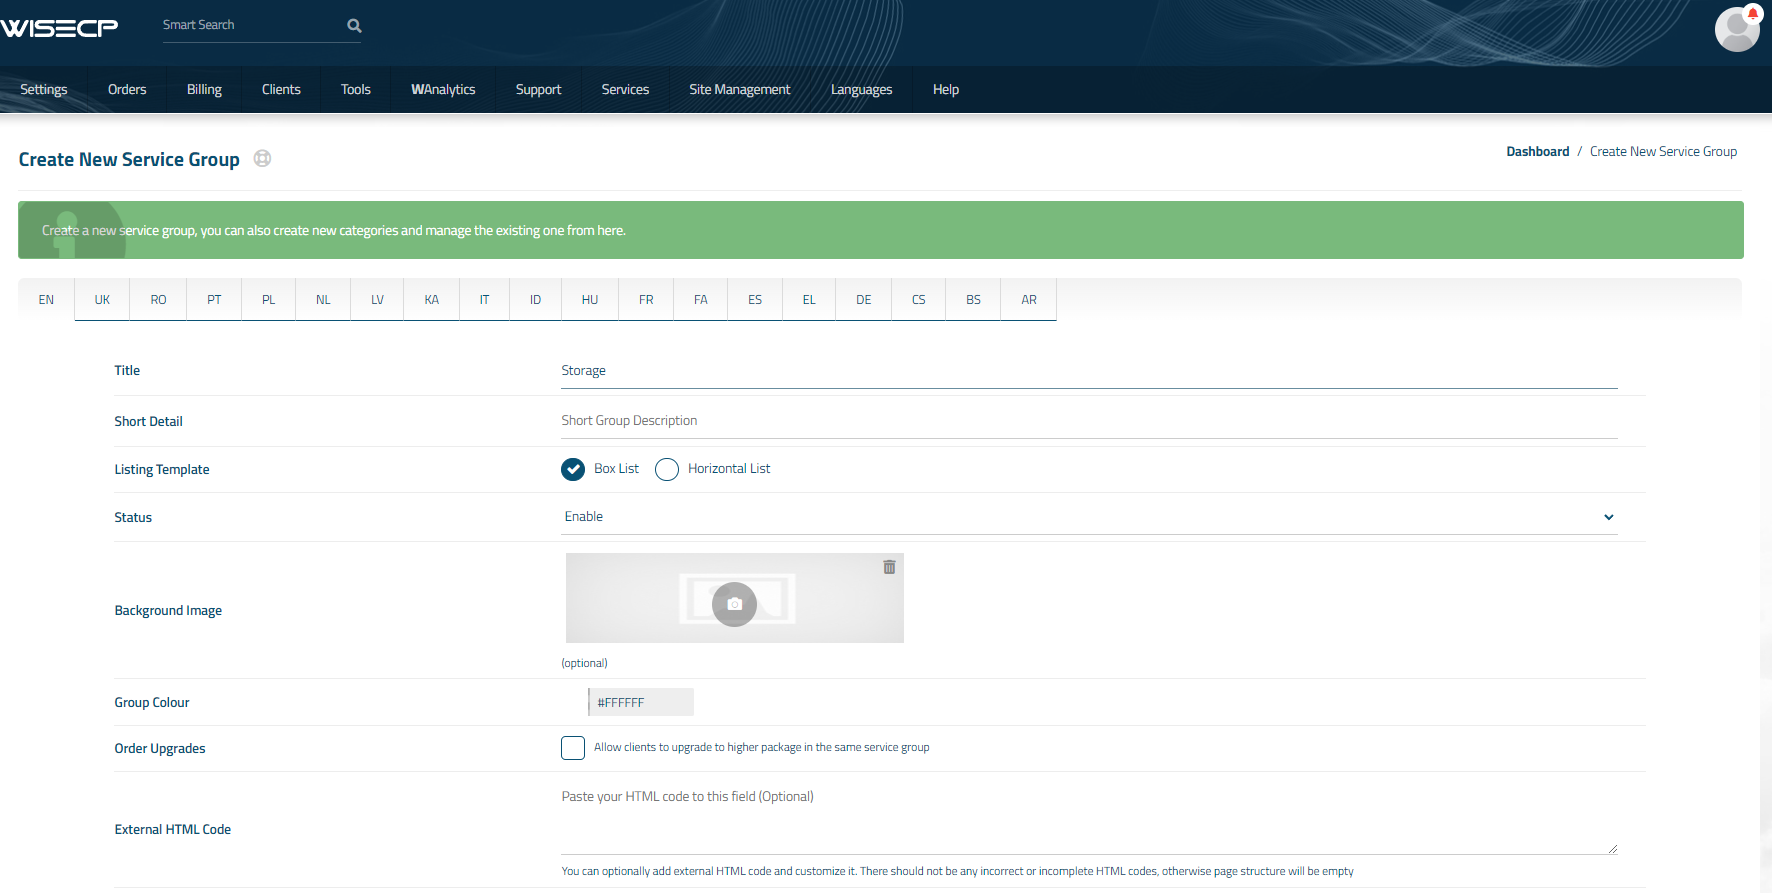](https://doc.puq.info/uploads/images/gallery/2023-12/image-1702214064247.png) ##### 3. Adding a New Service Go to ``` Services -> our service group where you need to add the new service. ``` [](https://doc.puq.info/uploads/images/gallery/2023-12/image-1702214168666.png) In the opened window, click the '**Create New Service**' button. [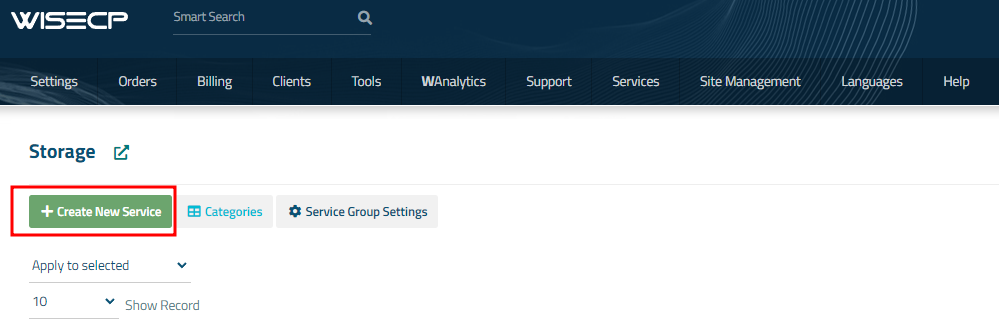](https://doc.puq.info/uploads/images/gallery/2023-12/image-1702214193287.png) On the opened page, enter all the necessary details for your new service and navigate to the '**Core**' tab. Select the '**PUQ Nextcloud**' module from the drop-down list of modules. [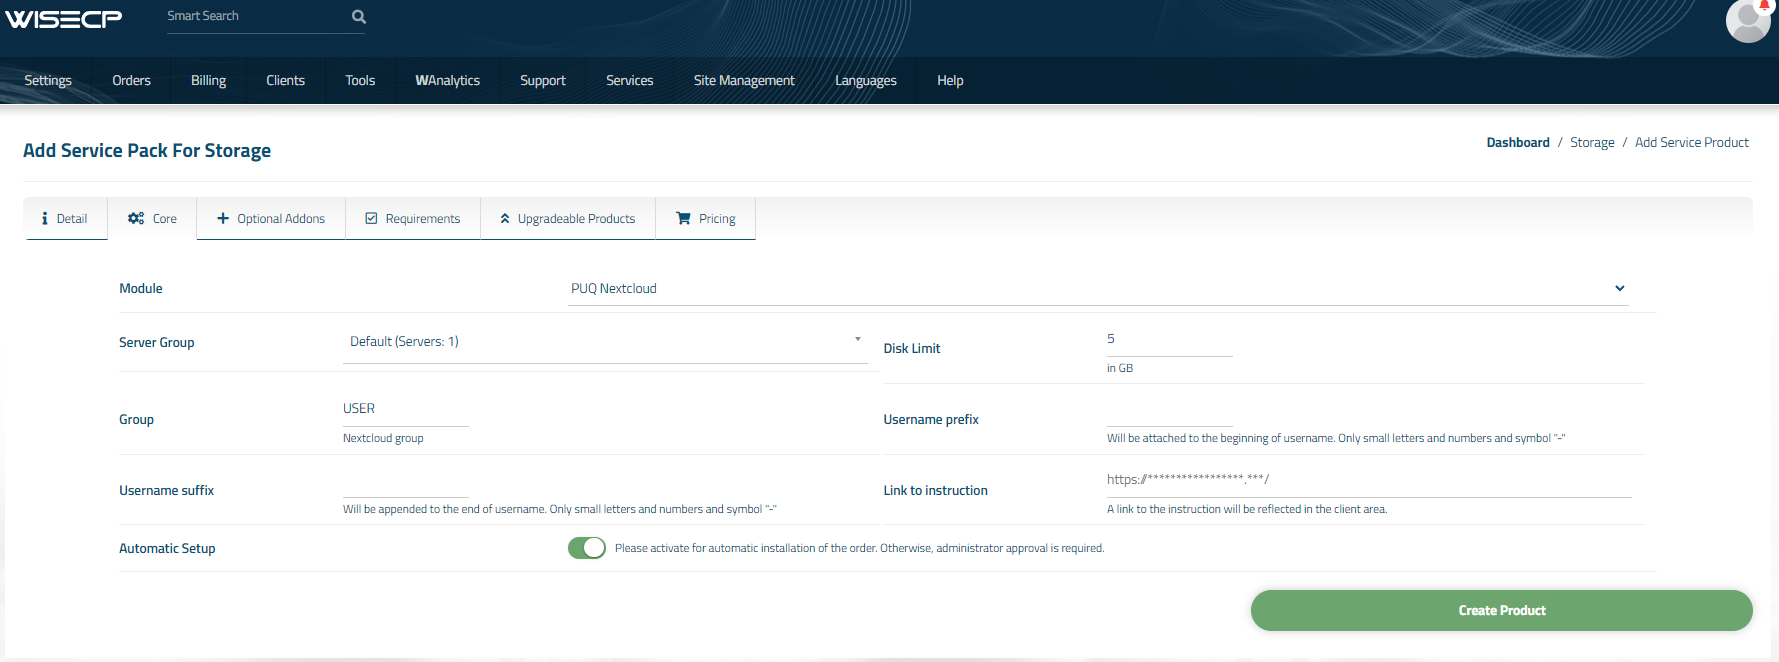](https://doc.puq.info/uploads/images/gallery/2023-12/image-1702214227957.png) ##### 4. Fill in the configuration options according to your preferences. - **Server Group** is the group of servers from which a server will be chosen for provisioning the service - **Disk Limit:** is the disk space quota that is issued to the user - **Group:** is the group that will be assigned to the user - **Username Prefix** will be added at the beginning of the username during user creation and is used for uniqueness - **Username Suffix** will be added at the end of the username during user creation and is also used for uniqueness - **Link to Instruction** Provide the link to the instruction for the service, and it will be displayed in the client area as a separate button - **Link to VPN Clients** Provide the link to the page for downloading VPN clients for the service, and it will be displayed in the client area as a separate button -