Installation and configuration guide
- Setup (install/update)
- License Activation
- Add server (ownCloud) in WISECP
- Service/Product configuration
Setup (install/update)
ownCloud module WISECP
Order now | Download | FAQ
To install and update a module, you must perform one and the same action.
1. Download the latest version of the module.
wget http://download.puqcloud.com/WISECP/Product/PUQ_WISECP-ownCloud/PUQ_WISECP-ownCloud-latest.zipAll versions are available: https://download.puqcloud.com/WISECP/Product/PUQ_WISECP-ownCloud/
2. Unzip the archive with the module.
unzip PUQ_WISECP-ownCloud-latest.zip3. Copy and Replace "puqownCloud" from "PUQ_WISECP-ownCloud" to "WISECP_WEB_DIR/coremio/modules/Product/"
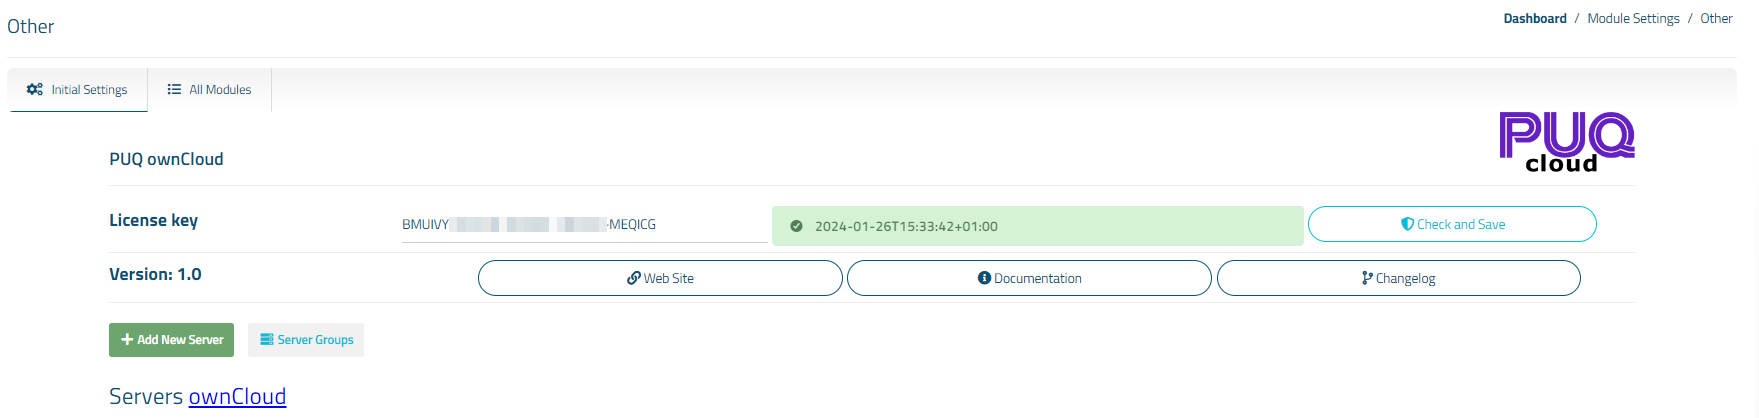
License Activation
ownCloud module WISECP
Order now | Download | FAQ
1. Log in to the administrative area of your WISECP.
2. Go to module configuration.
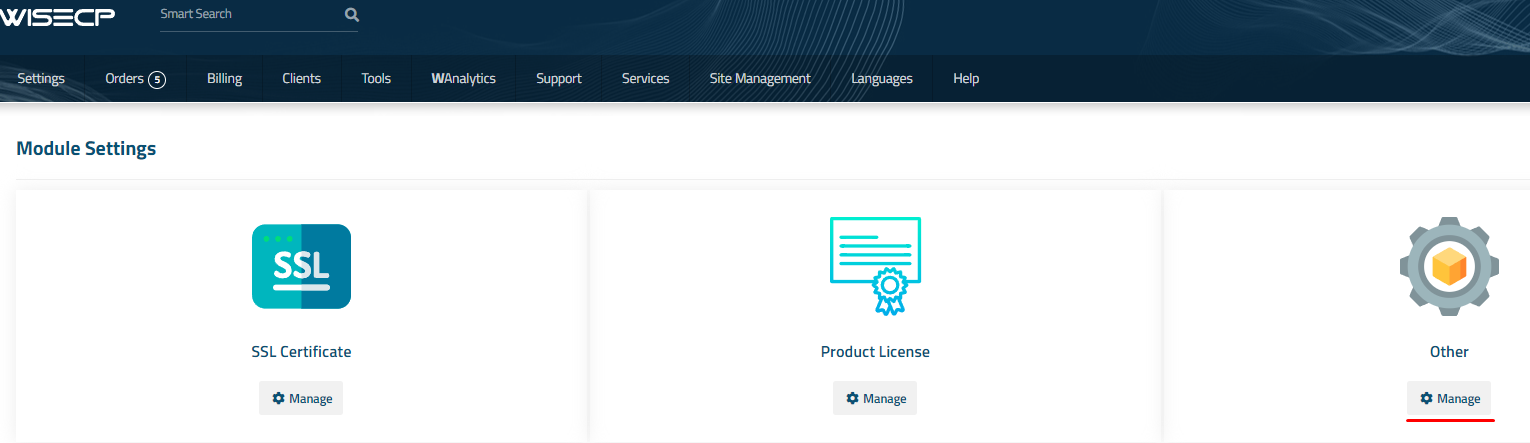
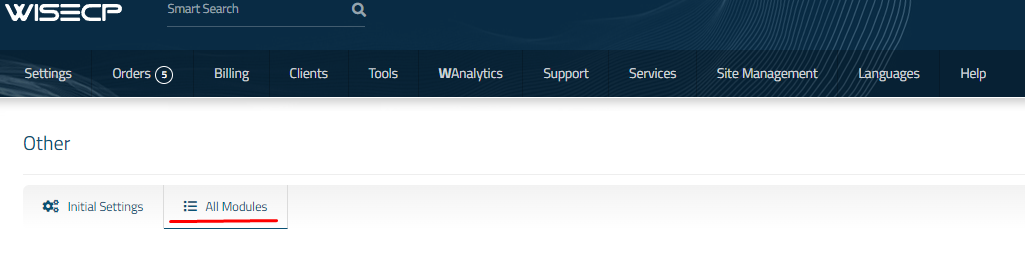
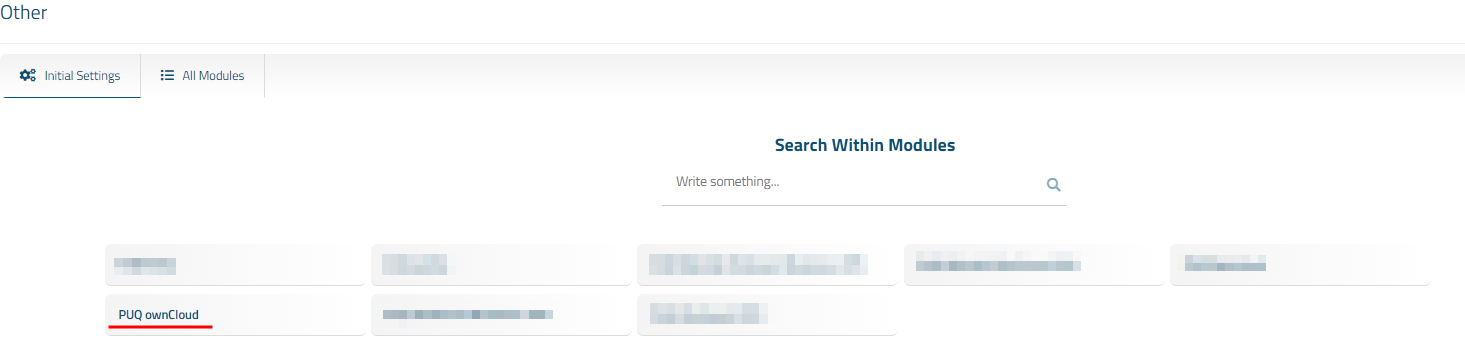
Services -> Service Management -> Module Settings -> Other -> All Modules -> PUQ ownCloud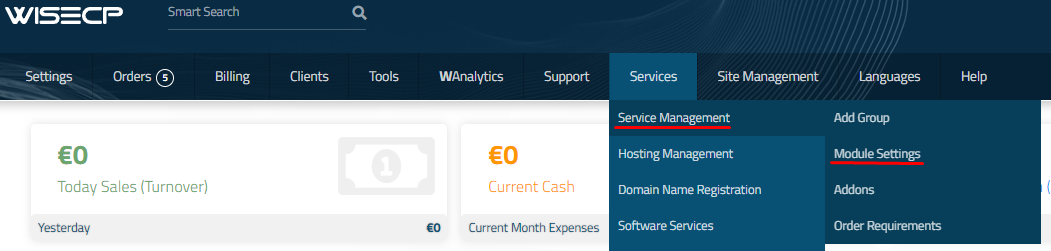
3. On the open page, enter the purchased license key for this product and click the 'Check and Save' button to validate the key and save it.
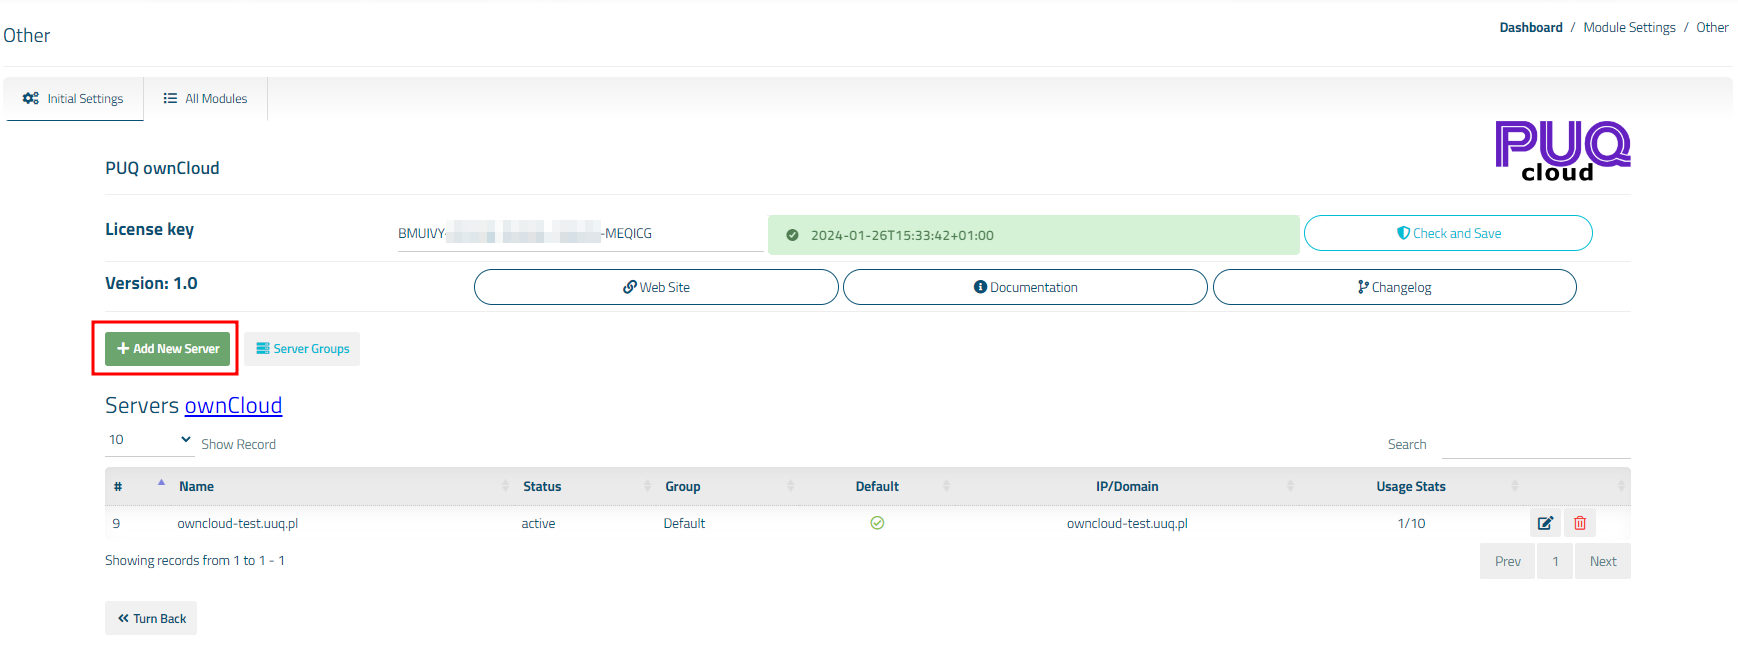
Add server (ownCloud) in WISECP
ownCloud module WISECP
Order now | Download | FAQ
1. Log in to the administrative area of your WISECP.
2. Go to module configuration.
Services -> Service Management -> Module Settings -> Other -> All Modules -> PUQ ownCloud

3. In the opened page, click the 'Add Server' button.
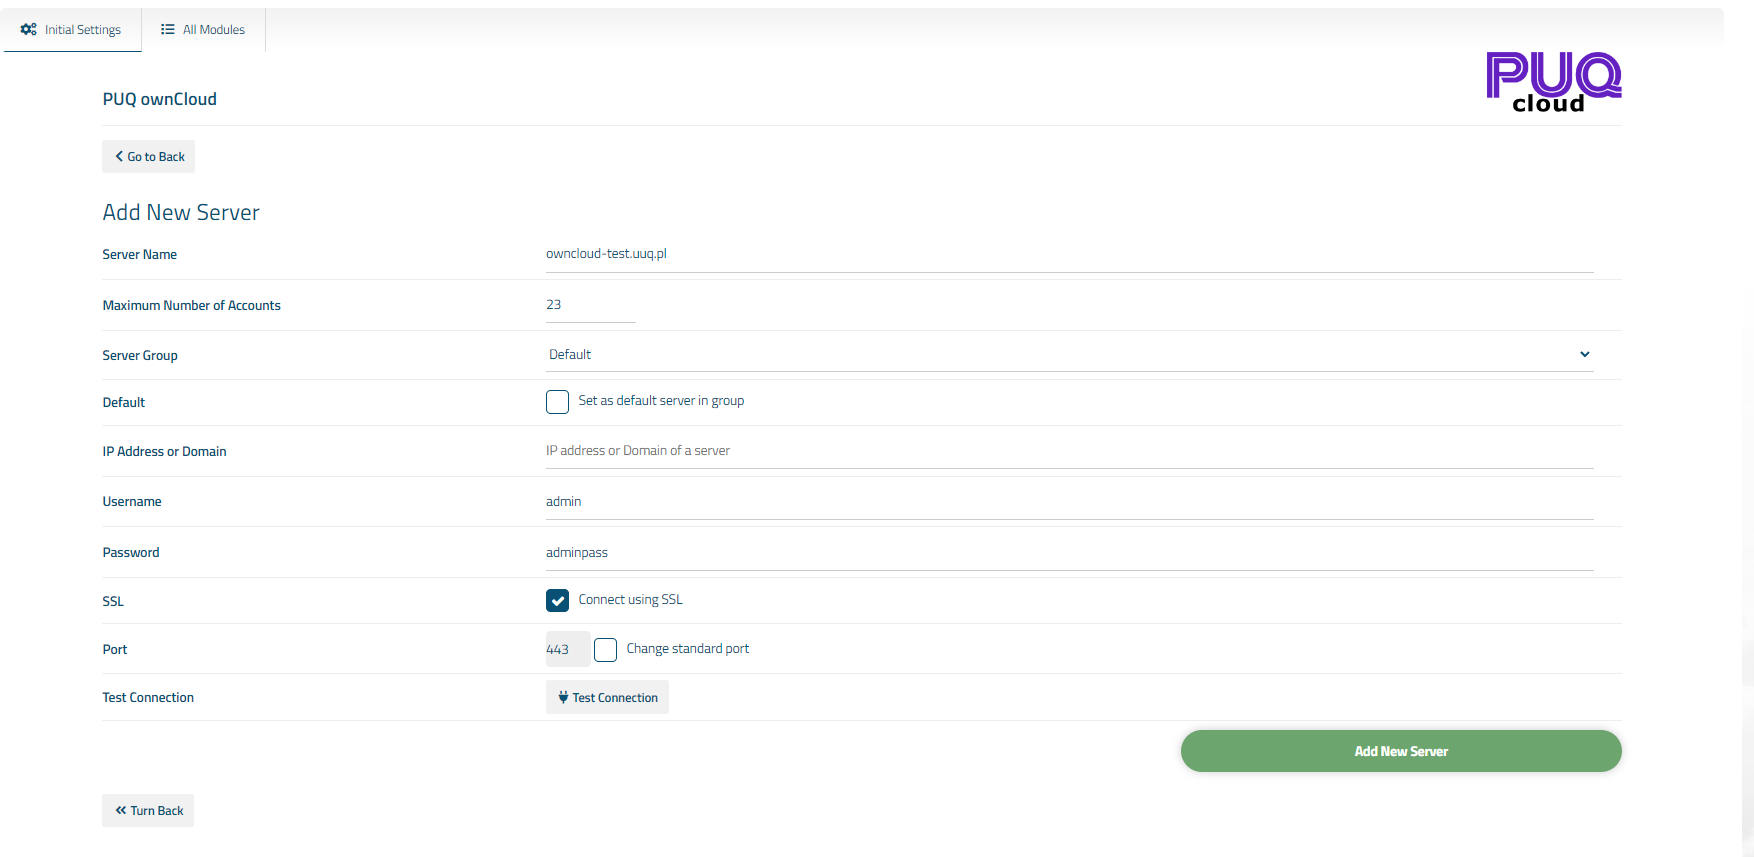
4. On the opened page, enter all the necessary information:
- Name: Displayed name of the server.
- Maximum Number of Accounts: The number of services that can be on this server.
- Server Group: Optionally, choose the server group.
- IP Address or Domain: The address of the ownCloud server you are connecting to.
- Username/Password: Username and Password on the ownCloud server.
- Check the SSL box if you want to use SSL-encrypted connection. If necessary, specify the port and perform a connection test.

Service/Product configuration
ownCloud module WISECP
Order now | Download | FAQ
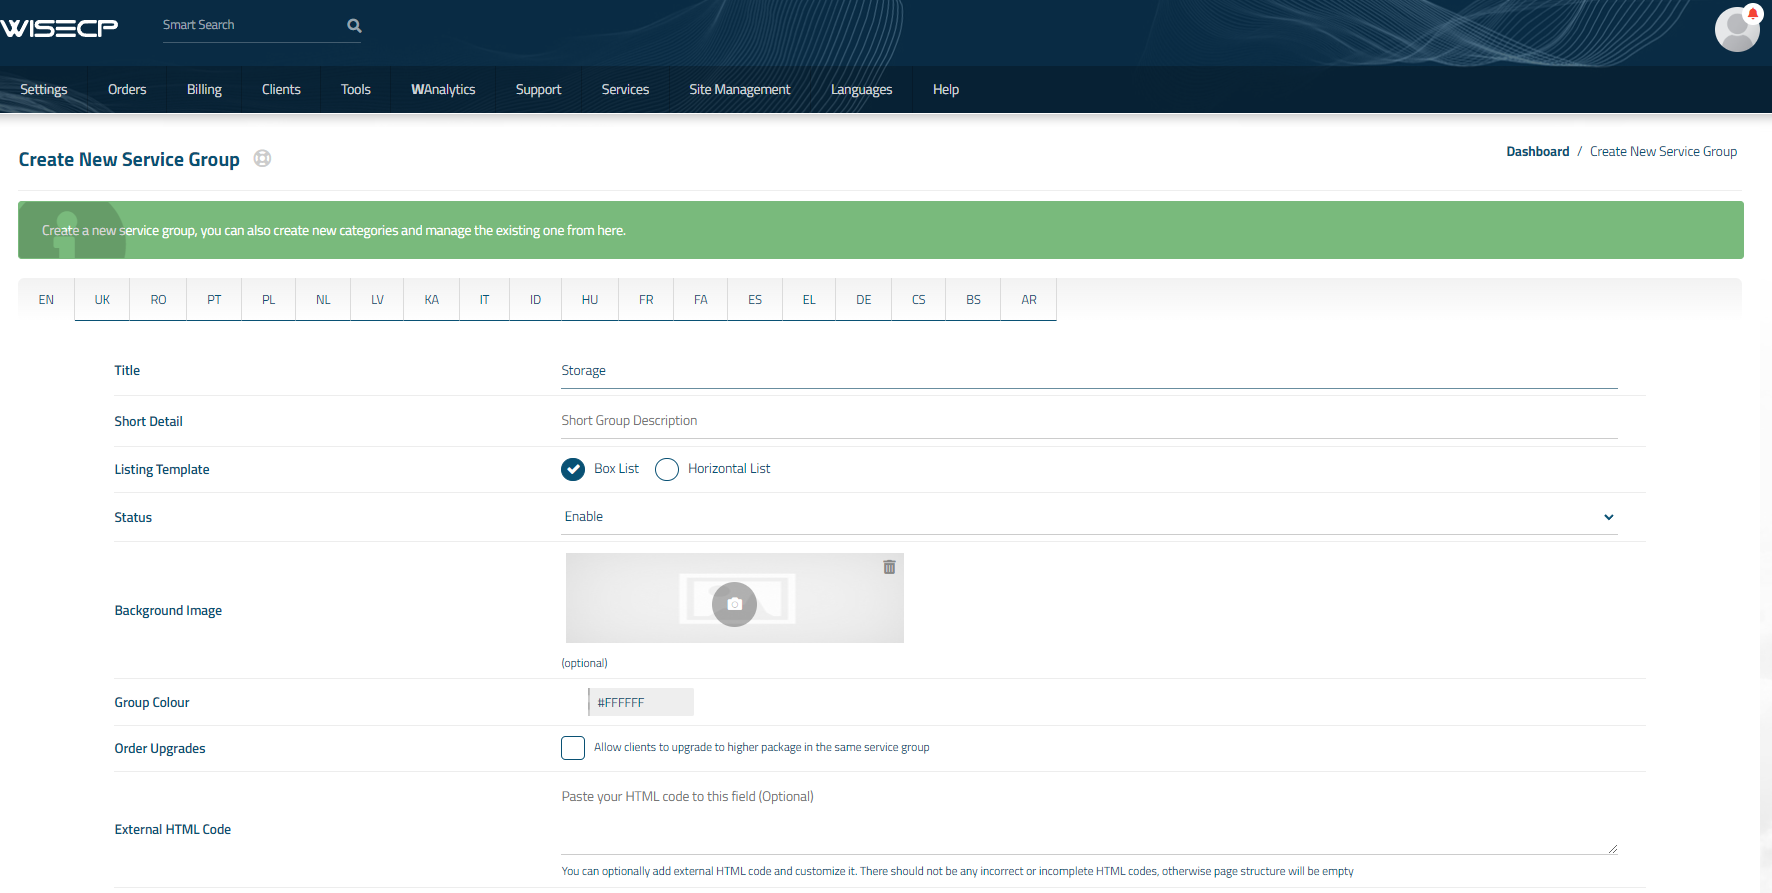
If you do not have a Service Group where you want to place the new service, you need to create a new Service Group
1. Log in to the administrative area of your WISECP.
2. Create New Service Group
Go to
Services -> Service Management -> Add Group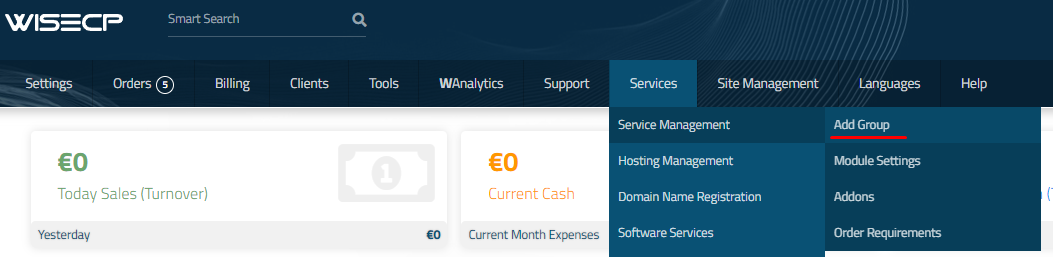
Enter all the necessary data and click the 'Create Group' button.
3. Adding a New Service
Go to
Services -> our service group where you need to add the new service.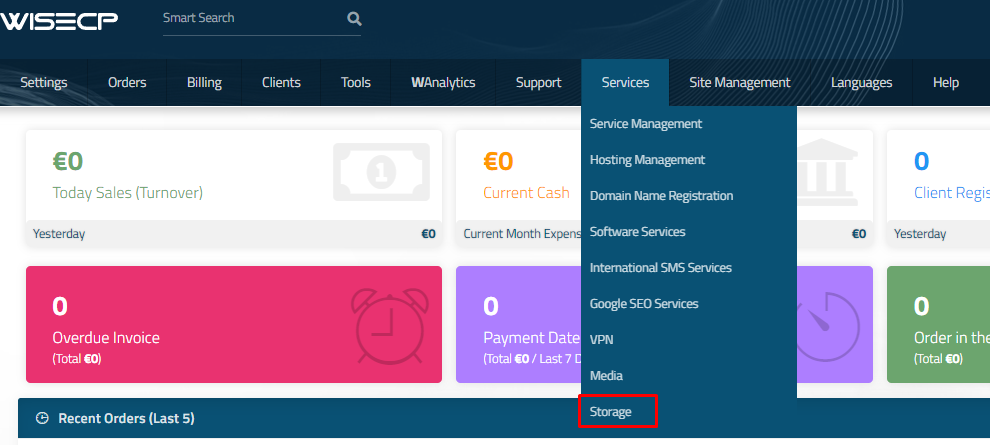
In the opened window, click the 'Create New Service' button.
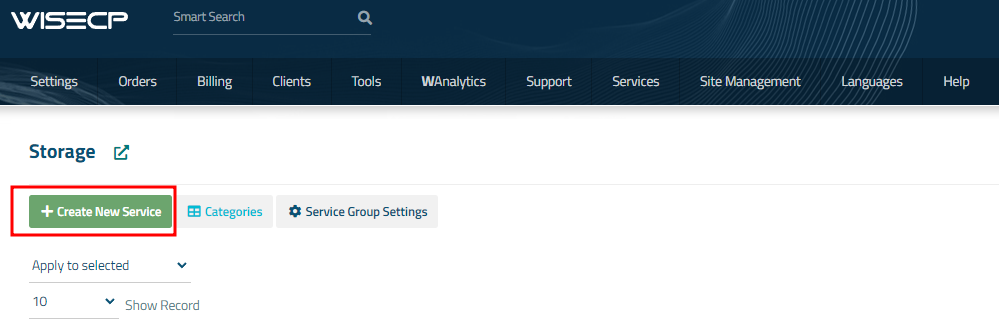
On the opened page, enter all the necessary details for your new service and navigate to the 'Core' tab.
Select the 'PUQ ownCloud' module from the drop-down list of modules.

4. Fill in the configuration options according to your preferences.
- Server Group is the group of servers from which a server will be chosen for provisioning the service
- Disk Limit: is the disk space quota that is issued to the user
- Group: is the group that will be assigned to the user
- Username Prefix will be added at the beginning of the username during user creation and is used for uniqueness
- Username Suffix will be added at the end of the username during user creation and is also used for uniqueness
-
Link to Instruction Provide the link to the instruction for the service, and it will be displayed in the client area as a separate button
-
Link to VPN Clients Provide the link to the page for downloading VPN clients for the service, and it will be displayed in the client area as a separate button
-
Automatic Setup Please activate for automatic installation of the order. Otherwise, administrator approval is required.