# ownCloud WISECP module
# Description
### ownCloud module **[WISECP](https://puqcloud.com/link.php?id=78)**
##### [Order now](https://puqcloud.com/index.php?rp=/store/wisecp-module-owncloud) | [Download](https://download.puqcloud.com/WISECP/Product/PUQ_WISECP-ownCloud/) | [FAQ](https://faq.puqcloud.com/)
**Requirements**
WISECP: v3.1.5+, php: v8.x, Ioncube: V12+
ownCloud 10.13 +
### Preface
Thanks to the module, the company is able to offer public cloud services to its customers based on ownCloud accounts.
The module is used to create customer accounts on the previously prepared ownCloud server. The module enables You to define multiple public cloud packages and sell them at different prices. The module creates a customer account according to the selected package. The client can have many independent accounts in the cloud.
For the correct operation of the module, a pre-prepared ownCloud installation is required (the module does not assist in the installation of the ownCloud server and assumes that such installation is ready for operation through API.) Module use ownCloud API to manage clients account.
We have prepared a detailed installation manual for the module, including all the steps needed to implement the module, including the preparation of the ownCloud server, including all installation steps such as NGNIX, PHP, ownCloud, SSL certificates etc.
### Functions:
- Auto create and deploy client account
- The module uses only the API to manage the accounts
- Module supports multilingualism **(Arabic, Bosnian, Czech, German, Greek, English, Spanish, Persian, French, Hungarian, Indonesian, Italian, Georgian, Latvian, Dutch, Polish, Portuguese, Romanian, Ukrainian)**
- The module shows the current data usage by the user
- Link to instructions for setting up the service in the client area.
### Available options in the admin panel:
- Create users
- Suspend users
- Terminate users
- Unsuspend users
- Change users password
- Change Package
- API connection status
- ownCloud Disk status
- Change the ownCloud user password
- ownCloud Disk status
To install and update a module, you must perform one and the same action.
#####
##### 1. Download the latest version of the module.
```Powershell
wget http://download.puqcloud.com/WISECP/Product/PUQ_WISECP-ownCloud/PUQ_WISECP-ownCloud-latest.zip
```
All versions are available: [https://download.puqcloud.com/WISECP/Product/PUQ\_WISECP-ownCloud/](https://download.puqcloud.com/WISECP/Product/PUQ_WISECP-ownCloud)
#####
##### 2. Unzip the archive with the module.
```Powershell
unzip PUQ_WISECP-ownCloud-latest.zip
```
#####
##### 3. Copy and Replace "puqownCloud" from "PUQ\_WISECP-ownCloud" to "WISECP\_WEB\_DIR/coremio/modules/Product/"
# License Activation
### ownCloud module **[WISECP](https://puqcloud.com/link.php?id=78)**
##### [Order now](https://puqcloud.com/index.php?rp=/store/wisecp-module-owncloud) | [Download](https://download.puqcloud.com/WISECP/Product/PUQ_WISECP-ownCloud/) | [FAQ](https://faq.puqcloud.com/)
##### 1. Log in to the administrative area of your **[WISECP](https://puqcloud.com/link.php?id=78)**.
#####
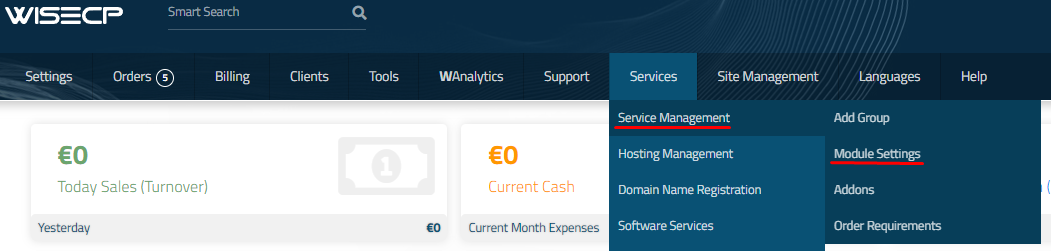
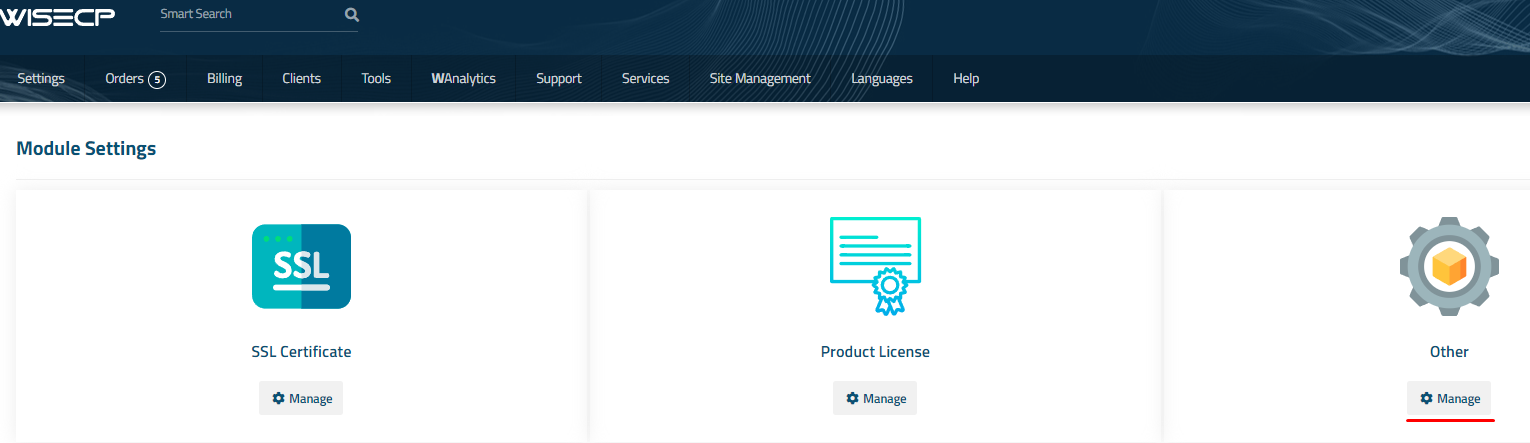
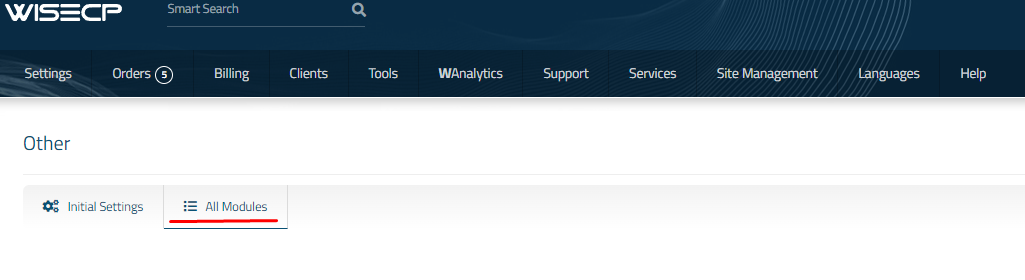
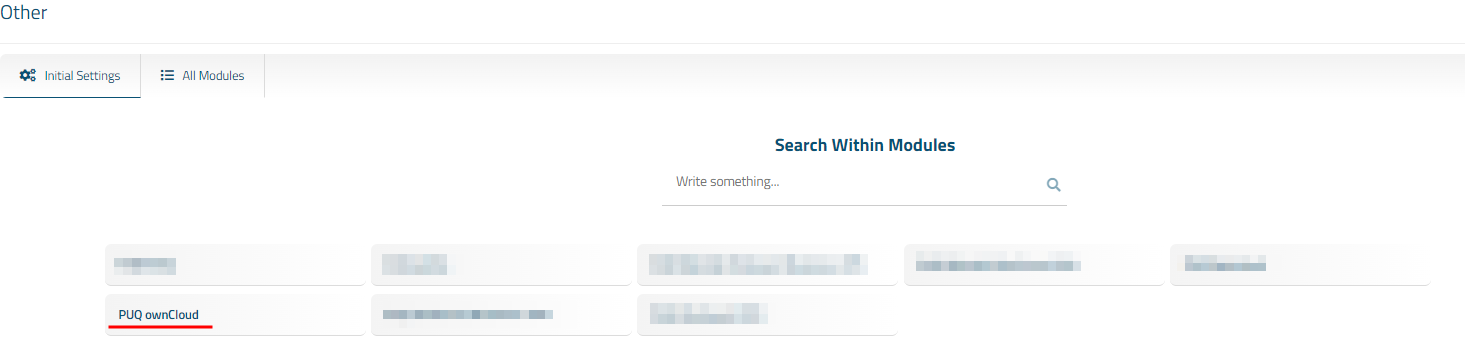
2. Go to module configuration.
```
Services -> Service Management -> Module Settings -> Other -> All Modules -> PUQ ownCloud
```
[](https://doc.puq.info/uploads/images/gallery/2023-11/image-1700485721333.png)
[](https://doc.puq.info/uploads/images/gallery/2023-11/image-1700485726951.png)
[](https://doc.puq.info/uploads/images/gallery/2023-11/image-1700485737918.png)
[](https://doc.puq.info/uploads/images/gallery/2023-12/image-1703614894116.png)
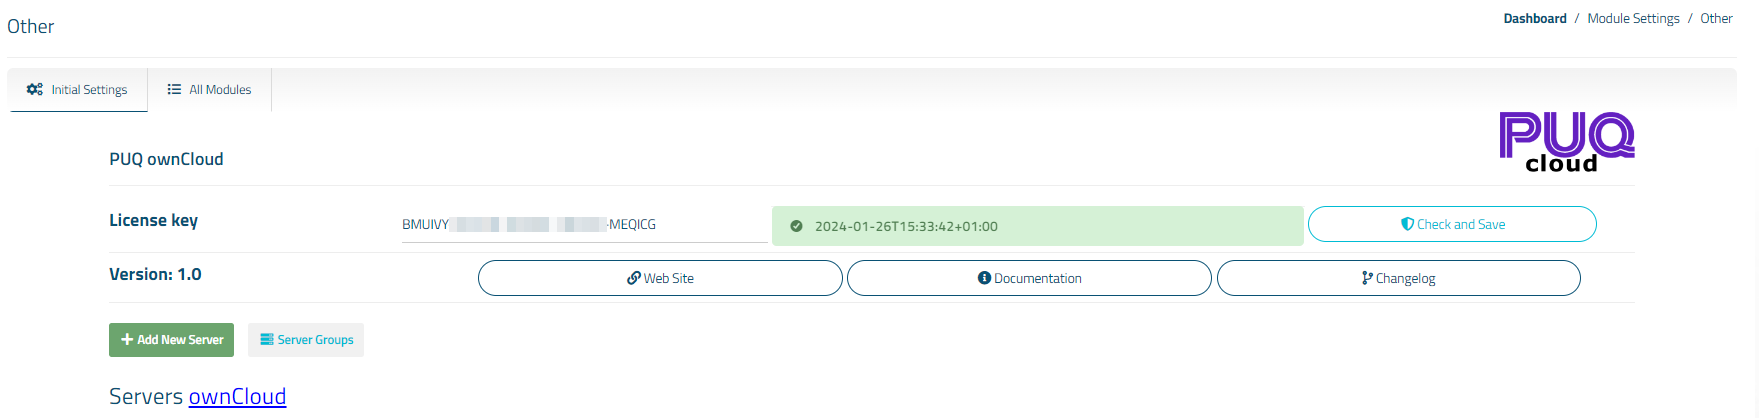
##### 3. On the open page, enter the purchased license key for this product and click the '**Check and Save**' button to validate the key and save it.
[](https://doc.puq.info/uploads/images/gallery/2023-12/image-1703614921138.png)
# Add server (ownCloud) in WISECP
### ownCloud module **[WISECP](https://puqcloud.com/link.php?id=78)**
##### [Order now](https://puqcloud.com/index.php?rp=/store/wisecp-module-owncloud) | [Download](https://download.puqcloud.com/WISECP/Product/PUQ_WISECP-ownCloud/) | [FAQ](https://faq.puqcloud.com/)
##### 1. Log in to the administrative area of your **[WISECP](https://puqcloud.com/link.php?id=78)**.
#####
2. Go to module configuration.
```
Services -> Service Management -> Module Settings -> Other -> All Modules -> PUQ ownCloud
```
[](https://doc.puq.info/uploads/images/gallery/2023-11/image-1700485721333.png)
[](https://doc.puq.info/uploads/images/gallery/2023-11/image-1700485726951.png)
[](https://doc.puq.info/uploads/images/gallery/2023-11/image-1700485737918.png)
[](https://doc.puq.info/uploads/images/gallery/2023-12/image-1703615118692.png)
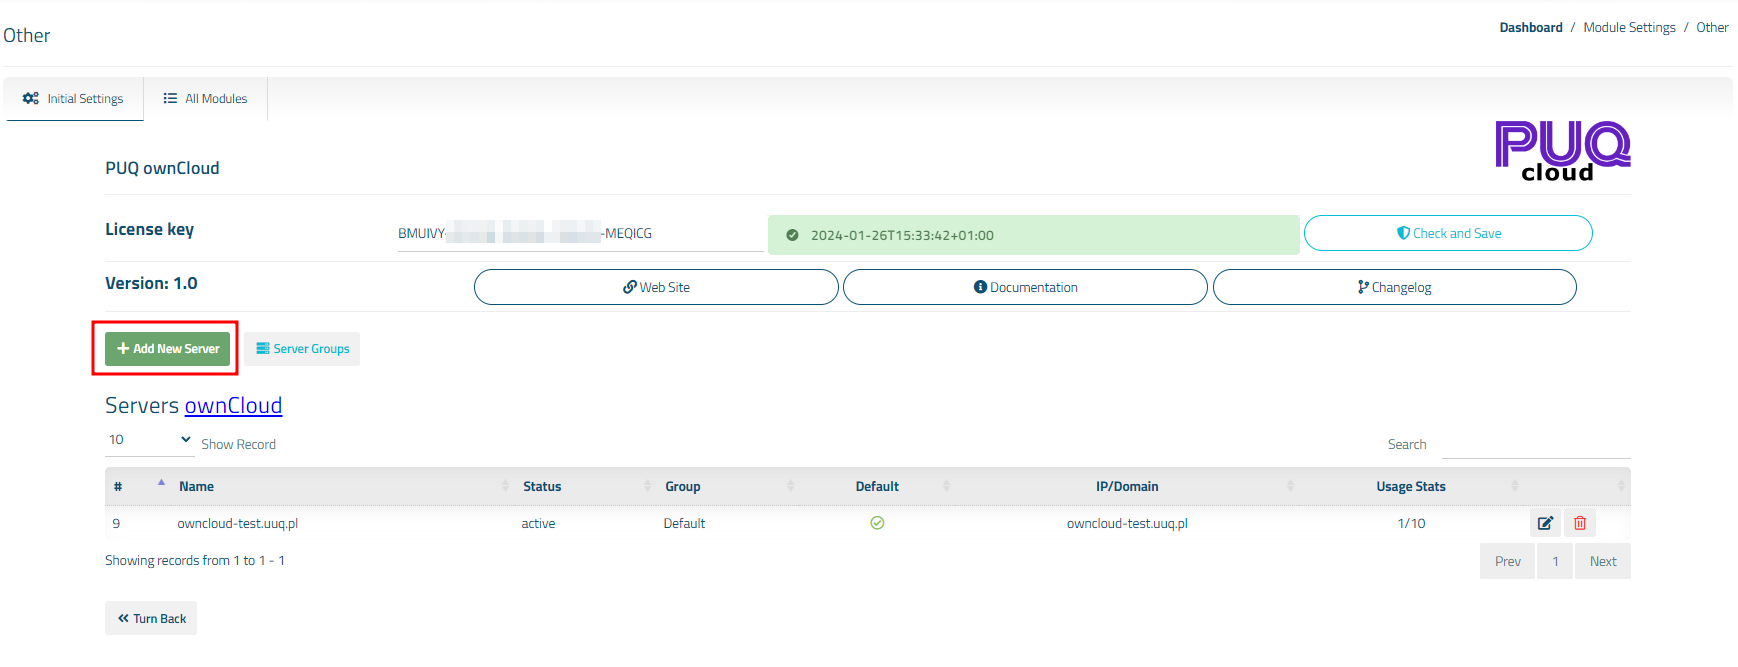
##### 3. In the opened page, click the '**Add Server**' button.
[](https://doc.puq.info/uploads/images/gallery/2023-12/image-1703615171650.png)
#####
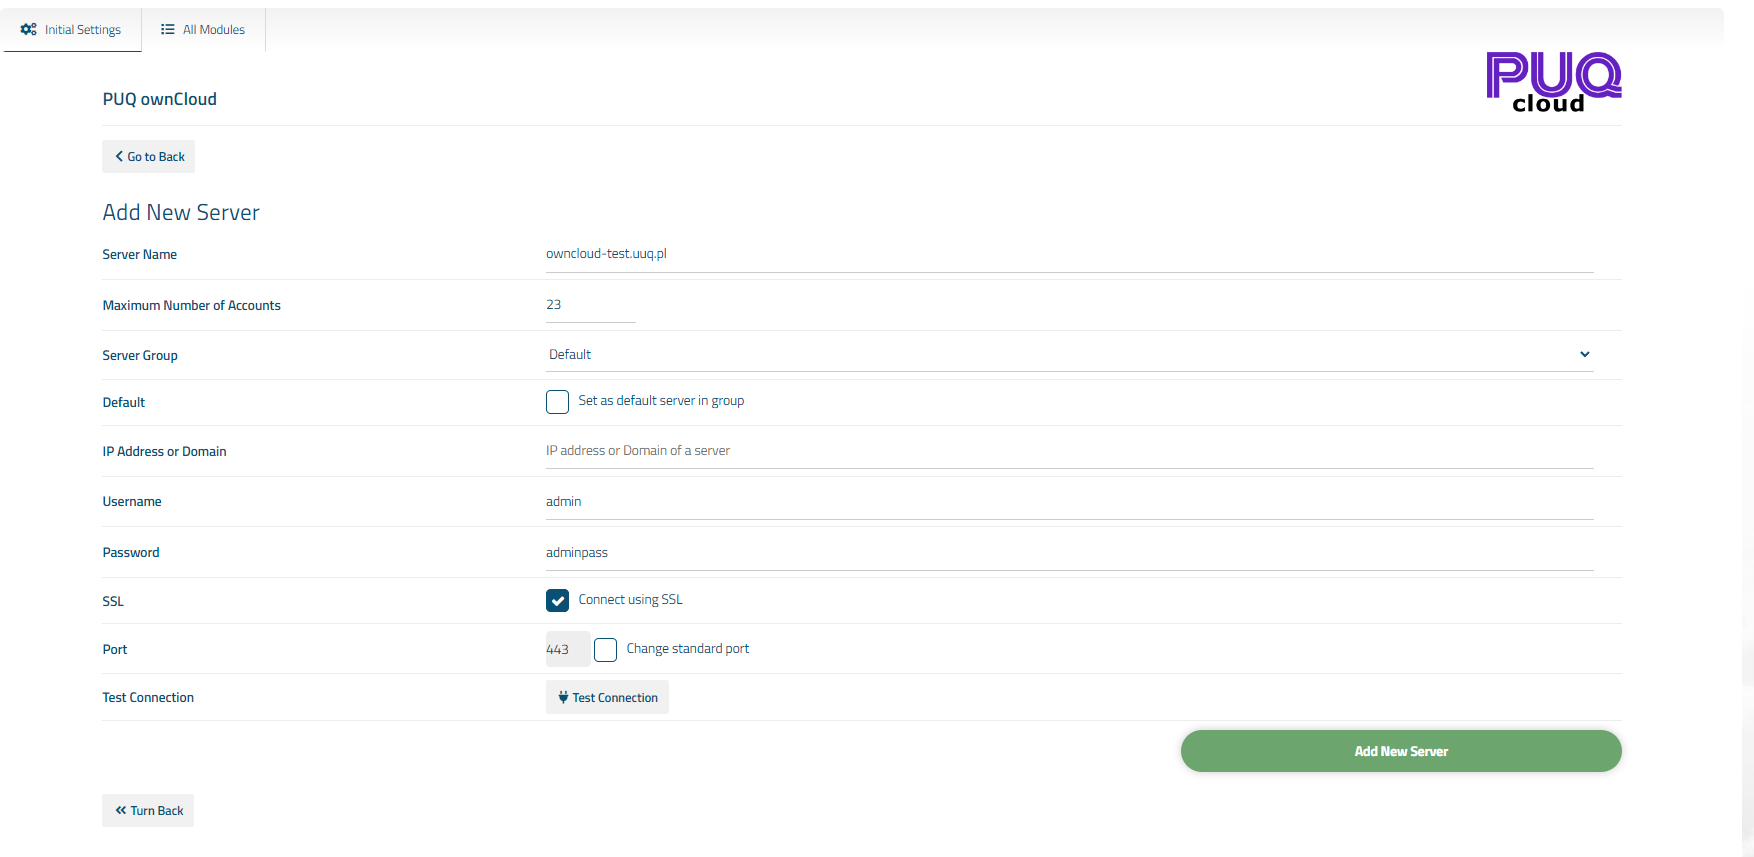
##### 4. On the opened page, enter all the necessary information:
- **Name**: Displayed name of the server.
- **Maximum Number of Accounts**: The number of services that can be on this server.
- **Server Group**: Optionally, choose the server group.
- **IP Address or Domain**: The address of the ownCloud server you are connecting to.
- **Username/Password**: Username and Password on the ownCloud server.
- Check the **SSL** box if you want to use SSL-encrypted connection. If necessary, specify the port and perform a connection test.
[](https://doc.puq.info/uploads/images/gallery/2023-12/image-1703615218695.png)
# Service/Product configuration
### ownCloud module **[WISECP](https://puqcloud.com/link.php?id=78)**
##### [Order now](https://puqcloud.com/index.php?rp=/store/wisecp-module-owncloud) | [Download](https://download.puqcloud.com/WISECP/Product/PUQ_WISECP-ownCloud/) | [FAQ](https://faq.puqcloud.com/)
If you do not have a **Service Group** where you want to place the new service, you need to create a new **Service Group**
##### 1. Log in to the administrative area of your **[WISECP](https://puqcloud.com/link.php?id=78)**.
##### 2. Create New Service Group
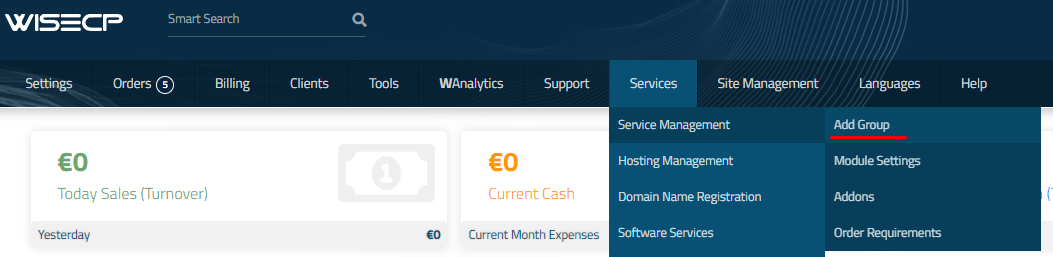
Go to
```
Services -> Service Management -> Add Group
```
[](https://doc.puq.info/uploads/images/gallery/2023-11/image-1700487270737.png)
Enter all the necessary data and click the '**Create Group**' button.
[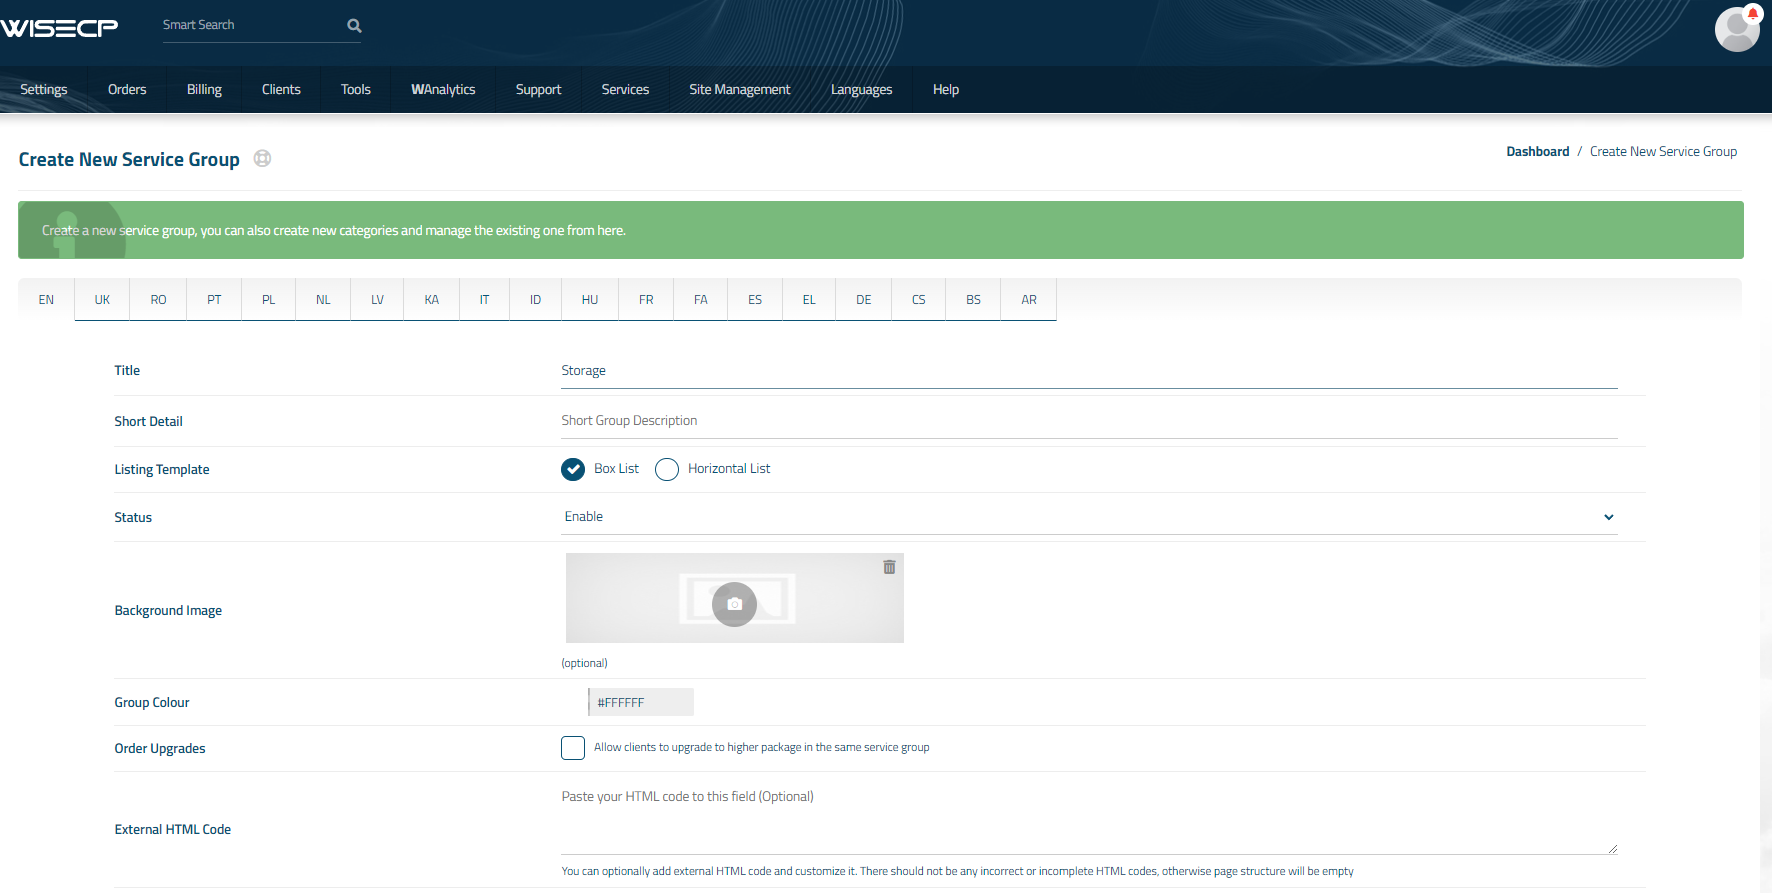](https://doc.puq.info/uploads/images/gallery/2023-12/image-1702214064247.png)
##### 3. Adding a New Service
Go to
```
Services -> our service group where you need to add the new service.
```
[](https://doc.puq.info/uploads/images/gallery/2023-12/image-1702214168666.png)
In the opened window, click the '**Create New Service**' button.
[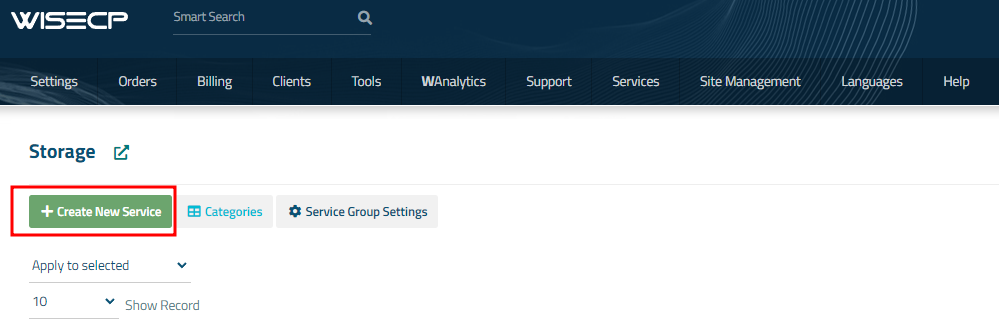](https://doc.puq.info/uploads/images/gallery/2023-12/image-1702214193287.png)
On the opened page, enter all the necessary details for your new service and navigate to the '**Core**' tab.
Select the '**PUQ ownCloud**' module from the drop-down list of modules.
[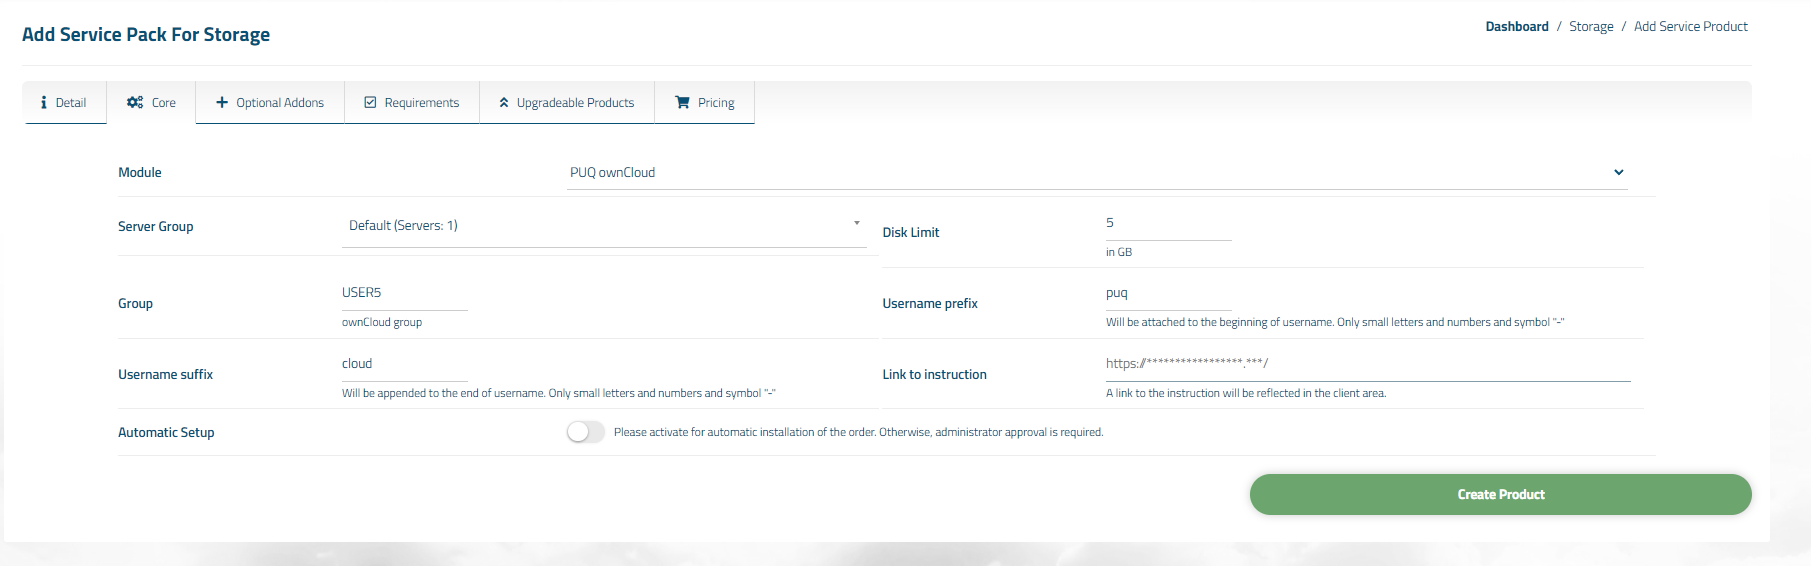](https://doc.puq.info/uploads/images/gallery/2023-12/image-1703615431642.png)
##### 4. Fill in the configuration options according to your preferences.
- **Server Group** is the group of servers from which a server will be chosen for provisioning the service
- **Disk Limit:** is the disk space quota that is issued to the user
- **Group:** is the group that will be assigned to the user
- **Username Prefix** will be added at the beginning of the username during user creation and is used for uniqueness
- **Username Suffix** will be added at the end of the username during user creation and is also used for uniqueness
- **Link to Instruction** Provide the link to the instruction for the service, and it will be displayed in the client area as a separate button
- **Link to VPN Clients** Provide the link to the page for downloading VPN clients for the service, and it will be displayed in the client area as a separate button
- **Automatic Setup** Please activate for automatic installation of the order. Otherwise, administrator approval is required.
# Admin Area
# Order Detail
### ownCloud module **[WISECP](https://puqcloud.com/link.php?id=78)**
##### [Order now](https://puqcloud.com/index.php?rp=/store/wisecp-module-owncloud) | [Download](https://download.puqcloud.com/WISECP/Product/PUQ_WISECP-ownCloud/) | [FAQ](https://faq.puqcloud.com/)
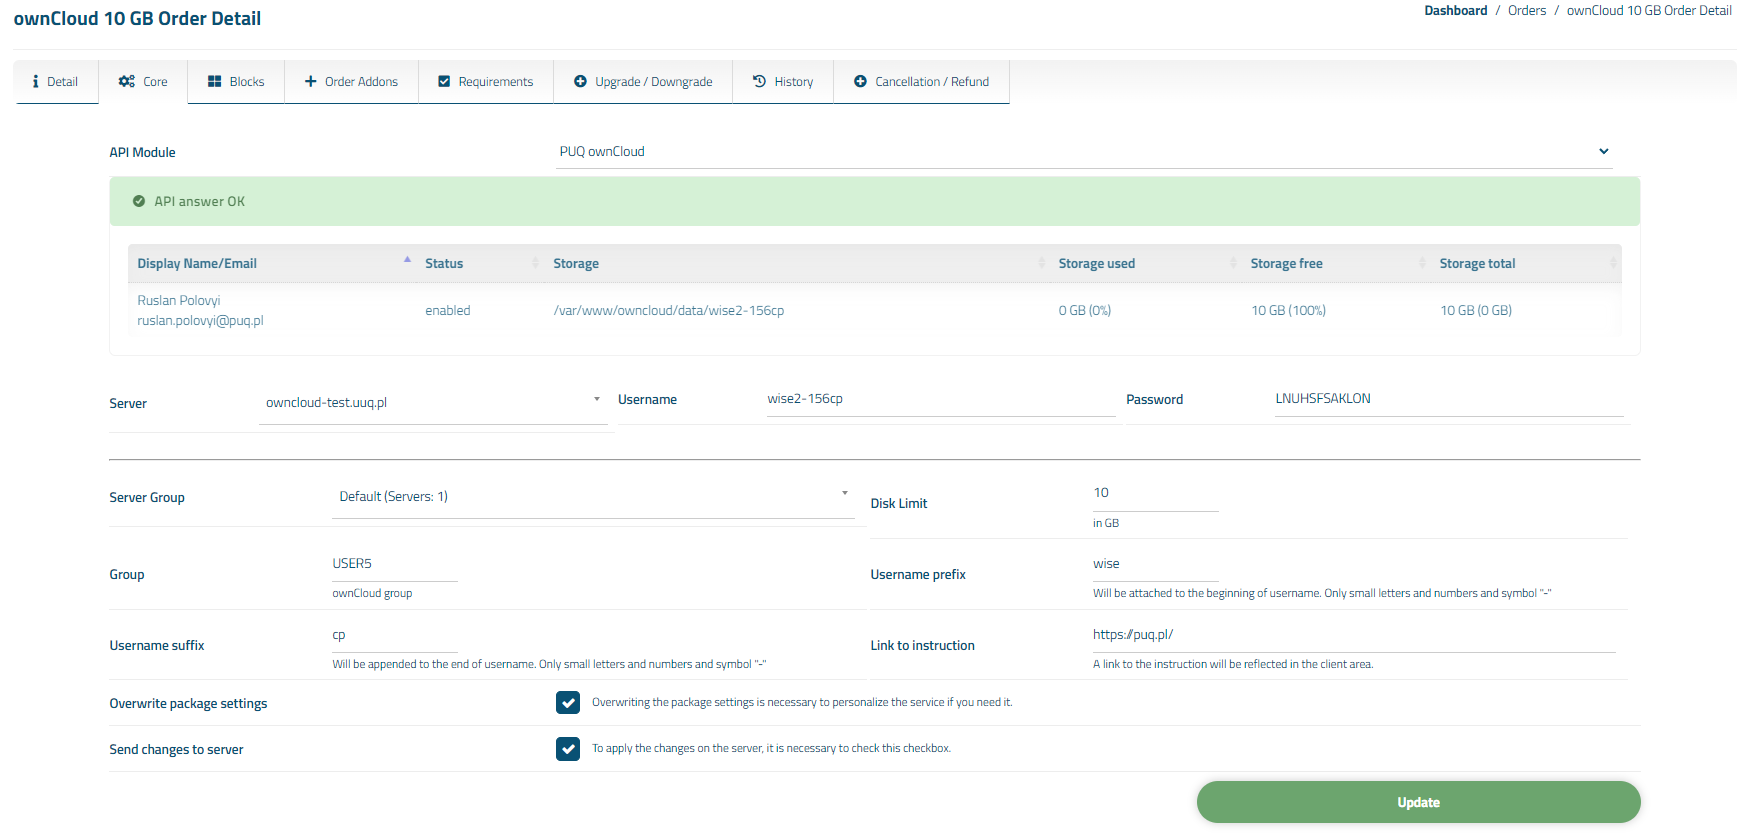
##### Navigate to the service you want to manage, then go to the '**Core**' tab.
[](https://doc.puq.info/uploads/images/gallery/2023-12/image-1703615607459.png)
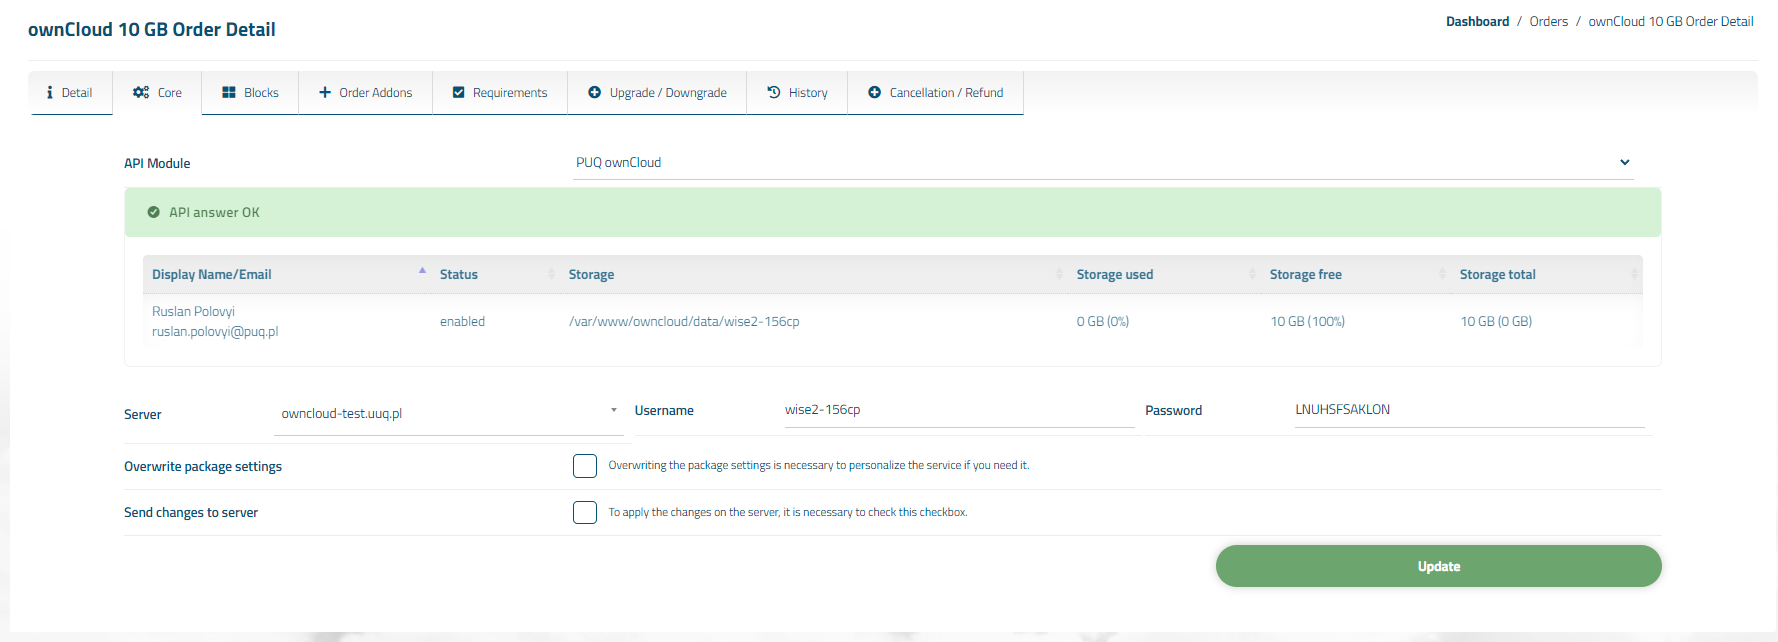
n the opened tab, you have a view of the online status of the service. The available online information includes:
- Connection status to the API
- Information about user account on the ownCloud server
- Diagnostic information about the account
Also, below are fields with the client's personal data, such as Username, Password, Server
You can also individually override package options for the client by checking the 'Overwrite package settings' box.
[](https://doc.puq.info/uploads/images/gallery/2023-12/image-1703615624854.png)
Note: When changing the Server Group, Server fields, make sure you have a user with the username as specified in the 'Username' field pre-created on the new server. Otherwise, you will need to recreate the service for your client.
# Client Area
# Product Home Screen
### ownCloud module **[WISECP](https://puqcloud.com/link.php?id=78)**
##### [Order now](https://puqcloud.com/index.php?rp=/store/wisecp-module-owncloud) | [Download](https://download.puqcloud.com/WISECP/Product/PUQ_WISECP-ownCloud/) | [FAQ](https://faq.puqcloud.com/)
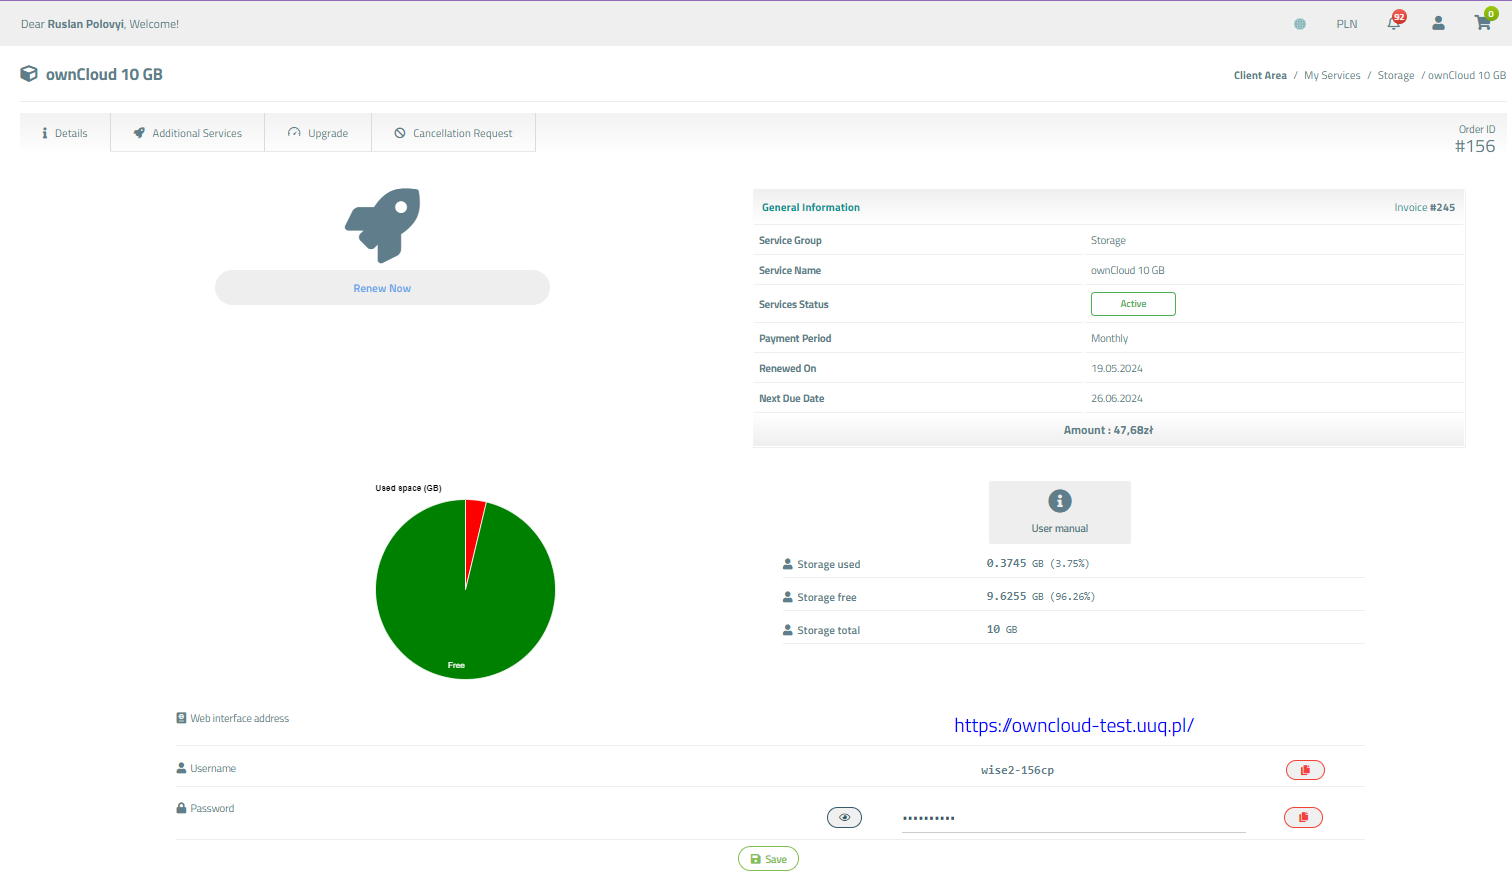
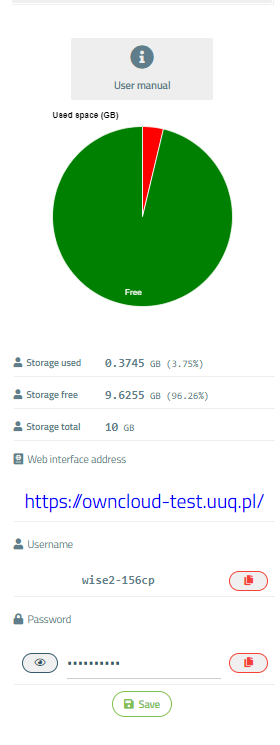
##### Available options in the client panel:
- Links in the form of buttons to the instruction
- Round graph of used disk space
- Server and account settings
- Ability to change the password for your account
[](https://doc.puq.info/uploads/images/gallery/2024-06/image-1717619762120.png)
[](https://doc.puq.info/uploads/images/gallery/2024-06/image-1717619793191.png)