Maintenance mode
Restricts user access to the site during maintenance.
Description
PUQ Customization module WHMCS
Order now | Download | FAQ
The "Maintenance Mode" extension provides advanced settings for managing the state of your maintenance page. It offers the following features:
- Enable/Disable Maintenance Mode: You can easily activate or deactivate maintenance mode, which redirects all visitors to the maintenance page. This is useful when you need to perform technical work on your website or services.
- Restrict Access to the Admin Area: The extension allows you to limit access to the WHMCS admin area for selected administrators. By doing so, you can ensure the security and confidentiality of your website's backend during maintenance.
- Redirect URL or Ready-made Solutions in Three Customizable Templates: You have the option to set a custom URL to redirect visitors during the maintenance period or use one of three customizable templates that you can choose from or modify according to your style and brand. These templates provide pre-designed layouts for your maintenance page, making it easy to create a professional and visually appealing experience.
- Countdown Timer for the Completion of Technical Work: The extension also includes a countdown timer feature. You can display a timer on the maintenance page, informing visitors about the remaining time until the completion of the technical work.
Overall, the "Maintenance Mode" extension empowers you to create a customized and engaging maintenance page for your WHMCS-powered website. It ensures that you can inform your customers about scheduled maintenance or temporary disruptions while maintaining a consistent brand identity and user experience.
Configuration
PUQ Customization module WHMCS
Order now | Download | FAQ
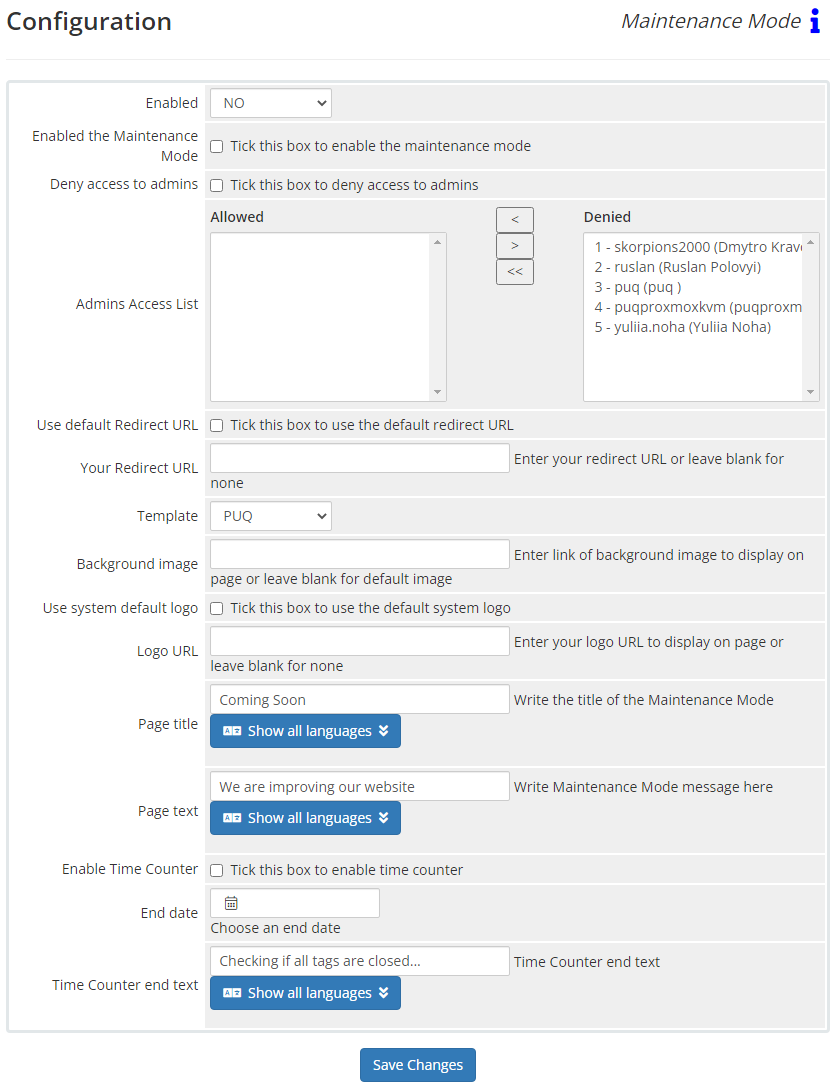
Enabled - Enabling or disabling all custom functions of this extension affects the automation and visibility of its features in the client area. When extension disabled, the automation capabilities and related features provided by the extension will not be active or visible to clients. However, as an administrator, you will still have access to configure and utilize the extension's functionalities through the administration interface. This gives you the flexibility to control the visibility and automation aspects of the extension based on your specific needs and preferences.
Enabled the Maintenance Mode - You can easily activate or deactivate maintenance mode, which redirects all visitors to the maintenance page.
Deny access to admins - Limit access to the WHMCS admin area for selected administrators. You can choose administrators whom you want to allow access to the admin panel during maintenance mode. (You cannot restrict access for yourself, as stated in the restriction.)
Allowed - A list of administrators who are granted access to the admin panel during maintenance mode.
Denied - A list of administrators who are denied access to the admin panel during maintenance mode.
Your Redirect URL - Set your own URL for redirect to display in the client area during maintenance mode
If the Use default Redirect URL option is enable, Your Redirect URL option will not work.
Use default Redirect URL - Enable this option to use our custom tamplates.
If the Use default Redirect URL option is disable, custom templates and all subsequent options will not work.
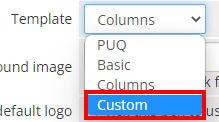
Template - Choose from ready-made page templates to display in the client area during maintenance mode.
You have the option to add your custom template! More information:
Background image - You can add your own background image to the page displayed in the client area during maintenance mode. Just enter the image link in this field.
If you leave this field blank, the default image will be used.
Use system default logo - Enable this option to use the logo you have set in the general settings of WHMCS.
Logo URL - You can add your own logo to the page displayed in the client area during maintenance mode. Simply enter the image link in this field.
If you leave this field blank and the "Use system default logo" option is disabled, no space for the logo will be displayed on the page.
Page title - Set your own title for the page displayed in the client area during maintenance mode (supports multi-language).
Page text - Set your own message about the technical work for the page displayed in the client area during maintenance mode (supports multi-language).
Enable Time Counter - Enable this option to add a timer that will be displayed in the client area during maintenance mode.
End date - Choose the date and time when the timer will expire.
Time Counter end text - You can specify the text that will be displayed below the timer when the time expires if you are unable to finish the technical work before the timer ends (supports multi-language).
Client Area
PUQ Customization module WHMCS
Order now | Download | FAQ
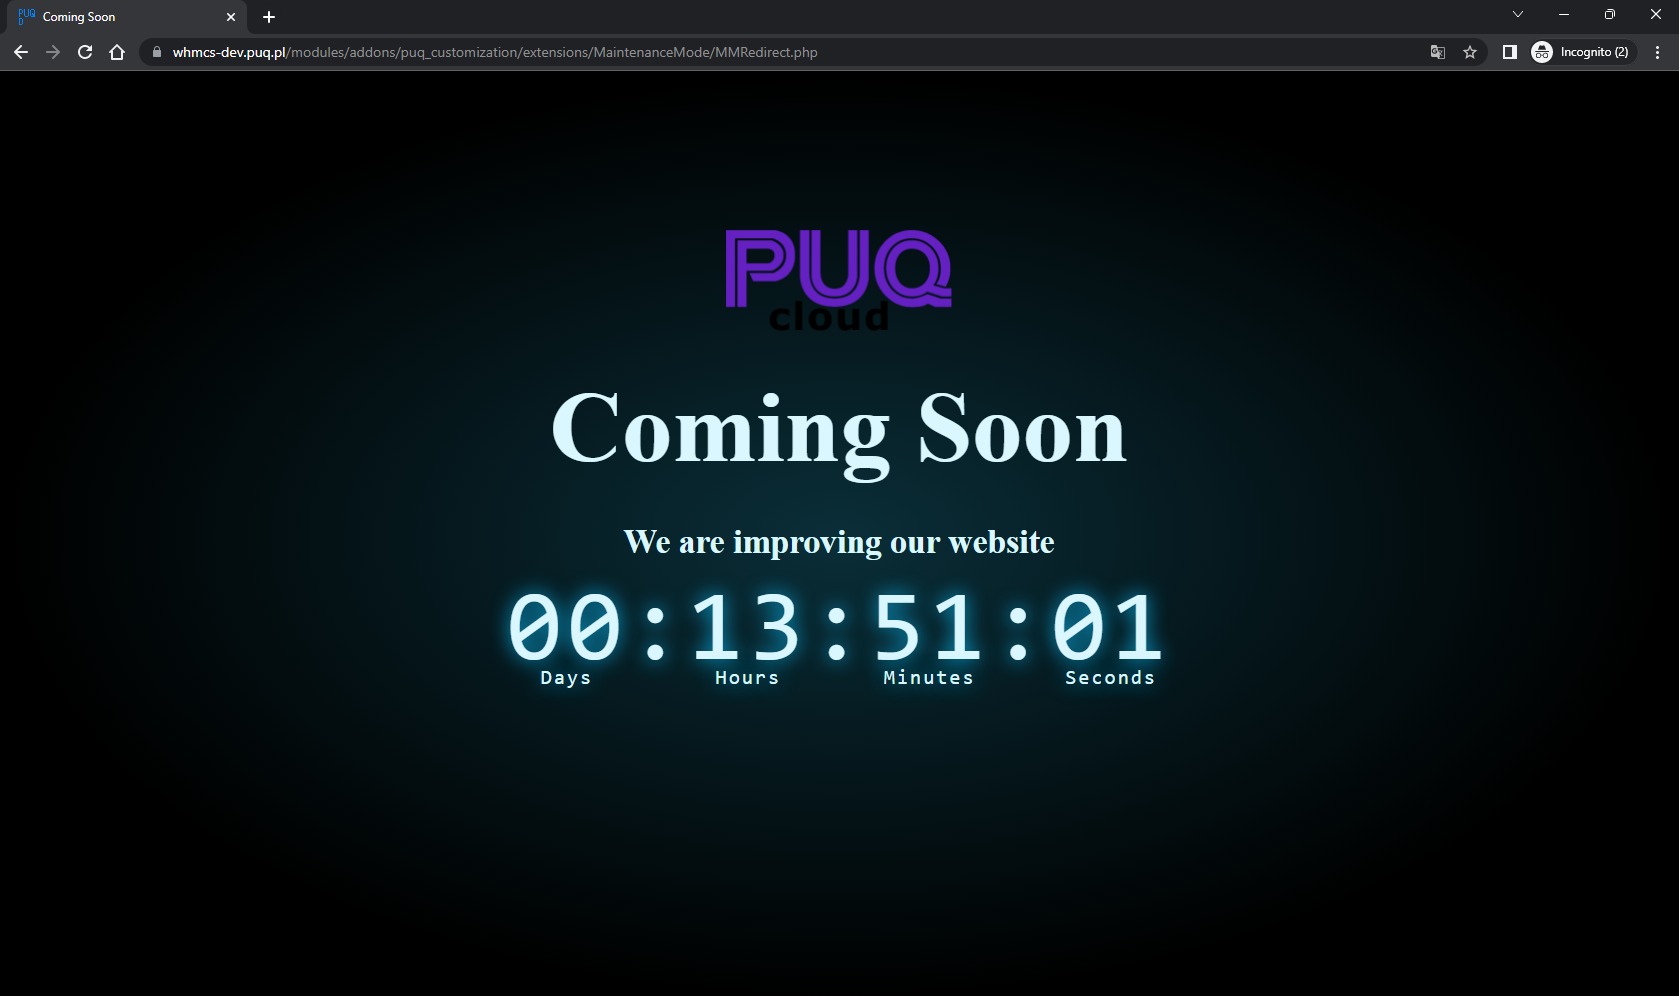
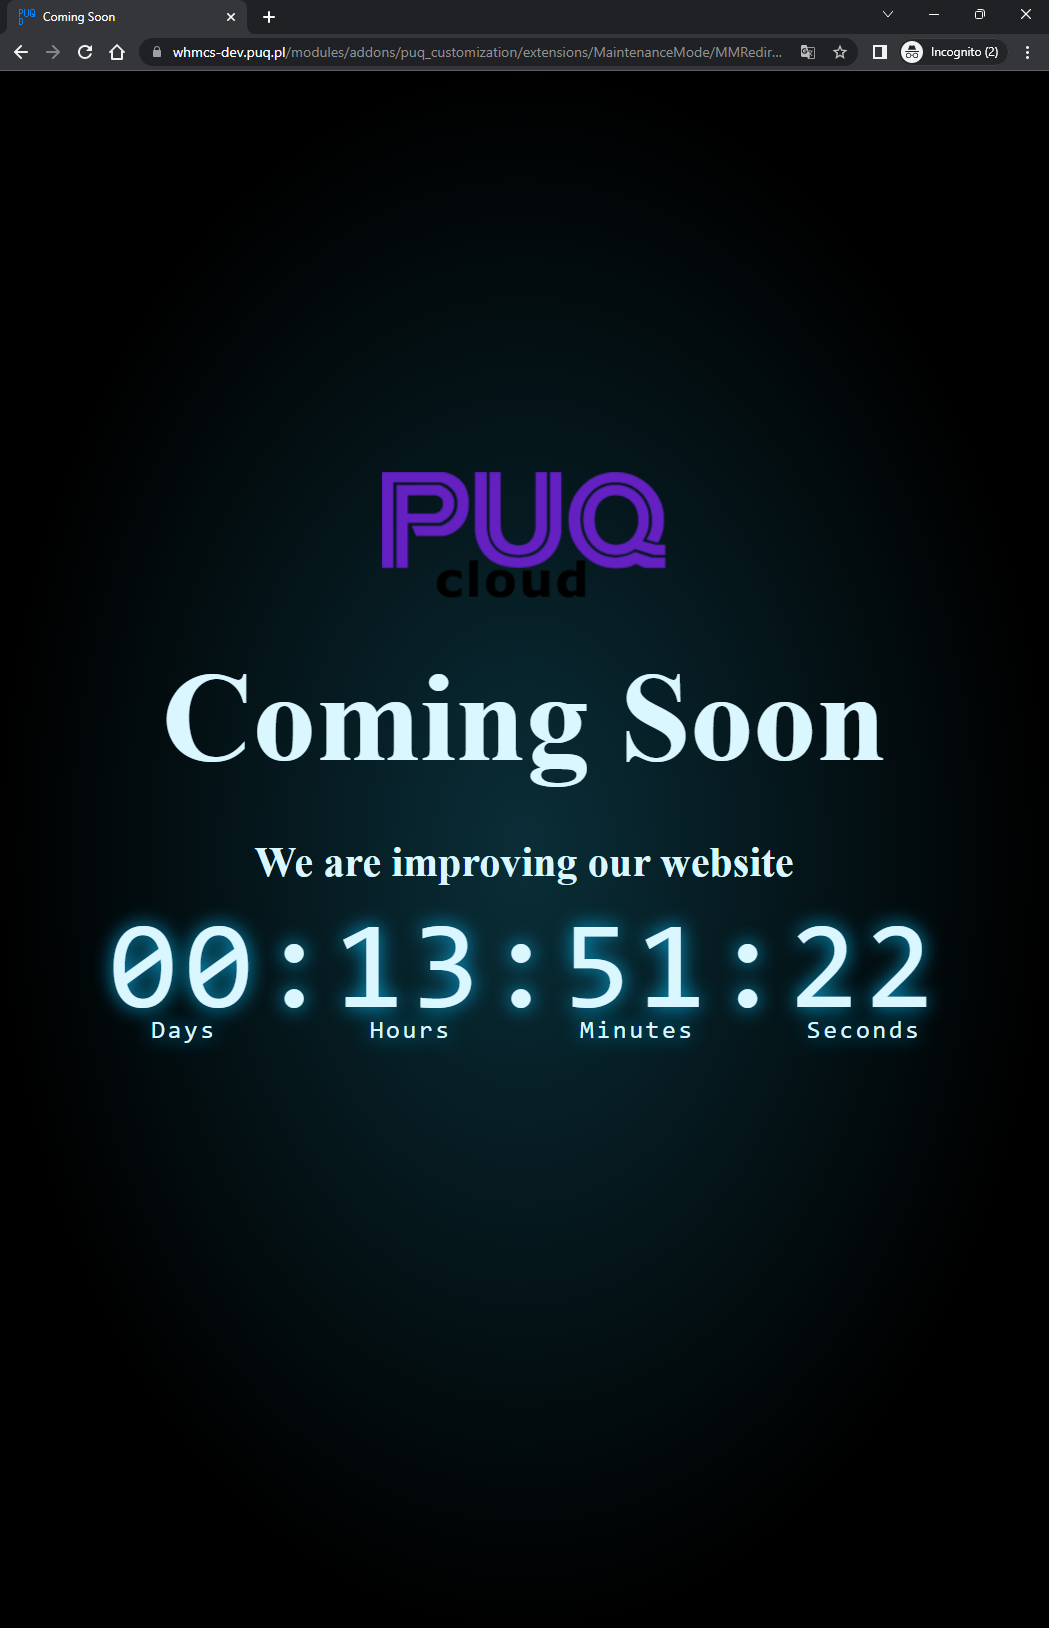
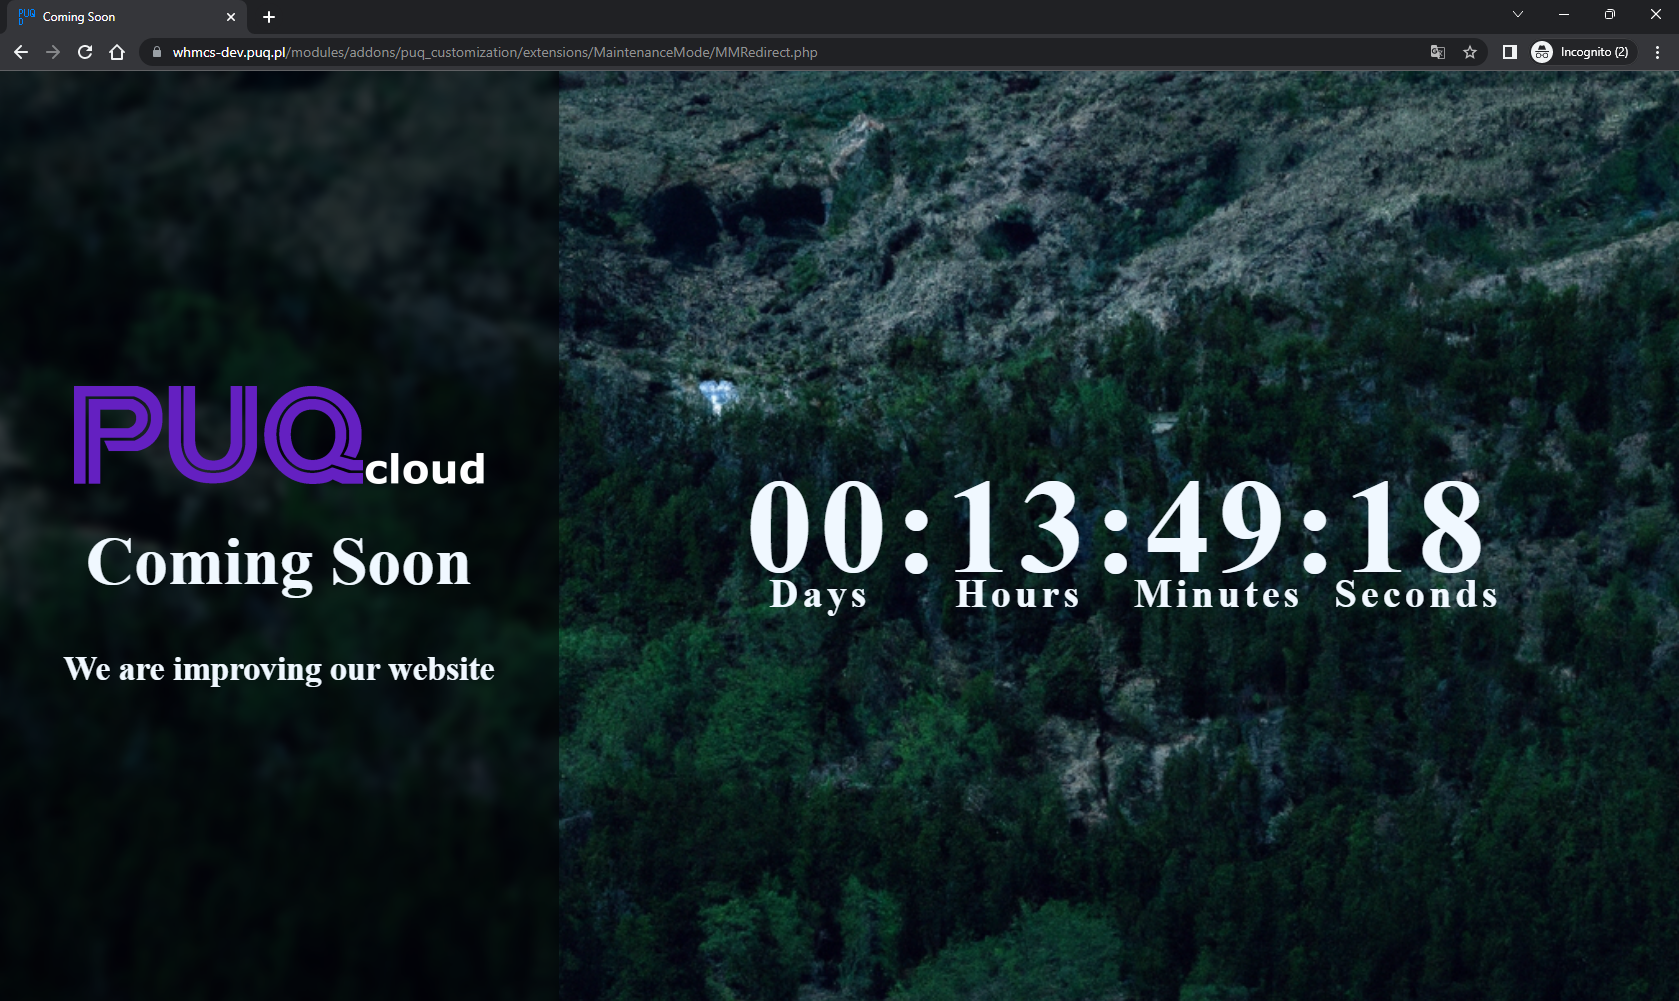
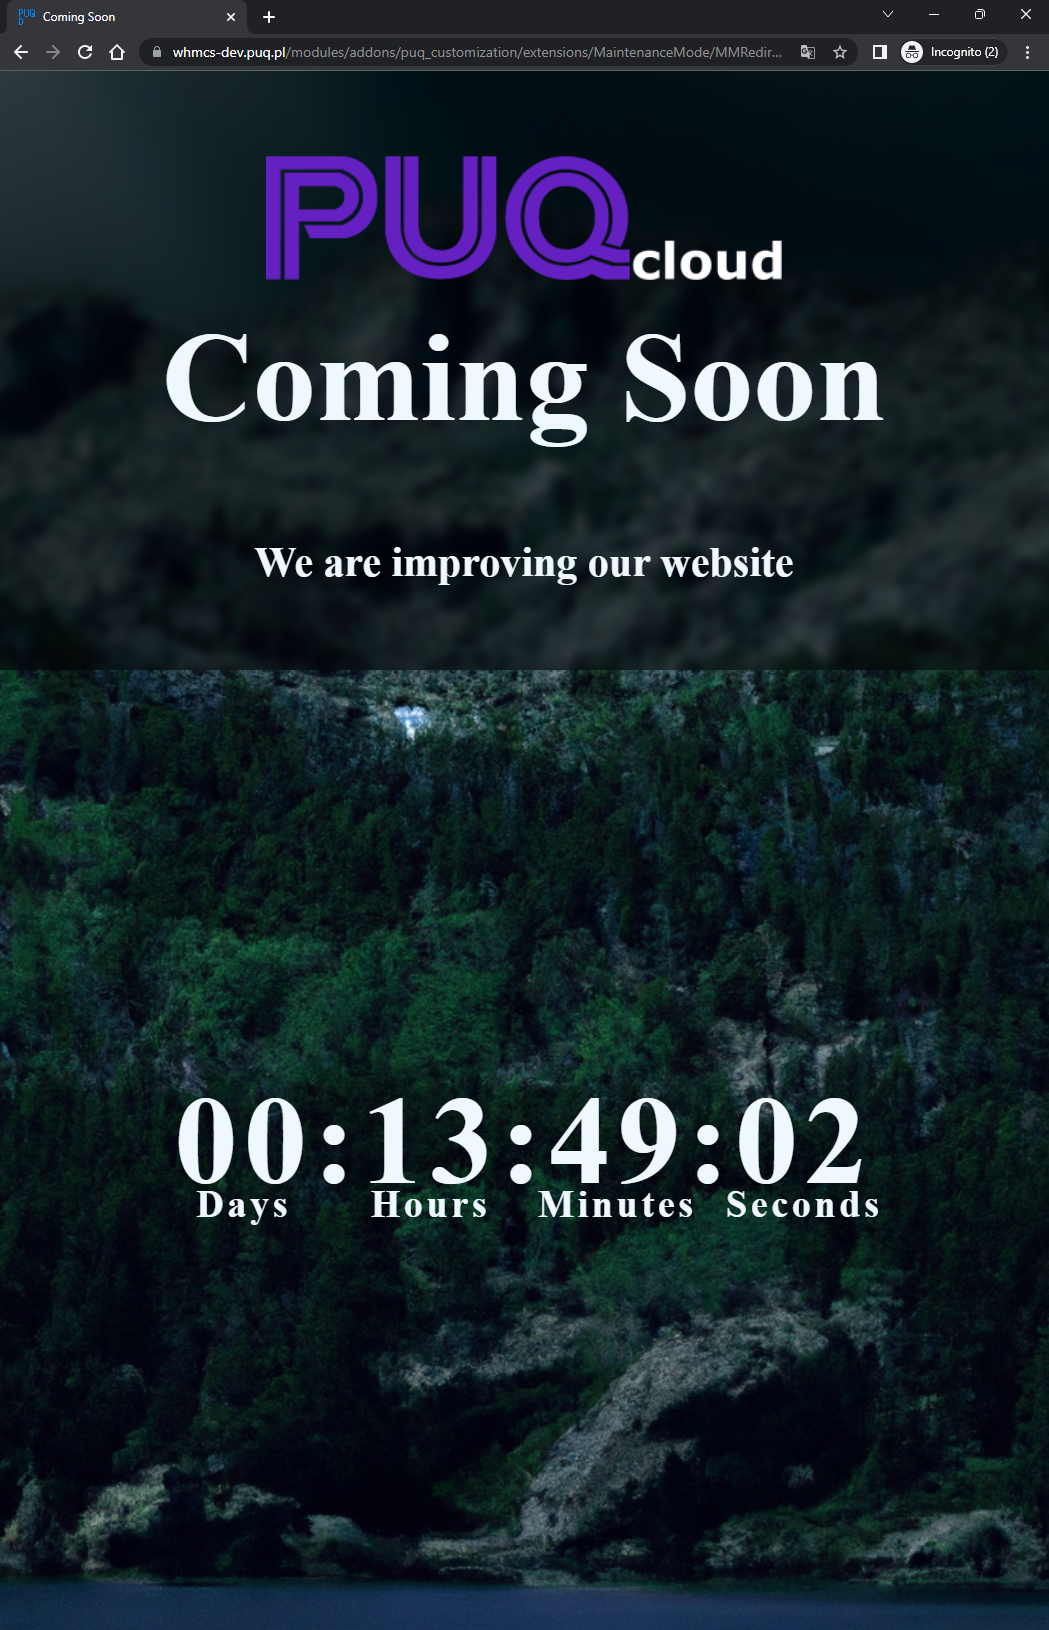
Templates displayed on the client area during maintenance mode
Puq
Basic
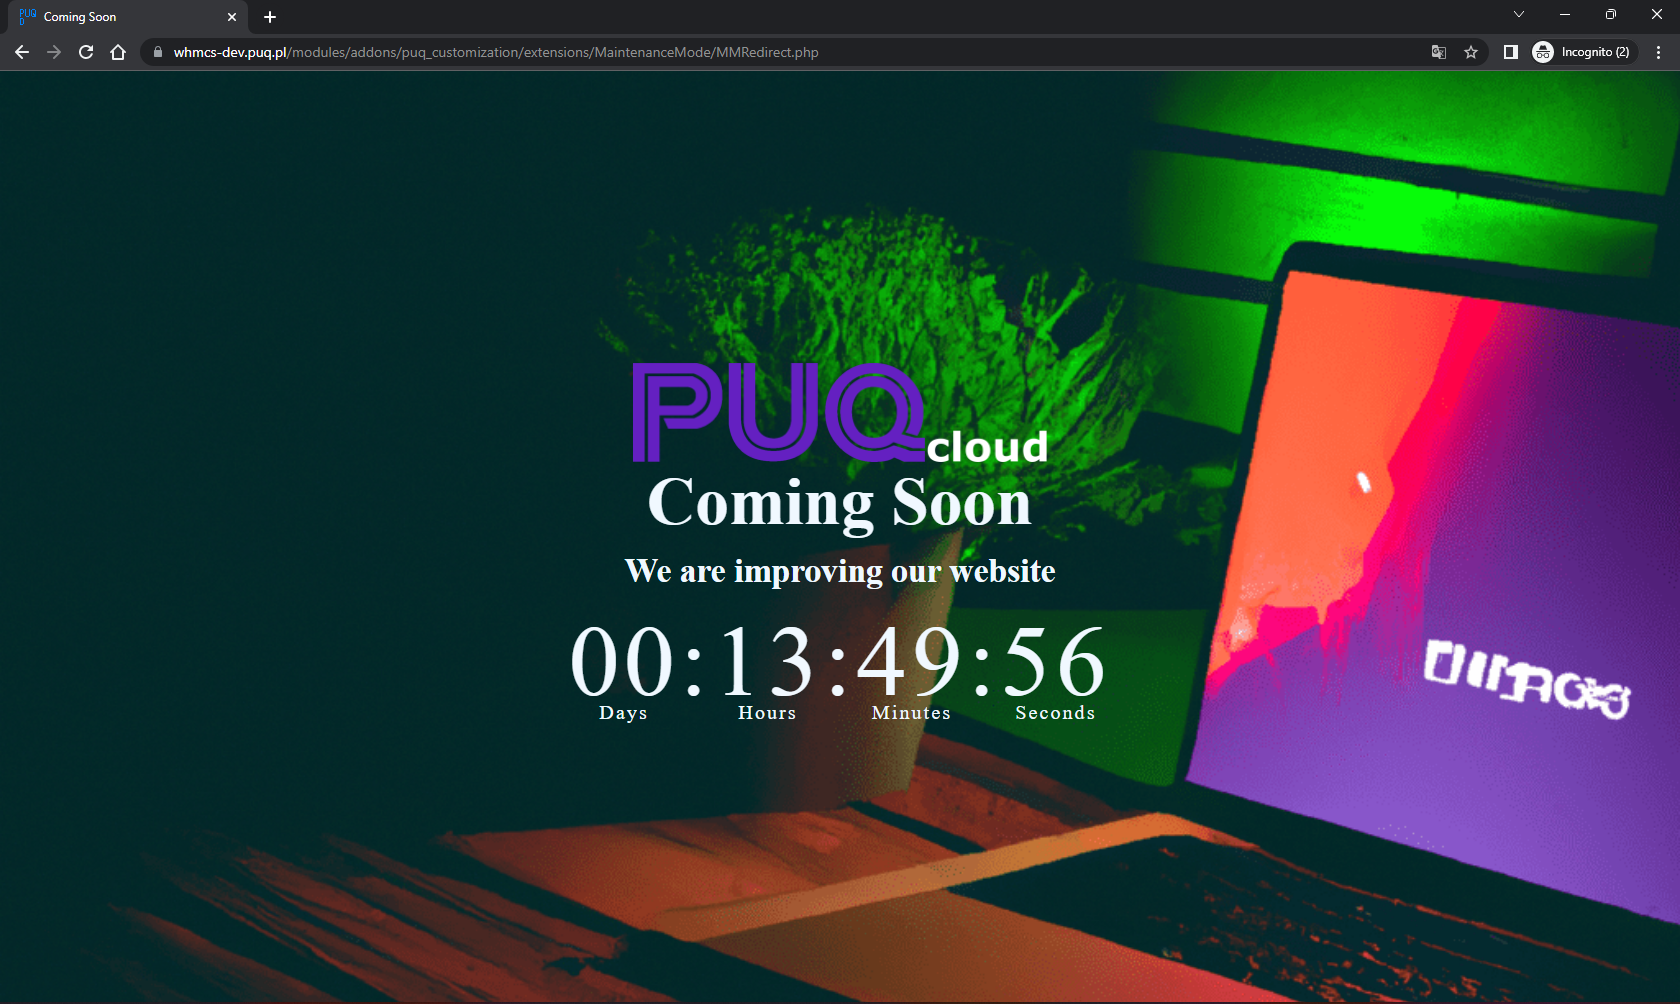
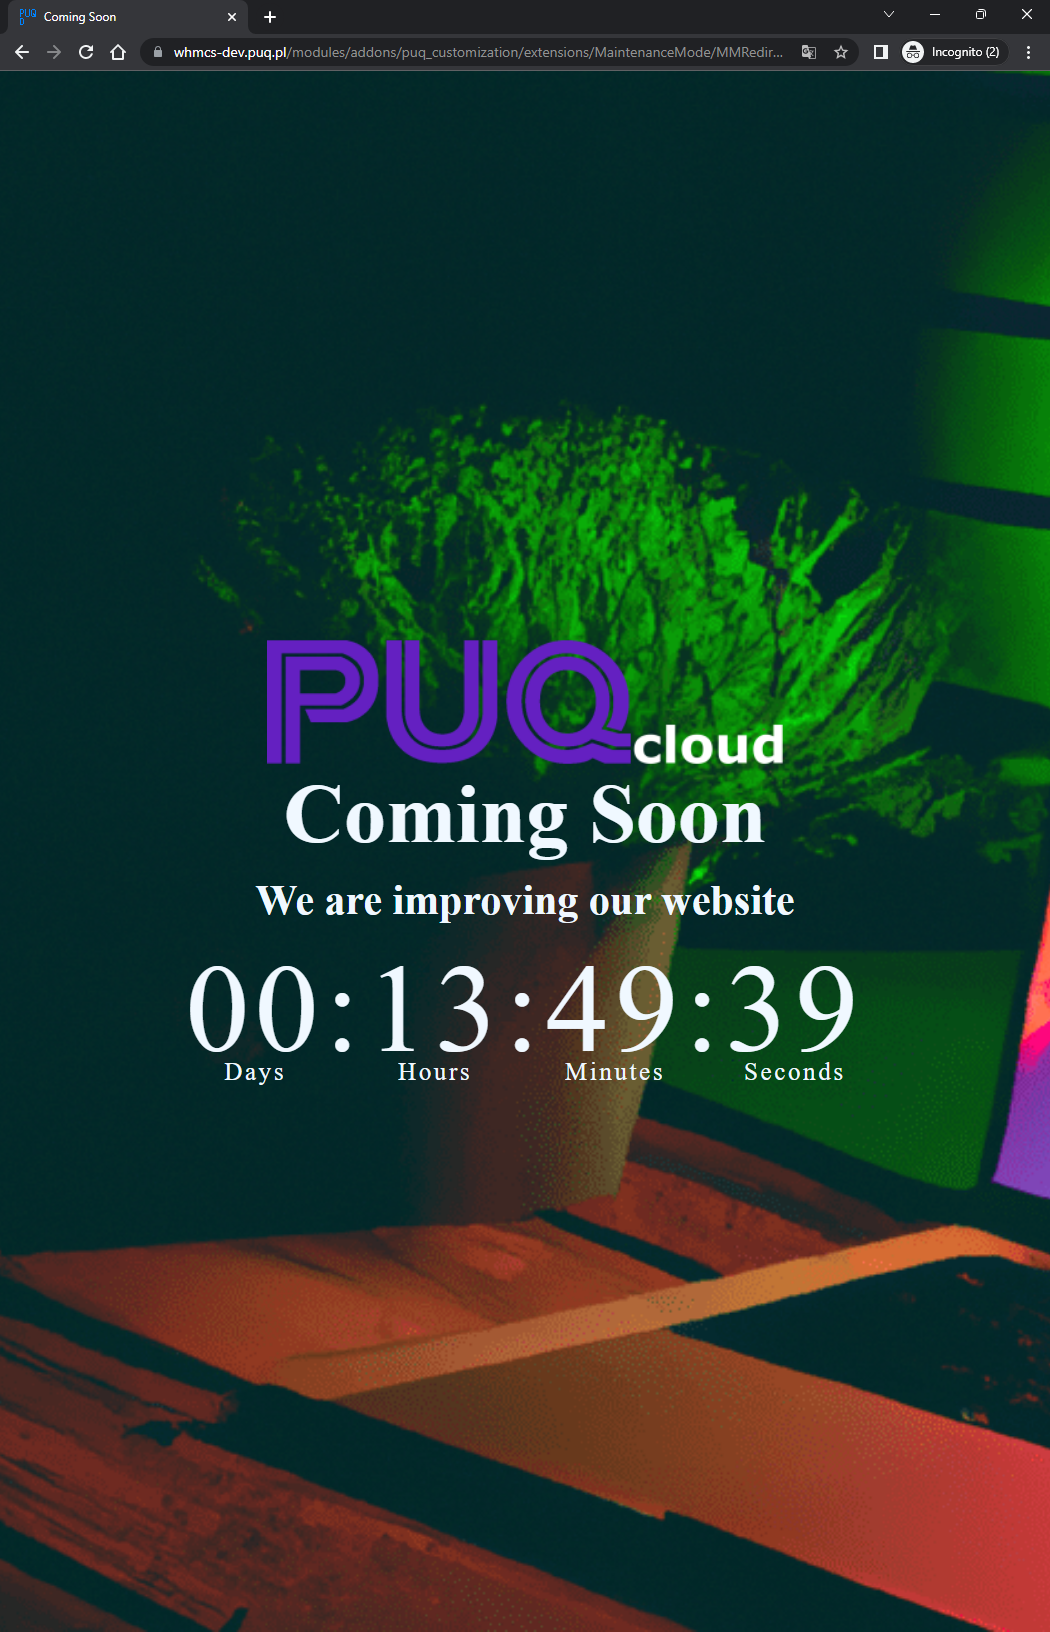
Columns
Custom Template
PUQ Customization module WHMCS
Order now | Download | FAQ
Your template should be named
custom.tpl, otherwise, it will contradict the logic of this extension, and your template will simply not be displayed.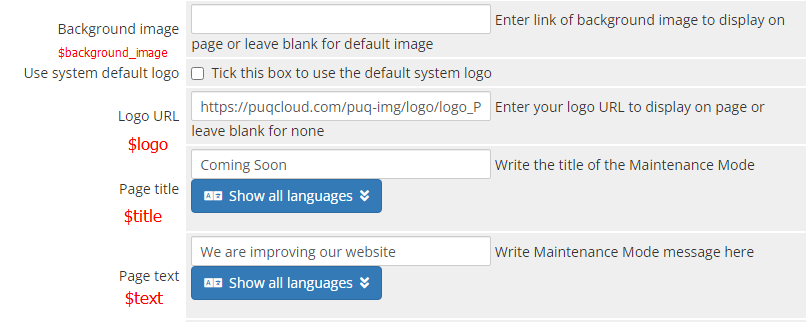
Example usage:
<style>
body {
margin: 0;
padding: 0;
background-image: url("{$background_image}");
background-size: cover;
background-position: center;
font-size: 2vw;
}
</style>Example usage:
<body>
<img src="{$logo}" alt="Logo">
</body>Example usage:
<head>
<title>{$title}</title>
</head>
<body>
<h1 class="title">{$title}</h1>
</body>Example usage:
<body>
<h1 class="text">{$text}</h1>
</body>To add a timer, insert the following code in the appropriate place:
{if $enabled_counter eq 'on'}
{include file='templates/timer.tpl'}
{/if}Now that your template meets the requirements, connect it to the MaintainceMode extension.
custom.tpl file to addons-> puq_customization-> extensions-> MaintainceMode-> templates