Create & Manage Administrators
PUQcloud Panel
Order Now | Download | FAQ
Use this quick, practical guide to add new admins, edit access, reset passwords, and keep your panel secure. Each step tells you exactly where to place your screenshots.
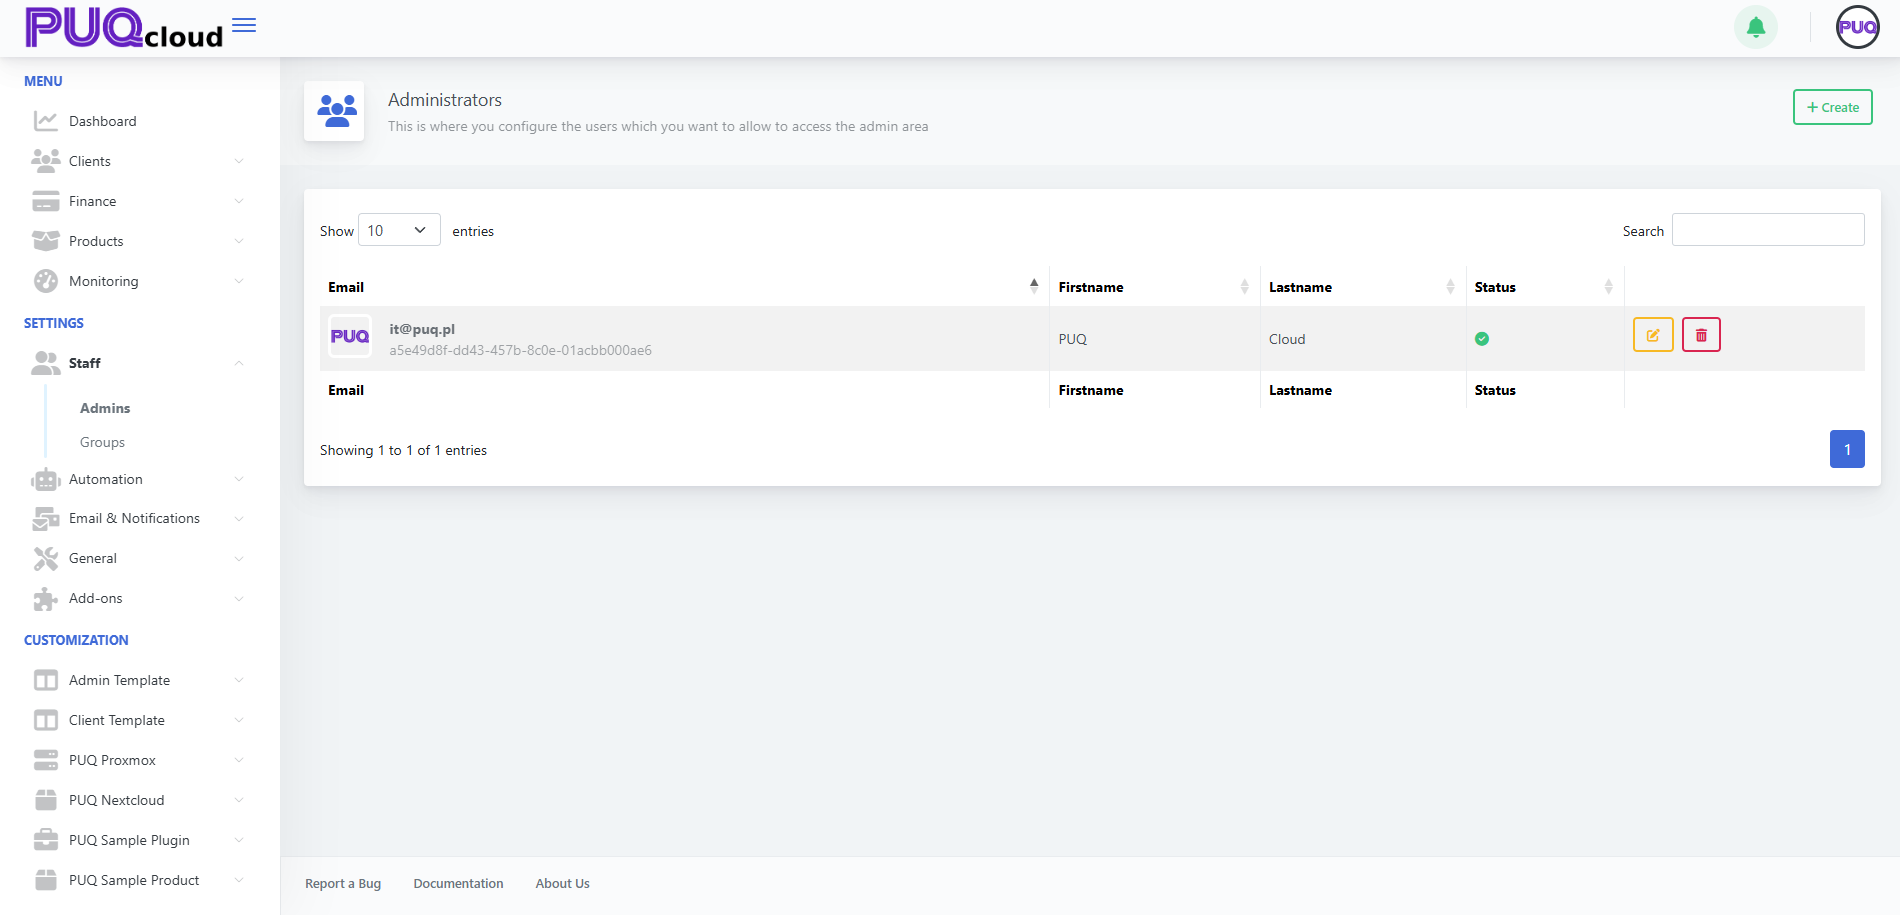
Open the Administrators page
Path: Settings → Staff → Admins
Here you’ll see the current admins list with Edit ✏️ and Delete 🗑️ actions.
Administrators list (with Edit/Delete).
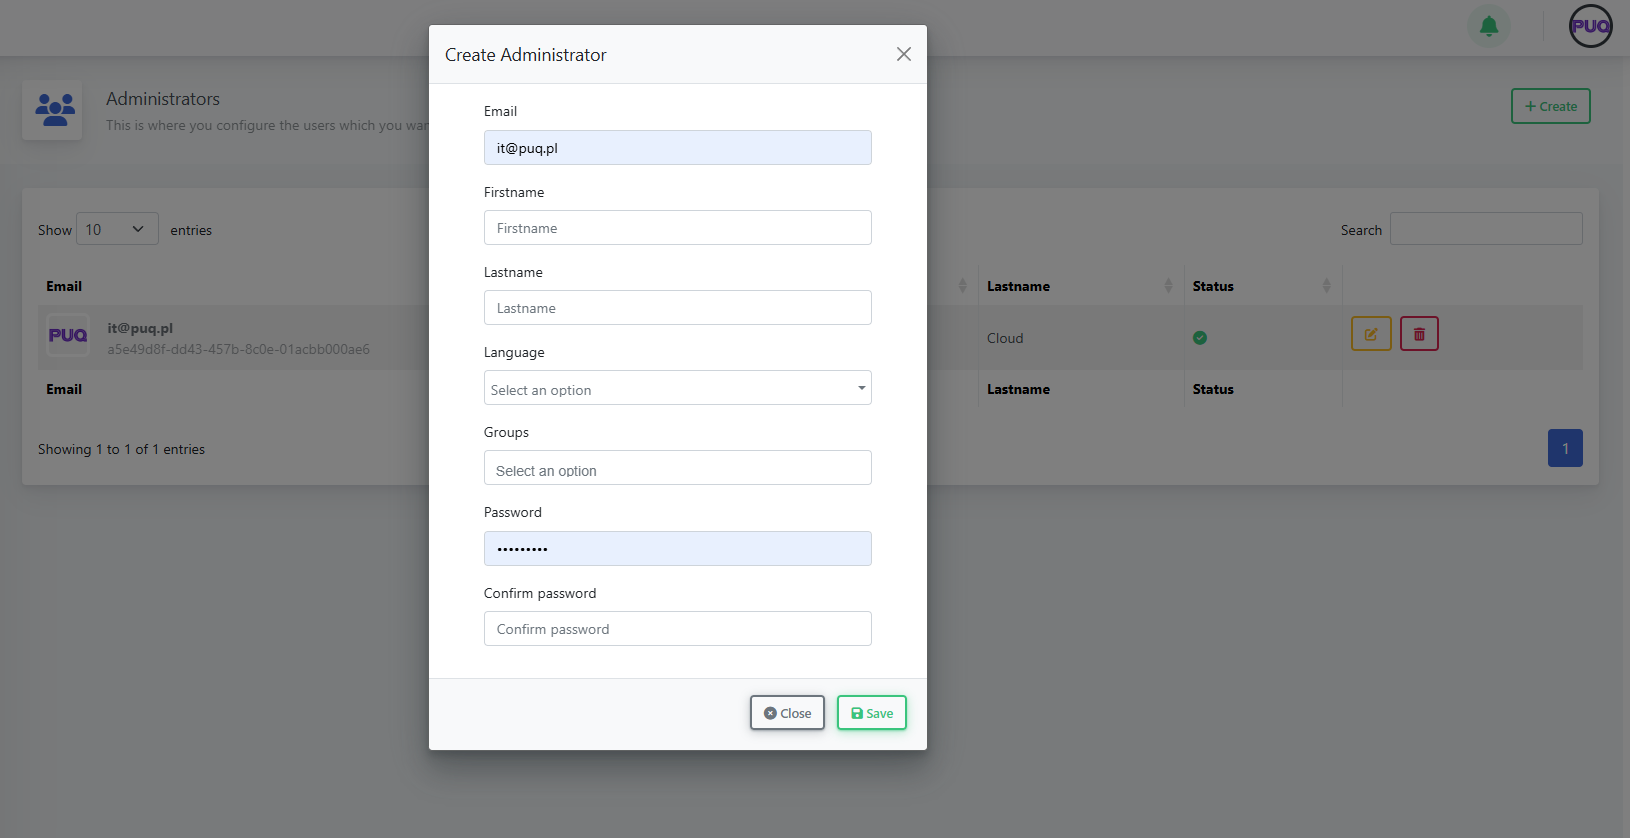
Create a new Administrator
-
Click + Create (top-right).
-
Fill in:
-
Email, Firstname, Lastname
-
Language (UI language for this admin)
-
Groups (permission set; e.g., Super Admin or your custom groups)
-
Password and Confirm password
-
-
Click Save.
“Create Administrator” modal (all fields)
Notes
-
Use a unique, work email per person (no shared logins).
-
Assign the minimum necessary group (least privilege).
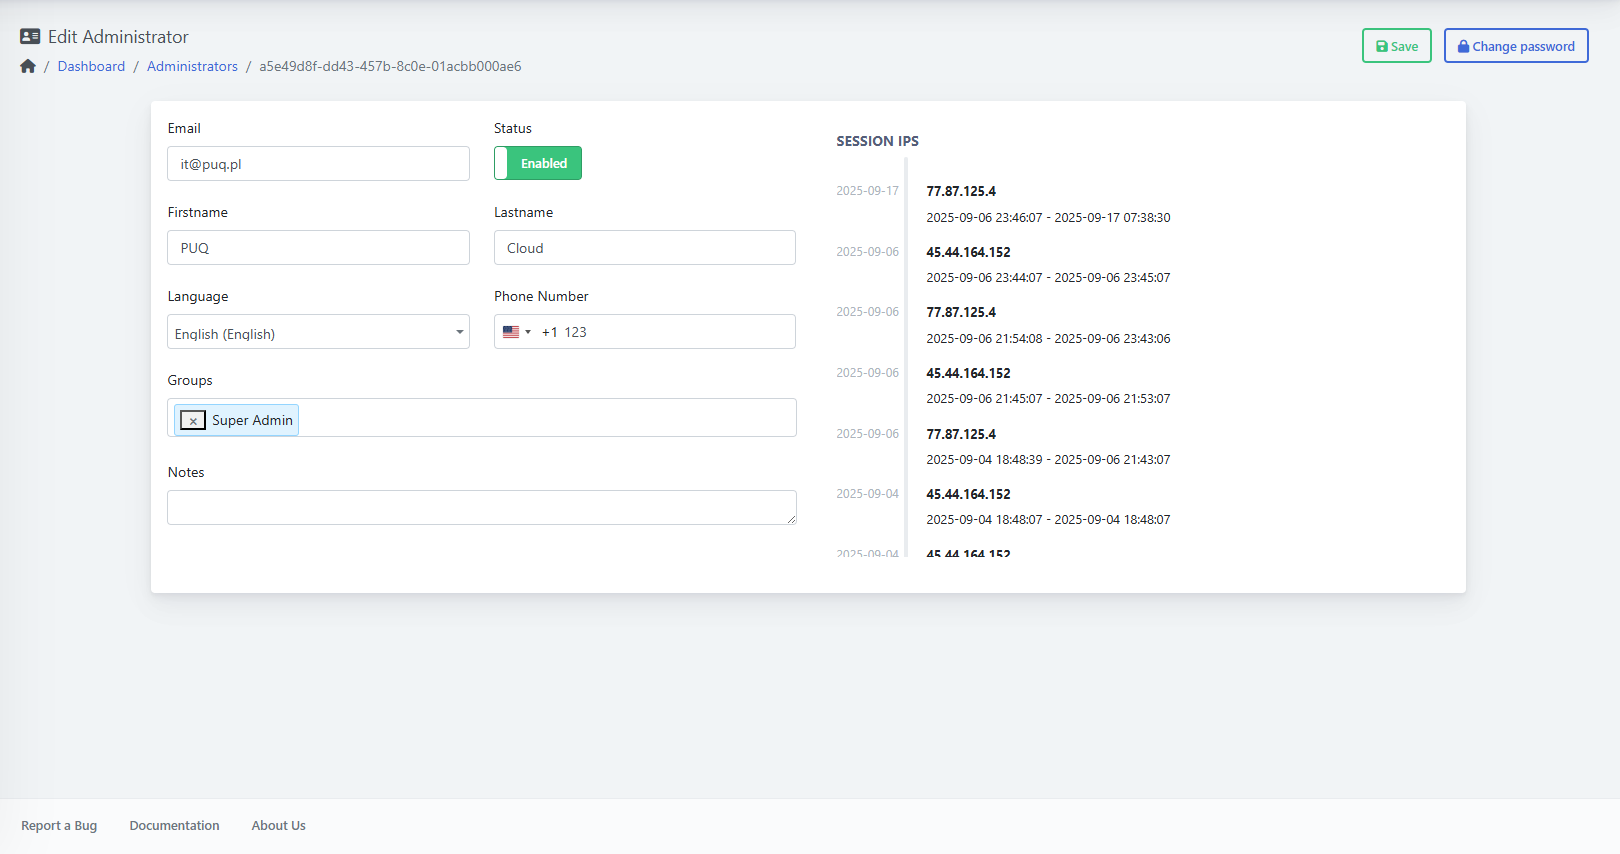
Edit an Administrator (status, groups, details)
From the list, click Edit:
-
Status: toggle Enabled/Disabled to grant or block access.
-
Groups: add/remove roles to change permissions.
-
Language, Phone Number, and Notes as needed.
-
Session IPs (right side): quick audit of recent logins.
Click Save when done.
Edit Administrator page (Status, Groups, Session IPs, Save)
Change an Administrator’s Password
On the Edit page, click Change password (top-right), enter Password and Confirm, then Save.
“Change password” modal
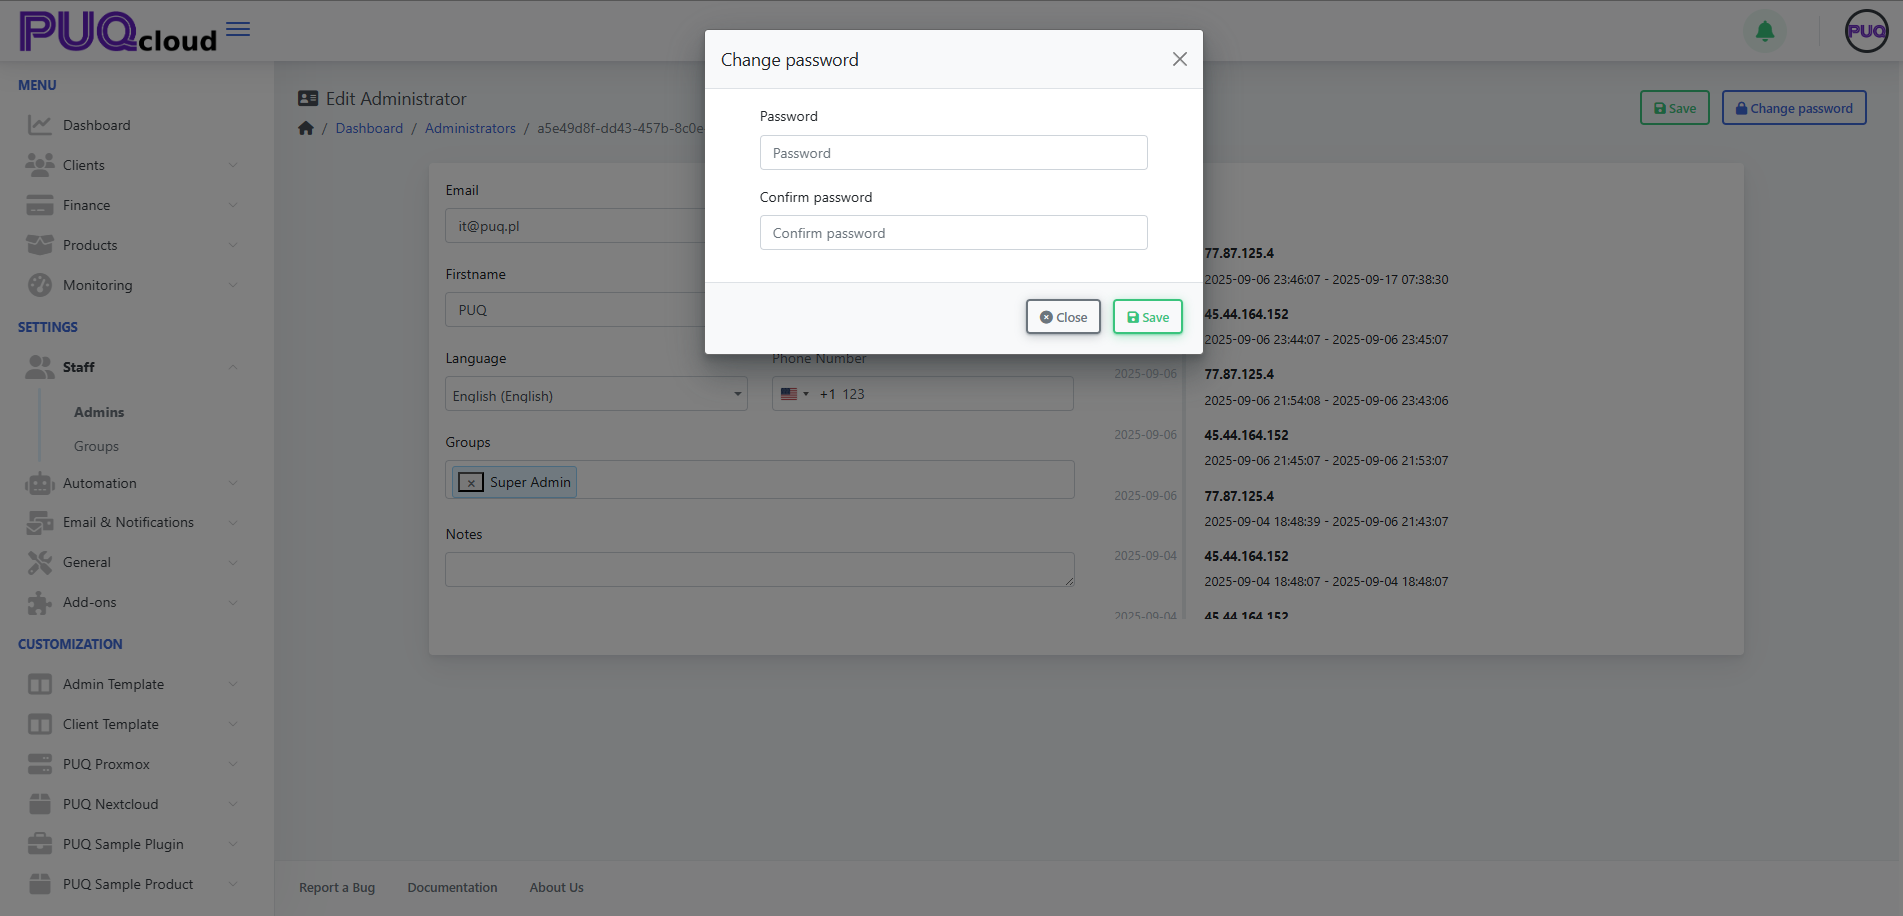
Tip: enforce strong passwords and ask the user to enable 2FA in their Client Area.
Delete an Administrator
On the Admins list, click the 🗑️ Delete button next to the user and confirm.
Best practice: never delete your last Super Admin. Create/assign another Super Admin first.
Groups & permissions (quick tips)
-
Define groups in Settings → Staff → Groups (e.g., Support, Finance, Ops).
-
Follow least privilege: grant only what the role needs.
-
Separate Finance vs Technical access when possible.
-
Review group membership regularly (monthly/quarterly).
Security checklist
-
One person = one account (no shared logins).
-
Require 2FA for all admins (set in the user’s Client Area).
-
Rotate passwords for high-privilege accounts.
-
Watch the Session IPs for unusual activity.
-
Immediately Disable or Delete ex-staff accounts.
Troubleshooting
-
“Save” is greyed out / error: check required fields, unique email, password match.
-
Can’t log in: ensure Status = Enabled; verify correct email.
-
Missing features: user likely lacks the right Group.
-
Password change fails: confirm both fields match and meet policy.