# Linux IKEv2 client configuration
##### [Order now](https://puqcloud.com/puqvpncp.php) | [Download](https://download.puqcloud.com/cp/puqvpncp/) | [FAQ](https://faq.puqcloud.com)
In order to connect to a VPN, follow these steps:
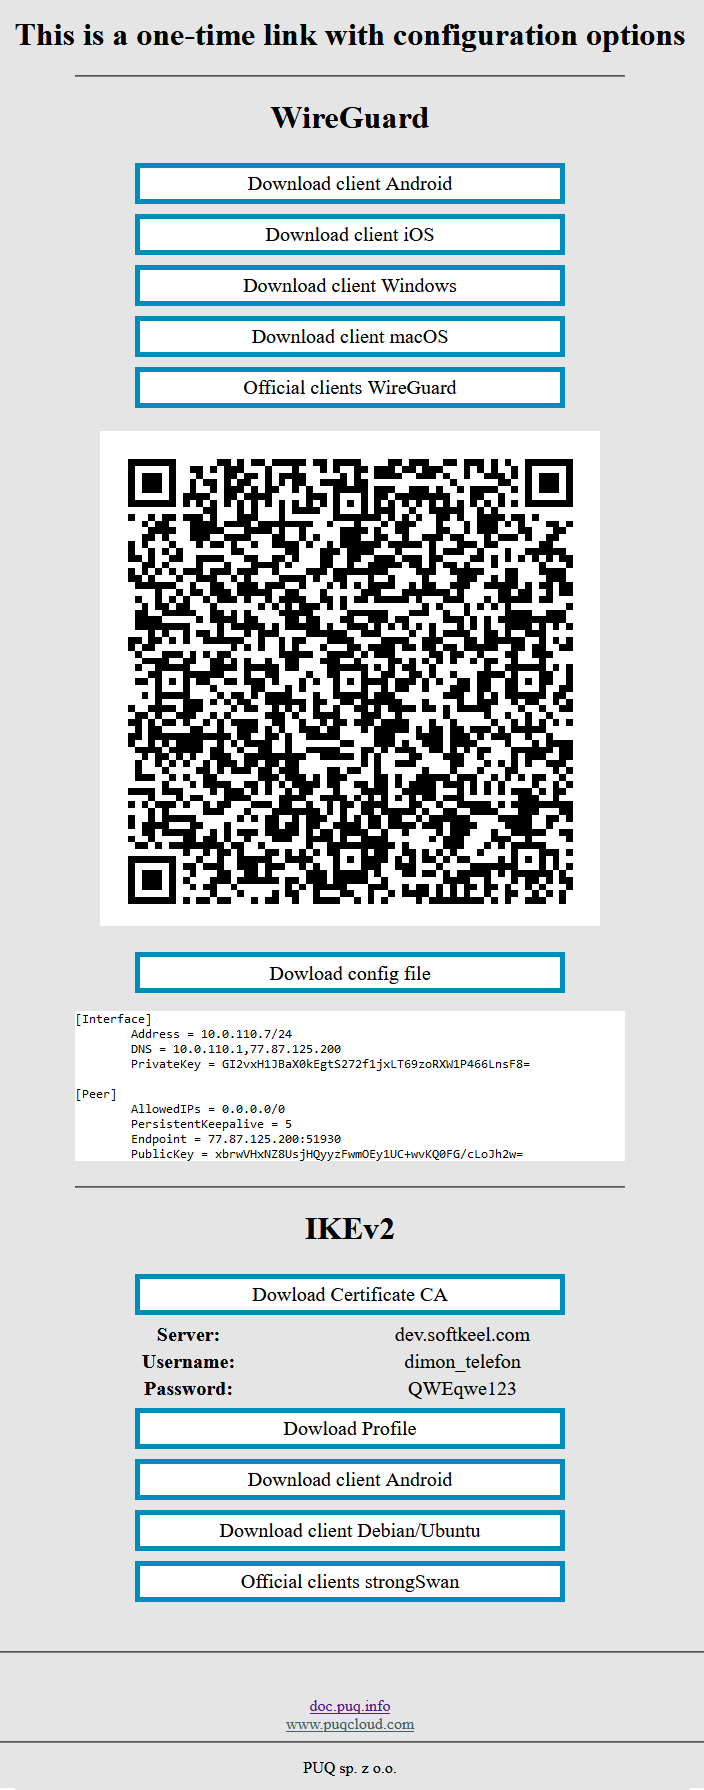
1. Open the link you received in a browser to get instructions and configuration for your new VPN connection. And you will see the following page in the browser window
[](https://doc.puq.info/uploads/images/gallery/2022-12/image-1670928539397.png)
2. In order to start the configuration you need install some software, before installing the software, do not forget to update the package list using the command `sudo apt update`. After the package list is updated, install additional software:
`sudo apt install strongswan libcharon-extra-plugins`
3. Next, prepare a certificate to encrypt the connection. You can download the certificate, open the certificate file as text and create a new file at `nano /etc/ipsec.d/cacerts/ca-cert.pem`
4. To prevent automatic connection, use systemctl to disable StrongSwan from starting automatically
`sudo systemctl disable --now strongswan-starter`
5. Next, you need to edit or create a file with authentication data
`sudo nano /etc/ipsec.secrets`
In this file, you need to enter your login and password data from the IKEv2 section
```
your_username : EAP "your_password"
```
6. The next step is to edit the configuration file
`nano /etc/ipsec.conf`
The contents of the configuration file should be the following
```
config setup
conn ikev2-rw
right=adres_server
# This should match the `leftid` value on your server's configuration
rightid=adres_server
rightsubnet=0.0.0.0/0
rightauth=pubkey
leftsourceip=%cfg
leftauth=eap-mschapv2
leftid=your_username
eap_identity=%identity
auto=start
```
**Attention!** Please note that you need to enter your data in the configuration file and the authentication file.
7. To activate the connection, enter the command `sudo ipsec start` and to disable run the command `sudo ipsec stop`