Installation and configuration guide
- Setup (install/update)
- License Activation
- PUQVPNCP installation and configuration
- Add server (PUQVPNCP) in WISECP
- Service/Product configuration
Setup (install/update)
WireGuard Business-VPN module WISECP
Order now | Download | FAQ
To install and update a module, you must perform one and the same action.
1. Download the latest version of the module.
wget https://download.puqcloud.com/WISECP/Product/PUQ_WISECP-WireGuard-Business-VPN/PUQ_WISECP-WireGuard-Business-VPN-latest.zipAll versions are available: https://download.puqcloud.com/WISECP/Product/PUQ_WISECP-WireGuard-Business-VPN/
2. Unzip the archive with the module.
unzip PUQ_WISECP-WireGuard-VPN-latest.zip3. Copy and Replace "puqMikrotikWireGuardBusinessVPN" from "PUQ_WISECP-WireGuard-Business-VPN" to "WISECP_WEB_DIR/coremio/modules/Product/"
License Activation
WireGuard Business-VPN module WISECP
Order now | Download | FAQ
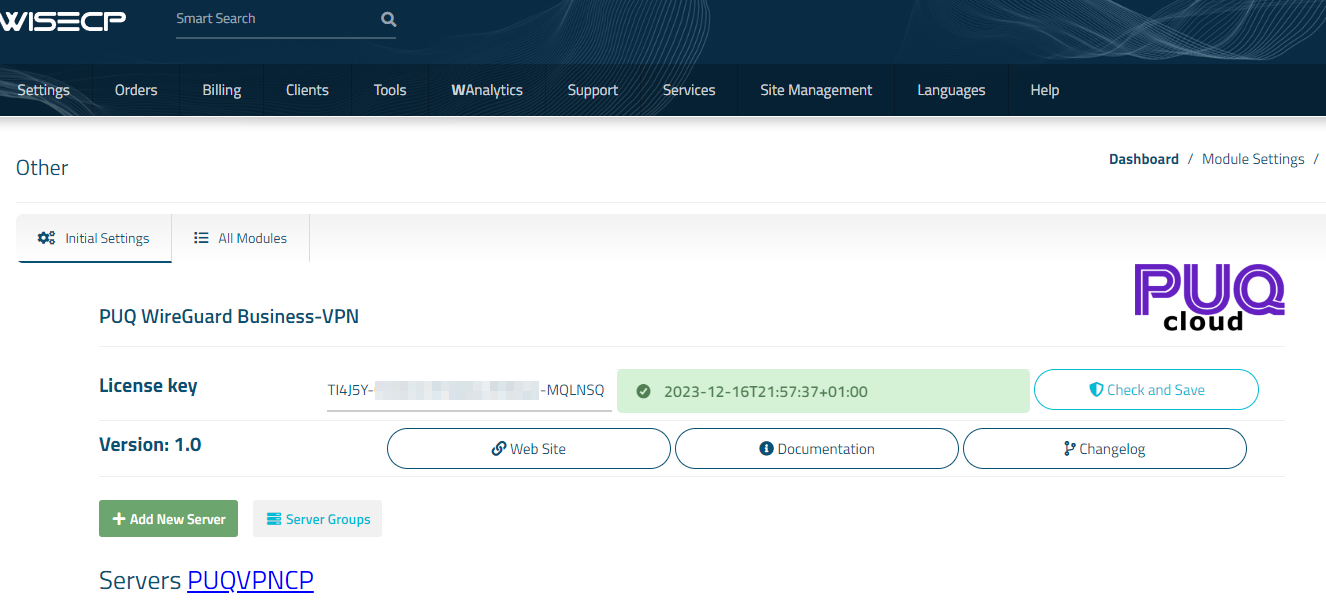
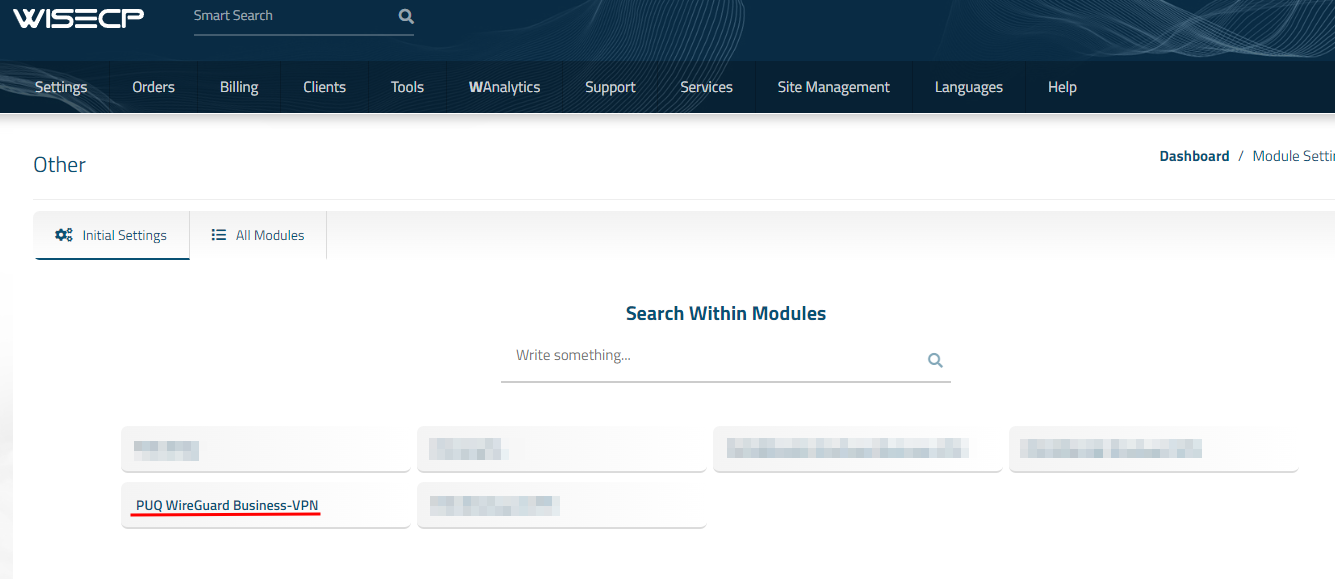
1. Log in to the administrative area of your WISECP.
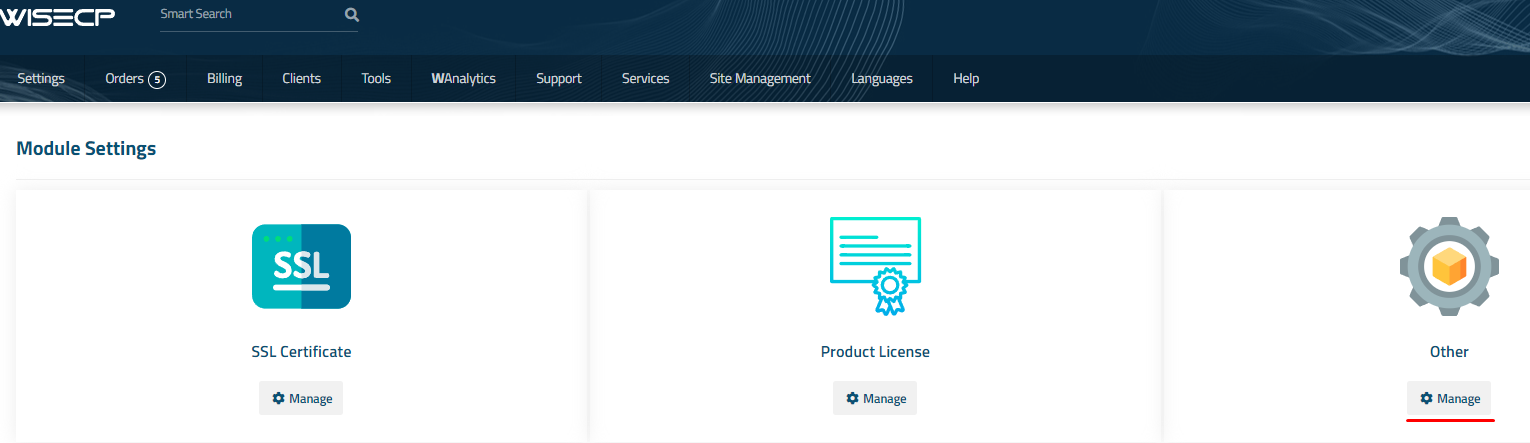
2. Go to module configuration.
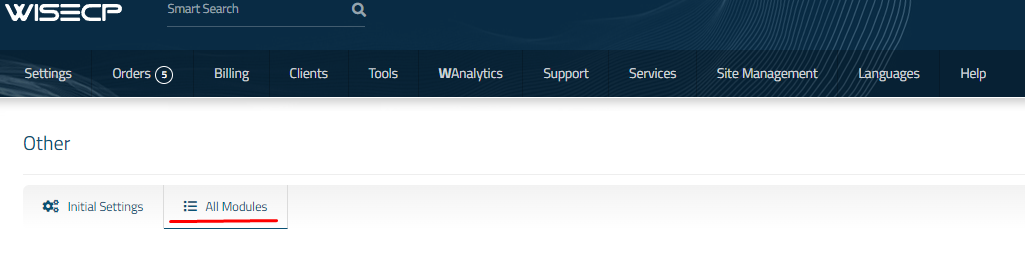
Services -> Service Management -> Module Settings -> Other -> All Modules -> PUQ WireGuard Business-VPN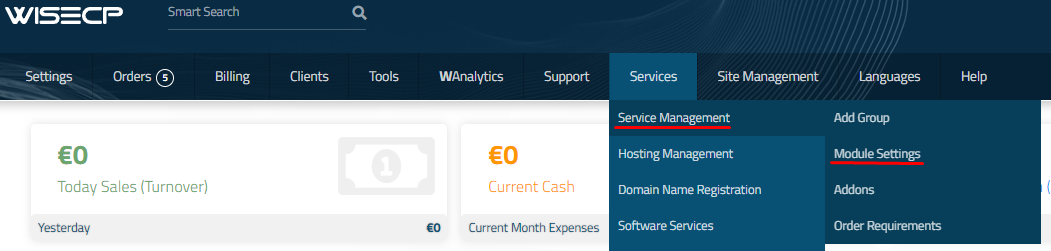
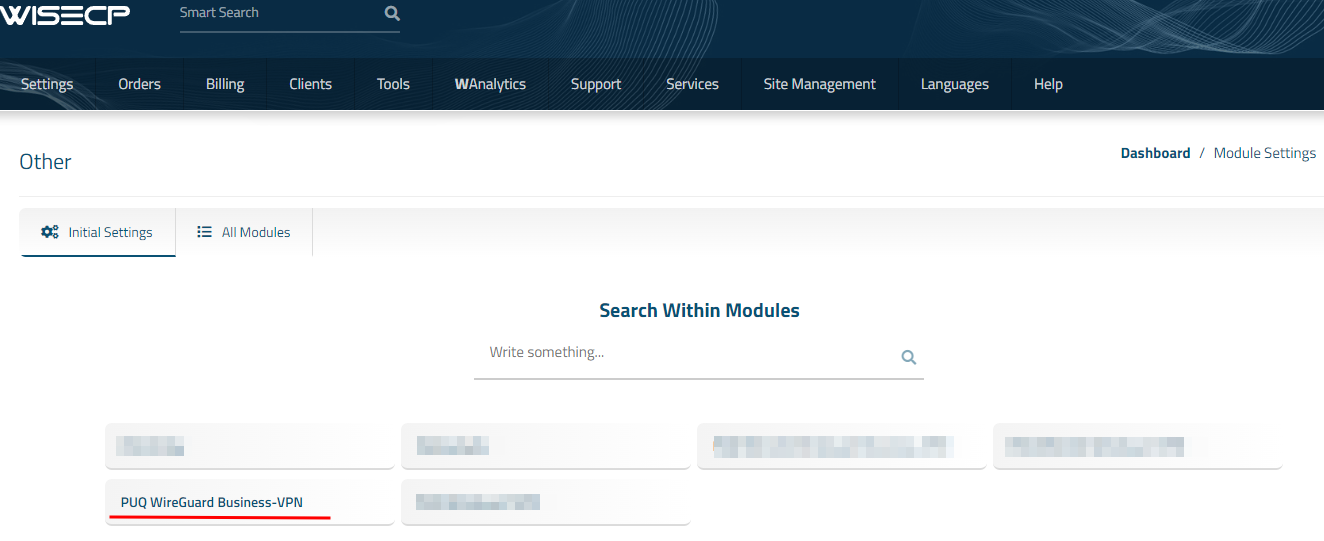
3. On the open page, enter the purchased license key for this product and click the 'Check and Save' button to validate the key and save it.
PUQVPNCP installation and configuration
WireGuard Business-VPN module WISECP
Order now | Download | FAQ
Official documentation:
PUQVPNCP Documentation
PUQVPNCP Download
PUQVPNCP Order now
1. Install the required packages
apt-get update
apt-get install wireguard wireguard-dkms wireguard-tools -y
apt-get install iproute2 iptables -y
apt-get install bind9 -y
2. Download the latest version of the package
https://download.puqcloud.com/cp/puqvpncp/
3. Install the puqvpncp package
wget https://download.puqcloud.com/cp/puqvpncp/puqvpncp_XXXX_amd64.deb
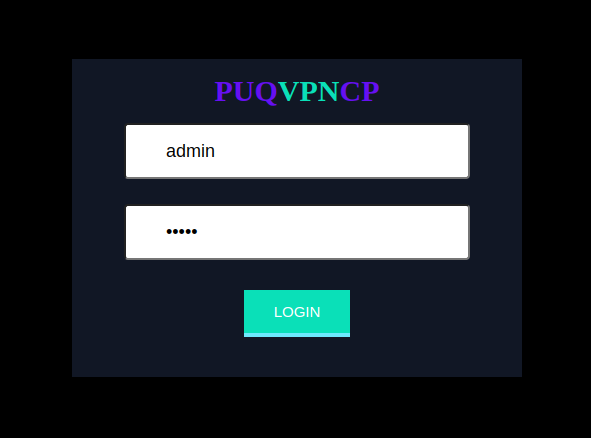
dpkg -i puqvpncp_XXXX_amd64.deb4. After installation, connect to your server via a web browser.
http://SERVER_IP:8098
Username: admin
Password: admin
5. Enable SSL Let’s Encrypt
Requirements
- The active domain name that resolves the server's IP address
- Port 80 and 443 are always open, and not busy with another process
In order for the system to start the procedure for obtaining an SSL certificate from Let's Encrypt, it is necessary.
In the configuration file, enable the use of SSL and enter the domain name.
nano /etc/puqvpncp/puqvpncp.conf LetsEncrypSSL=yes
Domain=XXXXXX.XXXRestart the PUQVPNCP service
service puqvpncp restartAfter these steps, the first time you connect to the server via the https protocol, the system will request an SSL certificate and automatically renew it if necessary.
ATTENTION. After activating SSL, the system will only work in the https protocol on port 443.
A redirect is also set from port 80 to port 443.
To connect to the server via the https protocol, use only the domain that was set in the configuration file.
Otherwise, you will get an error that SSL is not working correctly.
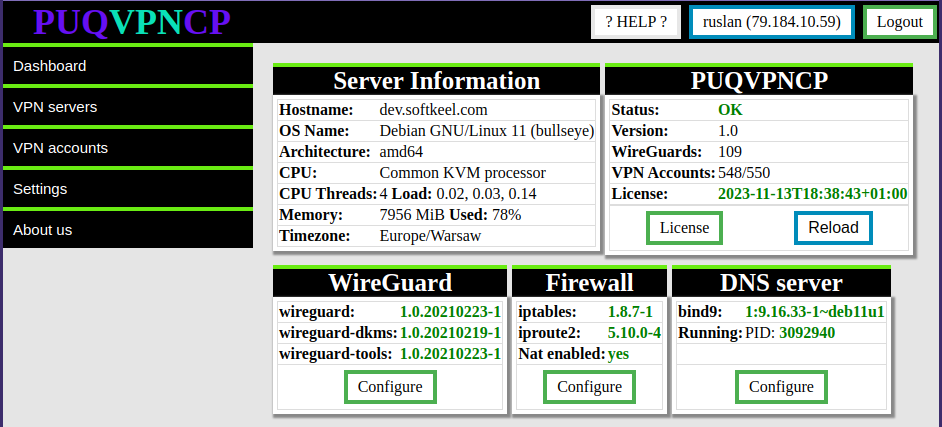
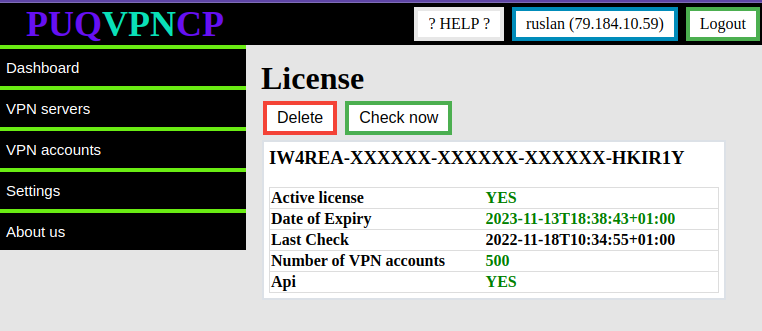
6. License configuration is available in the menu item Settings->License
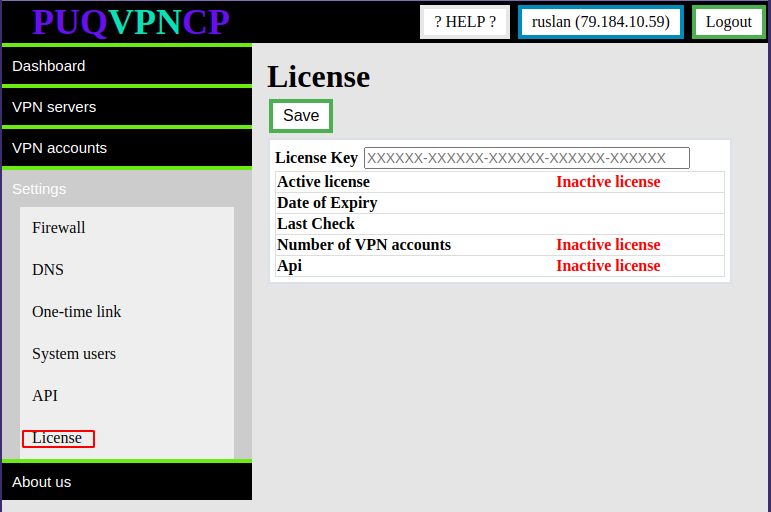
By default, the system limit is 50 users and the API is disabled.
In order to activate the license key, the key must be entered in the "License Key" field and click on the "Save" button
7.Creation of access API
To manage API Access Hashs, go to the section Settings->API
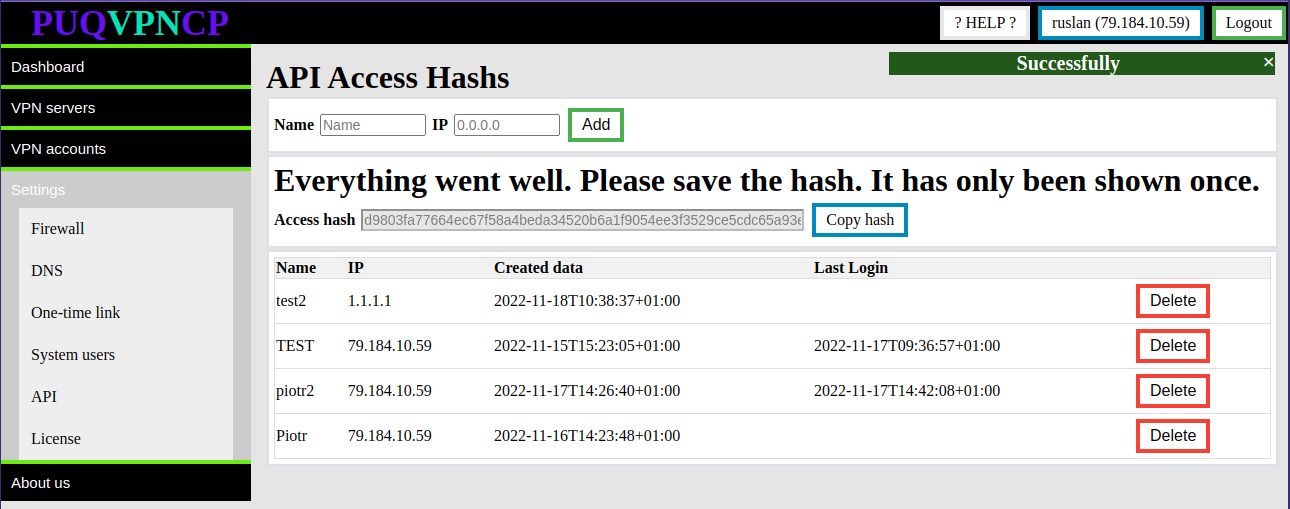
Enter the name and IP address of the WHMCS server and click the ADD button
Attention.
The generated Access hash will only be shown once. Copy it, it will be needed during configuration of the product server in the WHMCS system.
Accept the fact that once the Access Hashs API is created, it will only be shown once.
Each API Access Hash only works from a specific IP address.
8. Creation of access API
Add new WireGuard is available in the menu item VPN servers->WireGuard->Click Create
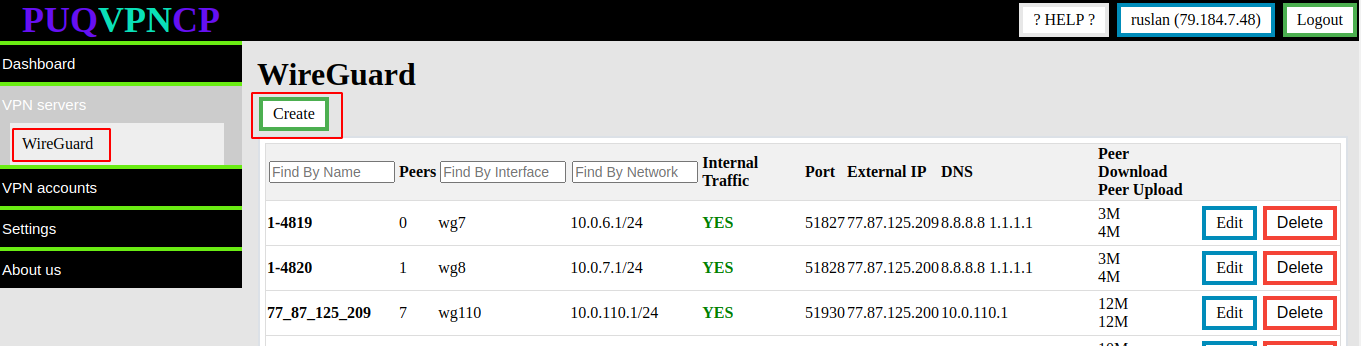
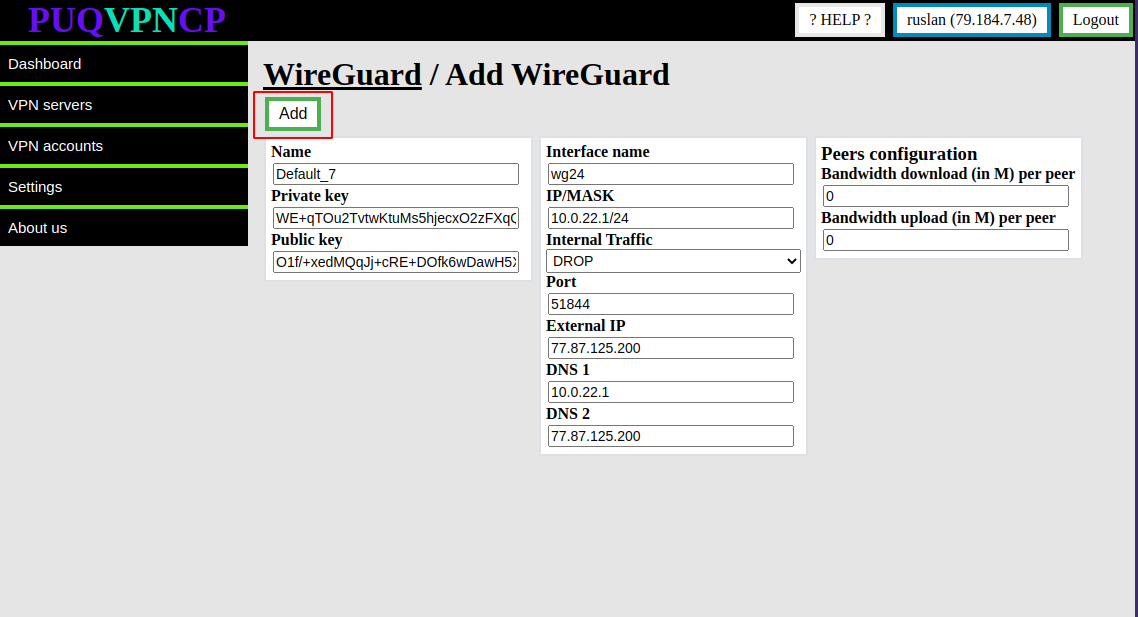
Enter or edit the parameters of the new server/interface and click the ADD button
Add server (PUQVPNCP) in WISECP
WireGuard Business-VPN module WISECP
Order now | Download | FAQ
1. Log in to the administrative area of your WISECP.
2. Go to module configuration.
Services -> Service Management -> Module Settings -> Other -> All Modules -> PUQ WireGuard Business-VPN
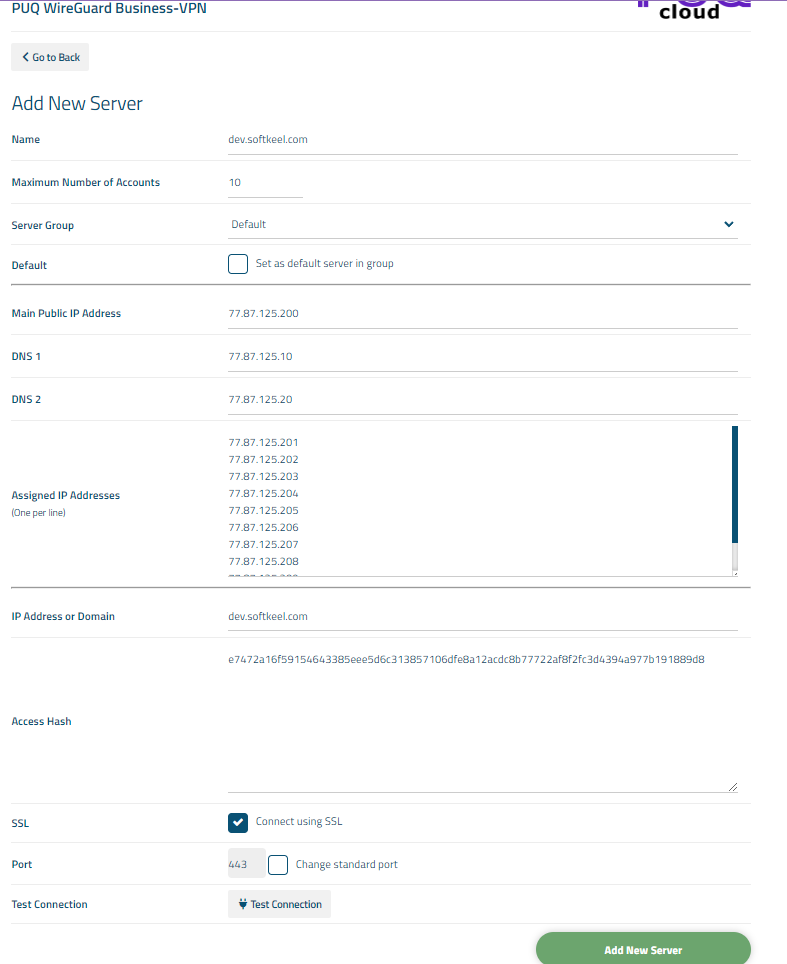
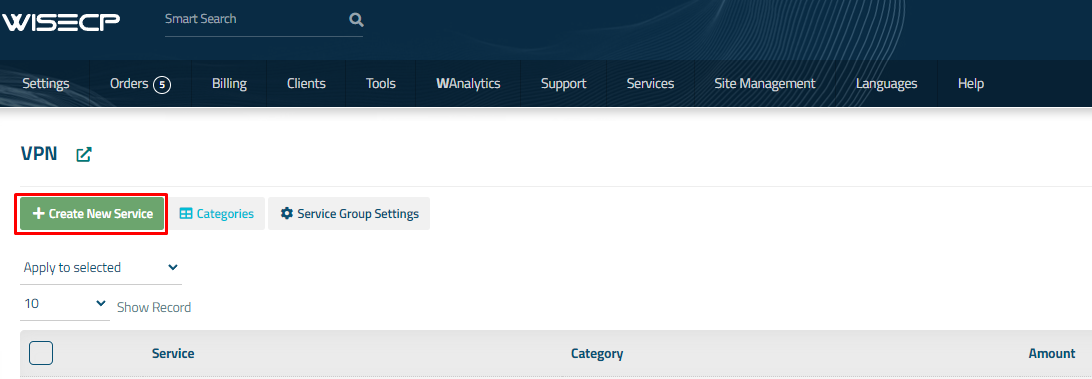
3. In the opened page, click the 'Add Server' button.

4. On the opened page, enter all the necessary information:
- Name: Displayed name of the server.
- Maximum Number of Accounts: The number of services that can be on this server.
- Server Group: Optionally, choose the server group.
- Main Public IP Address: is the public IP that will be used in those services which will utilize a single public IP for all.
- DNS 1 and DNS 2: are DNS servers that will be specified in the configuration of WireGuard clients.
- IP Address or Domain: The address of the PUQVPNCP server you are connecting to
- Access Hash: API key that you created in the previous step on the PUQVPNCP server. (IP addresses should be configured on the interfaces in PUQVPNCP.)
- Check the SSL box if you want to use SSL-encrypted connection. If necessary, specify the port and perform a connection test.
Service/Product configuration
WireGuard Business-VPN module WISECP
Order now | Download | FAQ
If you do not have a Service Group where you want to place the new service, you need to create a new Service Group
1. Log in to the administrative area of your WISECP.
2. Create New Service Group
Go to
Services -> Service Management -> Add Group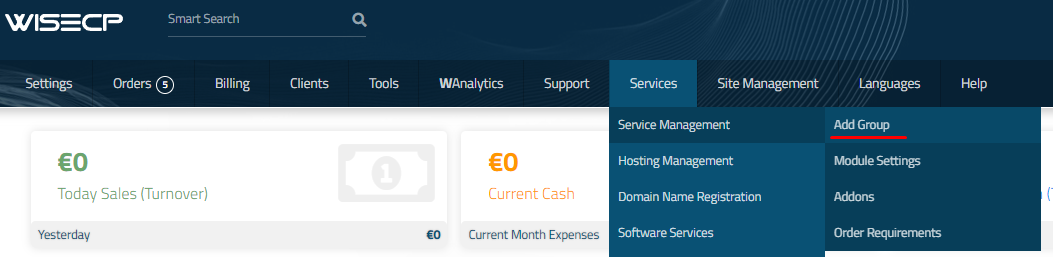
Enter all the necessary data and click the 'Create Group' button.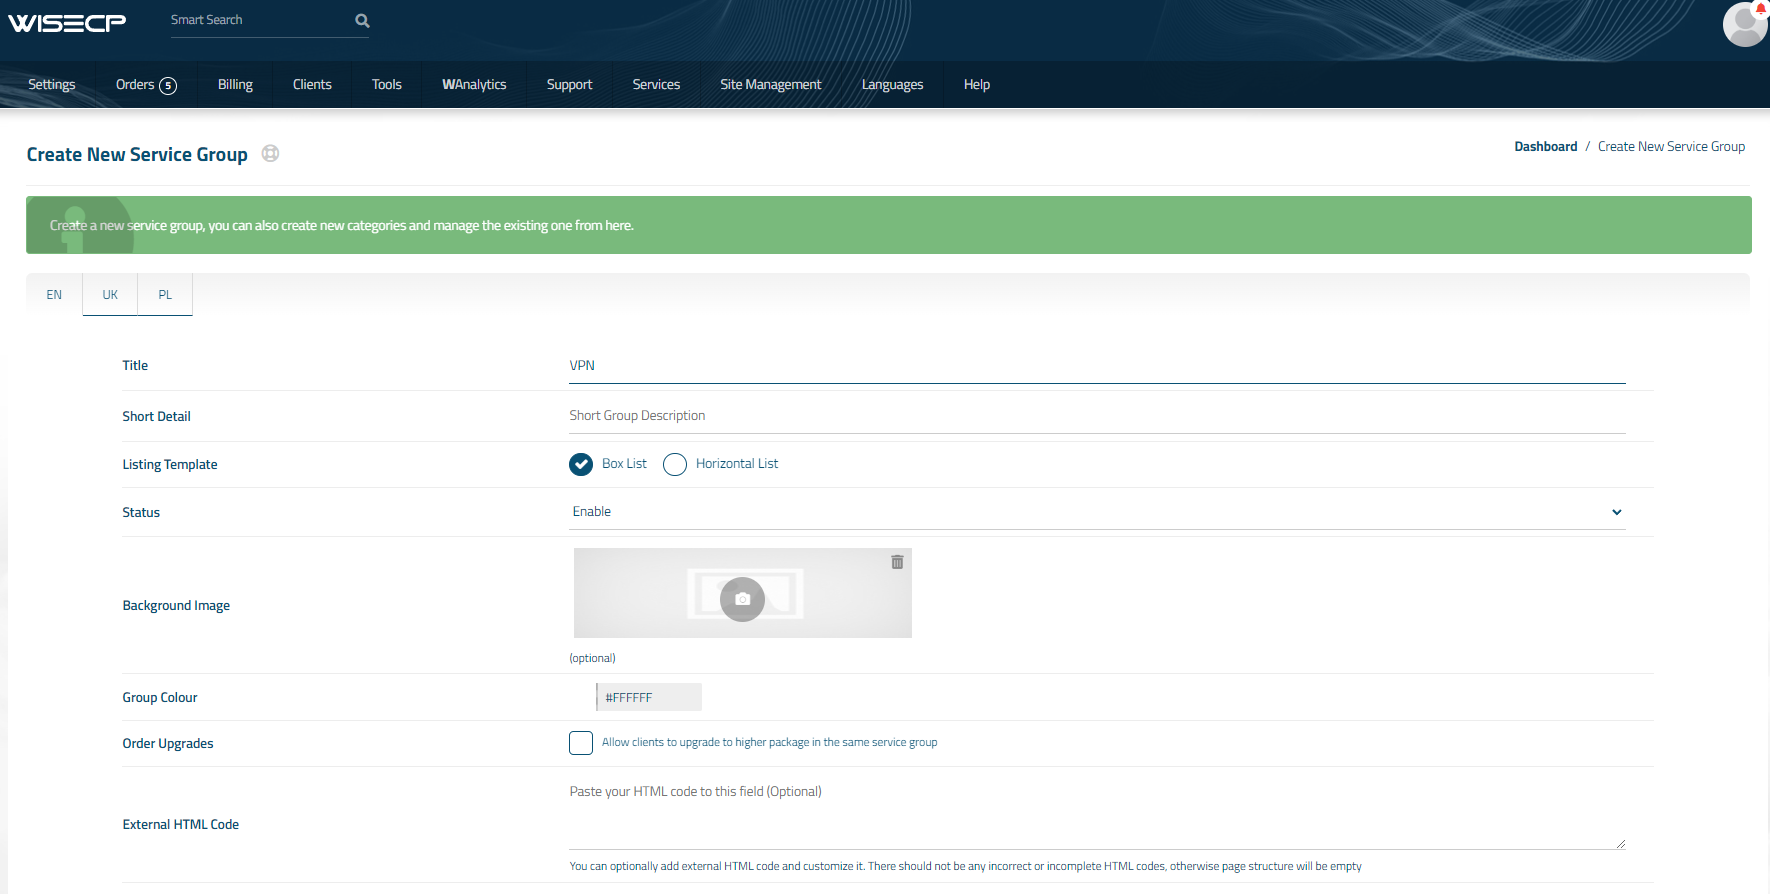
3. Adding a New Service
Go to
Services -> our service group where you need to add the new service.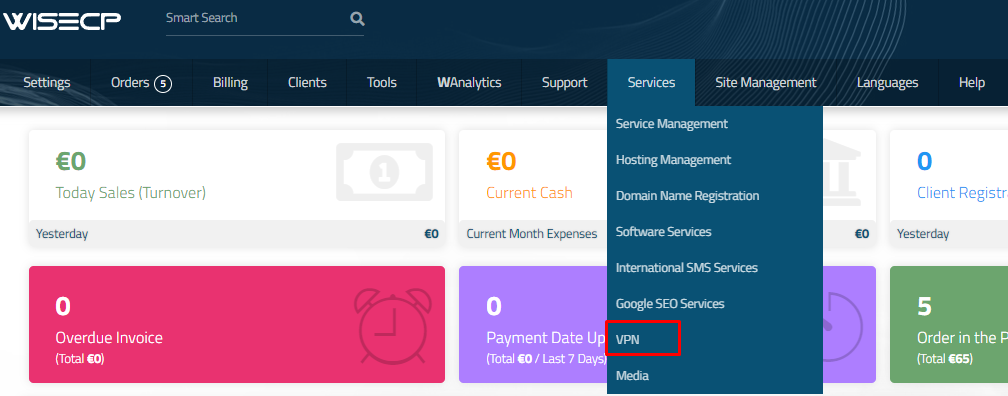
In the opened window, click the 'Create New Service' button.
On the opened page, enter all the necessary details for your new service and navigate to the 'Core' tab.
Select the 'PUQ WireGuard Business-VPN' module from the drop-down list of modules.

4. Fill in the configuration options according to your preferences.
- Server Group is the group of servers from which a server will be chosen for provisioning the service
- Number of VPN Accounts: the quantity of VPN user accounts a client can create within this package
- Bandwidth Download and Bandwidth Upload represent the connection speed that will be restricted by these parameters, in megabits per second, respectively.
- Username prefix: Will be attached to the beginning of username. Only small letters and numbers and symbol "-"
- Username suffix: Will be appended to the end of username. Only small letters and numbers and symbol "-"
- Use main Public IP Address: Use one main public IP for all services
- Internal Traffic: If the checkbox is selected, it indicates that internal traffic between VPN clients of the client will be allowed.
- Persistent Keepalive/AllowedIPs: parameters of configuration WireGuard clients
-
Interface MTU: This parameter will be set during the creation of the WireGuard interface.
- Link to Instruction Provide the link to the instruction for the service, and it will be displayed in the client area as a separate button
- Link to VPN Clients Provide the link to the page for downloading VPN clients for the service, and it will be displayed in the client area as a separate button