# Linux WireGuard client configuration
### WireGuard Business-VPN module **[WISECP](https://puqcloud.com/link.php?id=78)**
##### [Order now](https://puqcloud.com/index.php?rp=/store/wisecp-module-wireguard-business-vpn) | [Download](https://download.puqcloud.com/WISECP/Product/PUQ_WISECP-WireGuard-Business-VPN/) | [FAQ](https://faq.puqcloud.com/)
#####
In order to connect to a VPN, follow these steps:
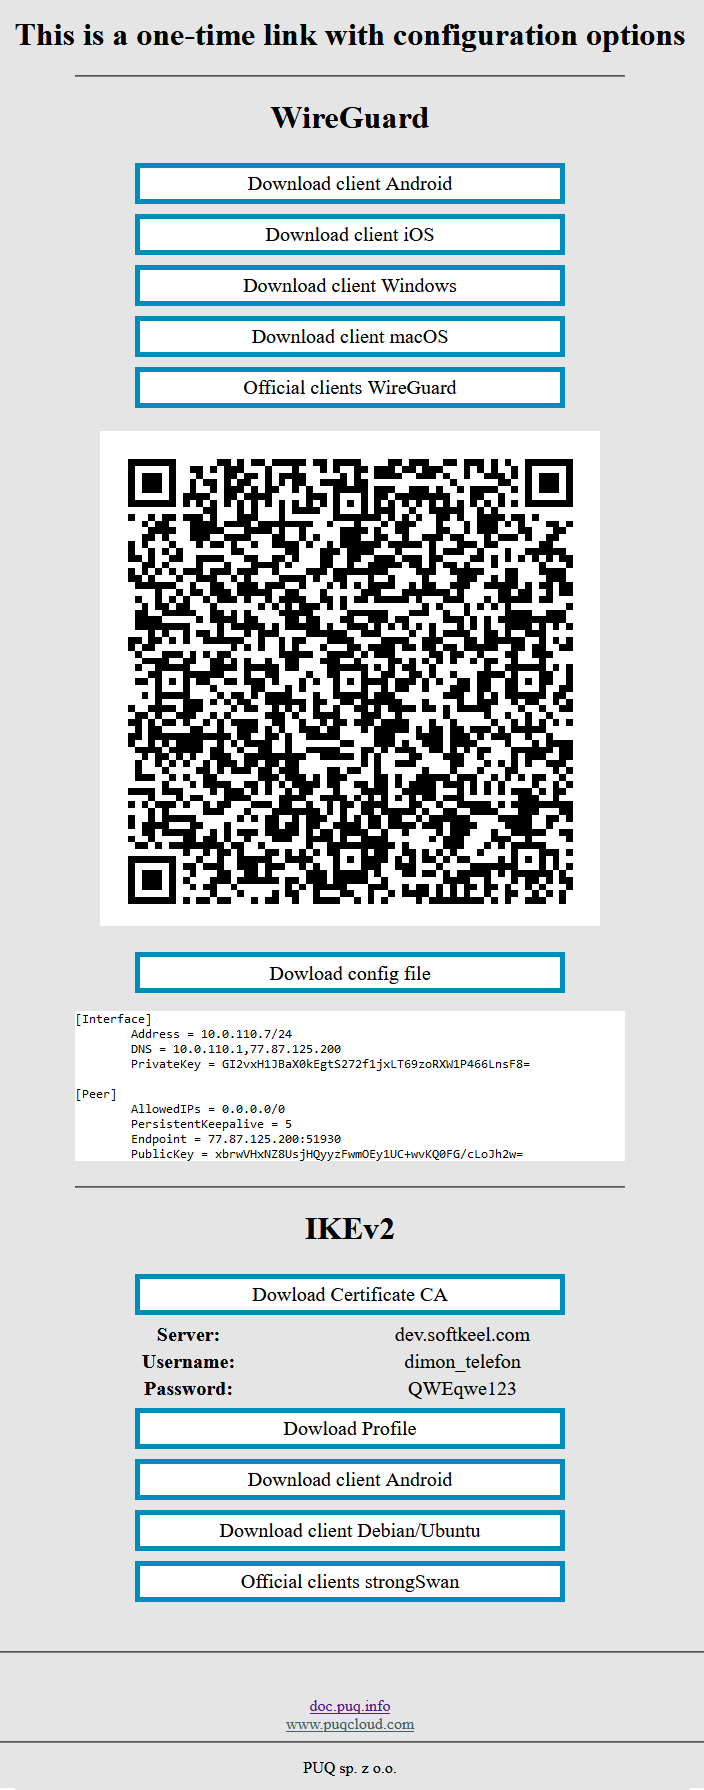
1. Open the link you received in a browser to get instructions and configuration for your new VPN connection. And you will see the following page in the browser window
[](https://doc.puq.info/uploads/images/gallery/2022-12/image-1670928539397.png)
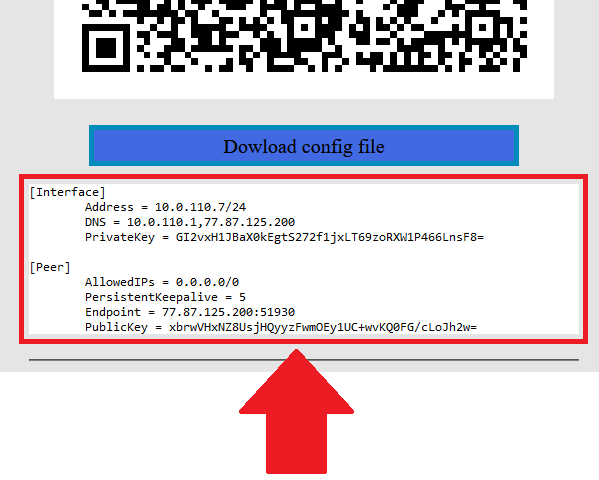
2. In order to start the configuration you need to download the configuration file. To download the configuration file, click the "Dowload config file" button.
[](https://doc.puq.info/uploads/images/gallery/2022-12/image-1671007982861.png)
3. Save the file to downloads or any other place to import later. You can download the configuration file and move it to your server, or you can create a new file and copy the configuration text into it. We will copy the configuration text into a new file in this WireGuard client setup guide.
4. Since we are setting up a connection for an Linux device, we need the WireGuard client for Linux. To download and install the client on your device, by command `sudo apt install wireguard`
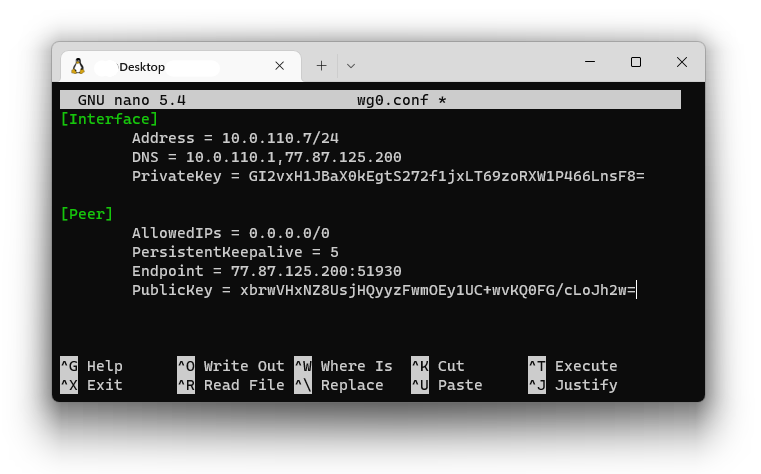
5. After installing the client, navigate to the folder `cd /etc/wireguard/` and create a configuration file. With the help of the command `nano wg0.conf`
6. Copy the configuration text into your terminal window.
[](https://doc.puq.info/uploads/images/gallery/2022-12/image-1671008968309.png)
7. Save the file, after saving the file you need to complete the connection.
Connect using the command: `sudo wg-quick up wg0`