Add server (Mikrotik) in WISECP
Mikrotik WireGuard Business-VPN module WISECP
1. Log in to the administrative area of your WISECP.
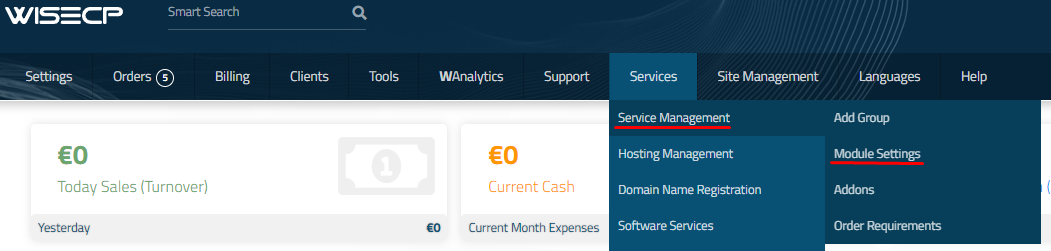
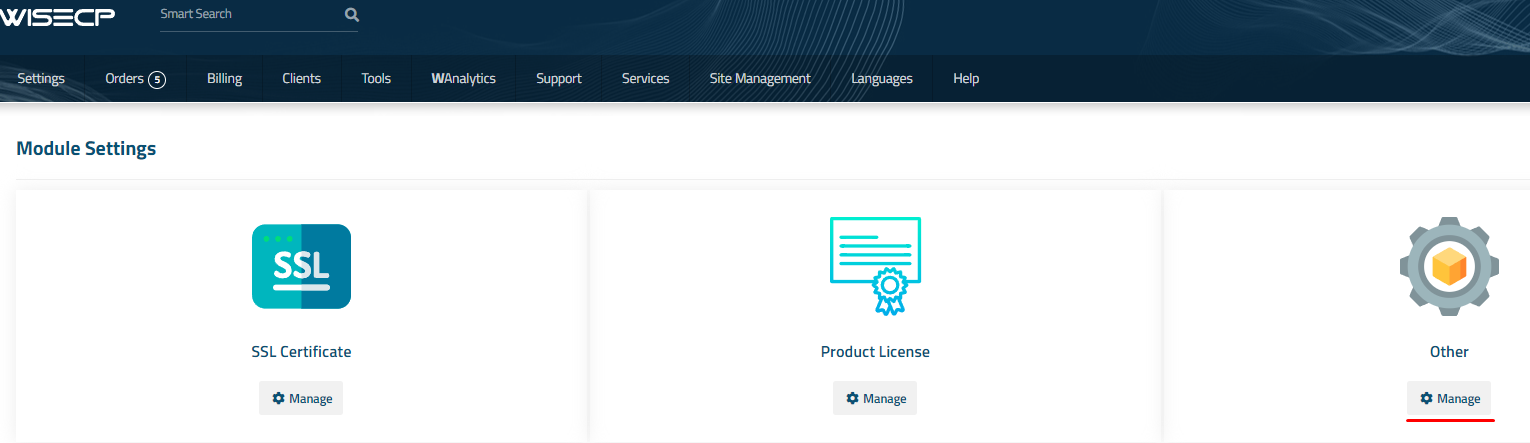
2. Go to module configuration.
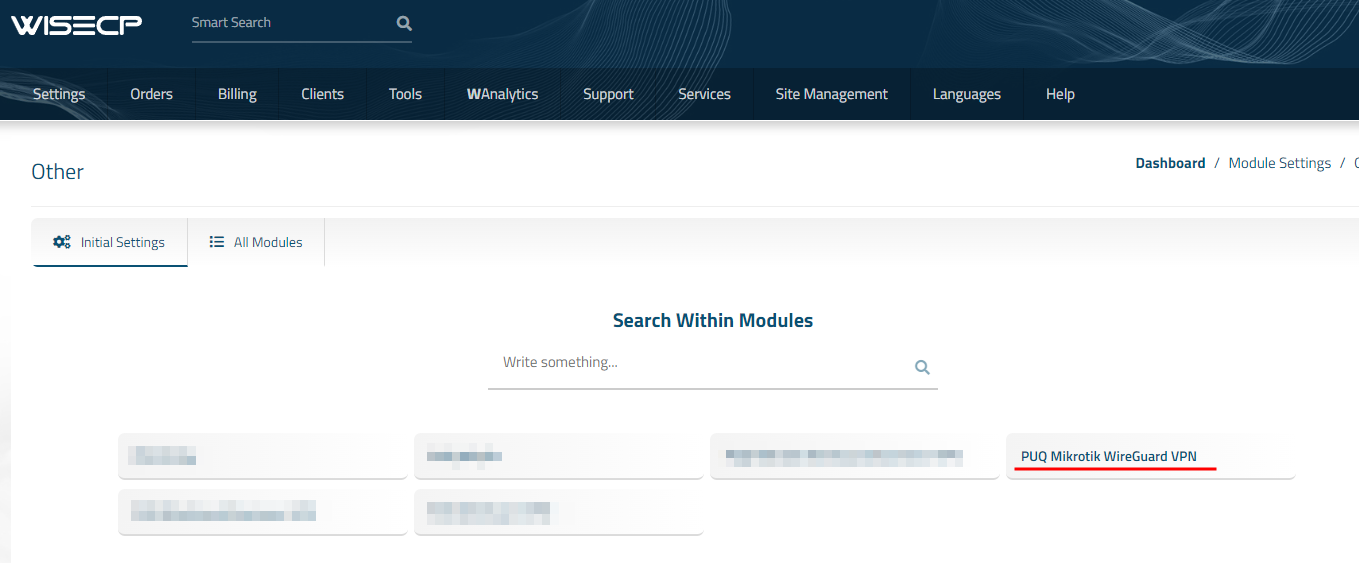
Services -> Service Management -> Module Settings -> Other -> All Modules -> PUQ Mikrotik WireGuard Business-VPN


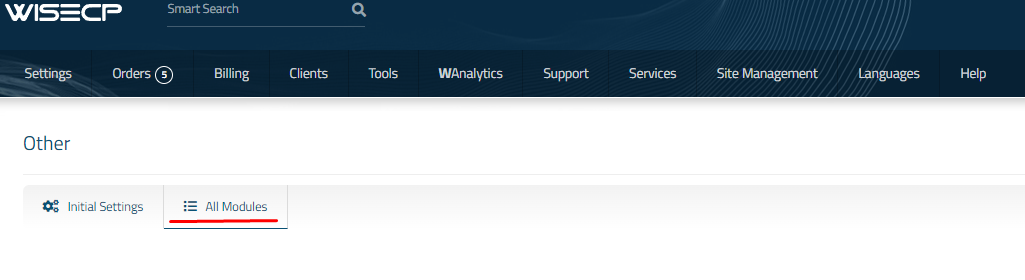
3. In the opened page, click the 'Add Server' button.
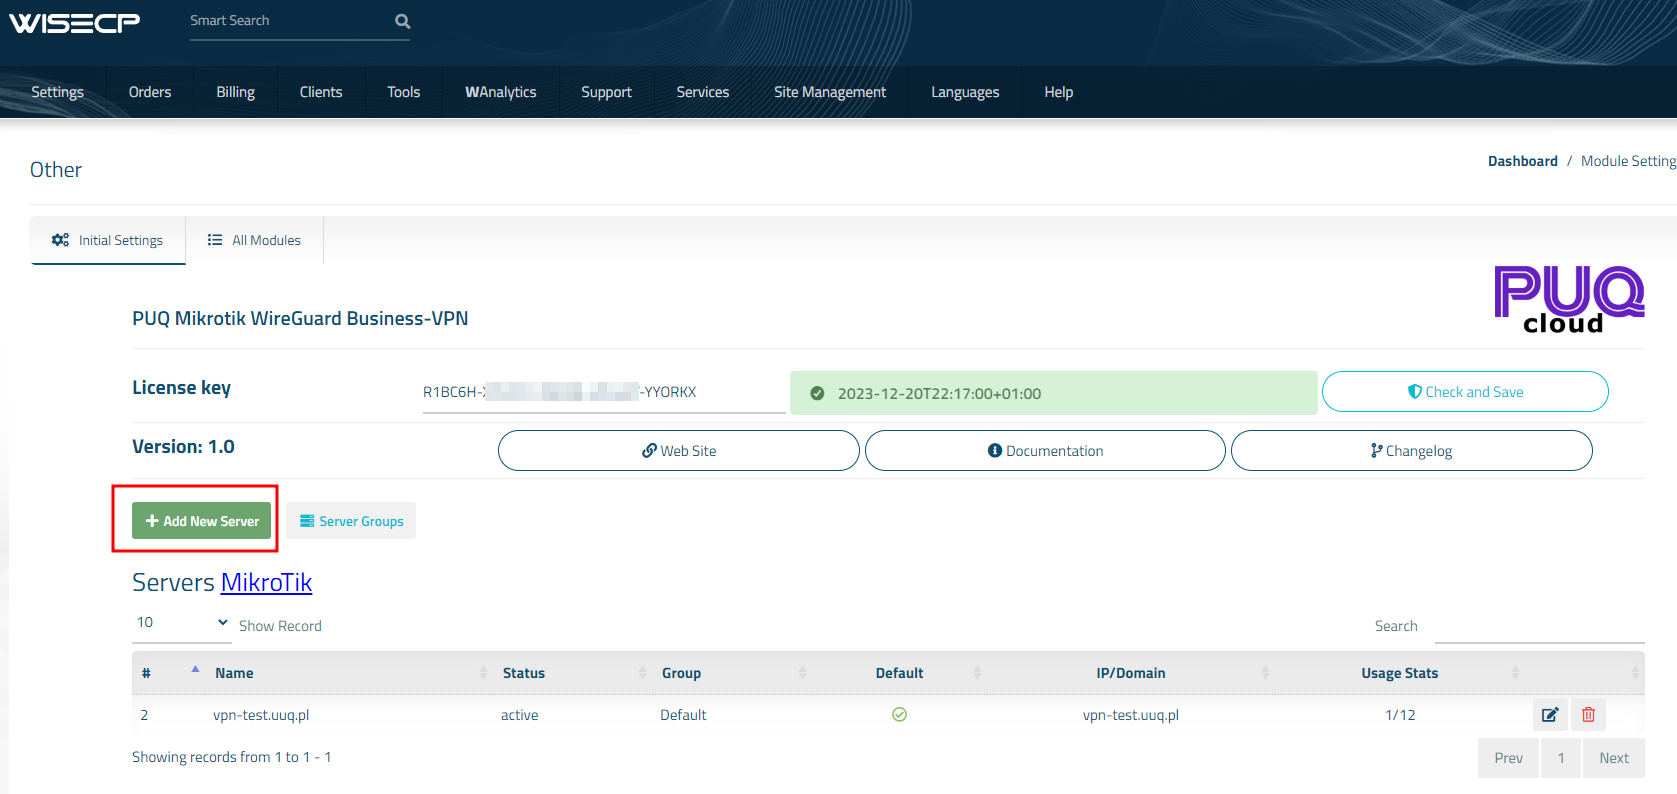
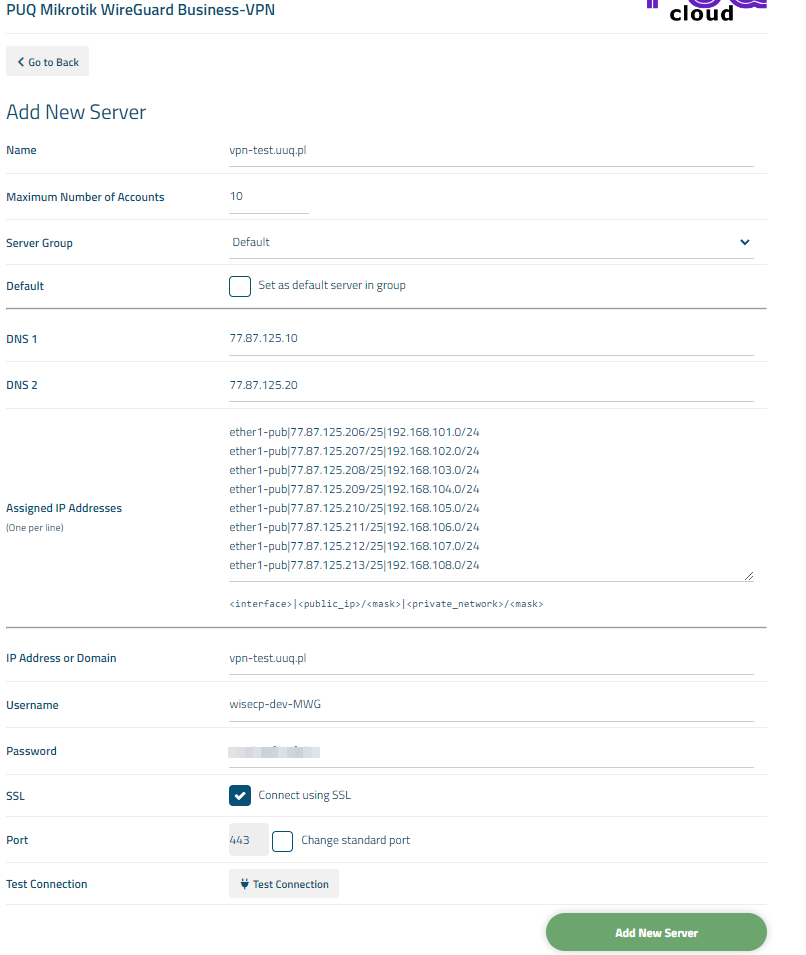
4. On the opened page, enter all the necessary information:
- Name: Displayed name of the server.
- Maximum Number of Accounts: The number of services that can be on this server.
- Server Group: Optionally, choose the server group.
- DNS 1 and DNS 2: are DNS servers that will be specified in the configuration of WireGuard clients.
- Assigned IP Addresses: a list of Interface fot public IP, Public IP, Private Net that will be assigned to WireGuard VPN clients, with each address on a new line. Format:
<interface>|<public_ip>/<mask>|<private_network>/<mask>
- IP Address or Domain: The address of the MikroTik router you are connecting to.
- Username: is the username for the account on MikroTik.
- Password: is the password for the account on MikroTik.
- Check the SSL box if you want to use SSL-encrypted connection. If necessary, specify the port and perform a connection test.