Add server (Nextcloud server)
Nextcloud module WHMCS
Order now | Download | FAQ
Adding a Nextcloud server to WHMCS
Step 1: General settings
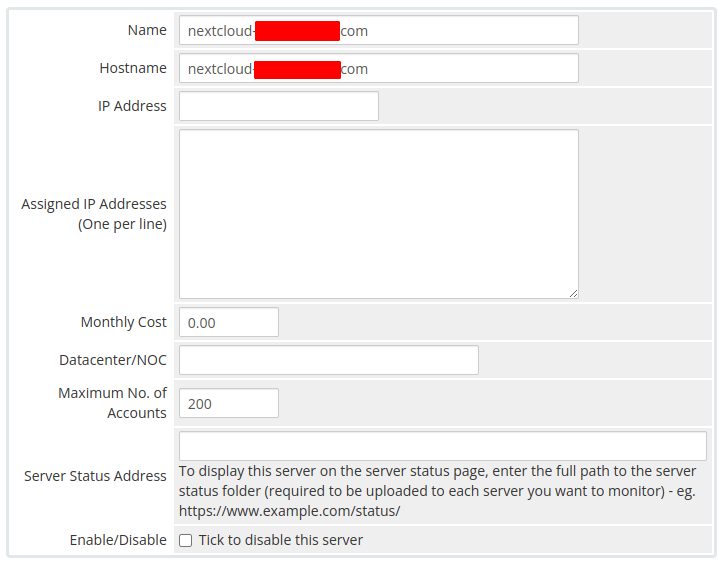
Enter the correct Name and Hostname for your Nextcloud server.
- Name — a descriptive name for the server (e.g. "Nextcloud Production")
-
Hostname — the domain name or IP address of your Nextcloud installation (e.g.
cloud.example.com)
If your Nextcloud uses a non-standard port, enter it in the Port field. Check the Secure checkbox if your server uses HTTPS (recommended).
 04-add-server-1.png
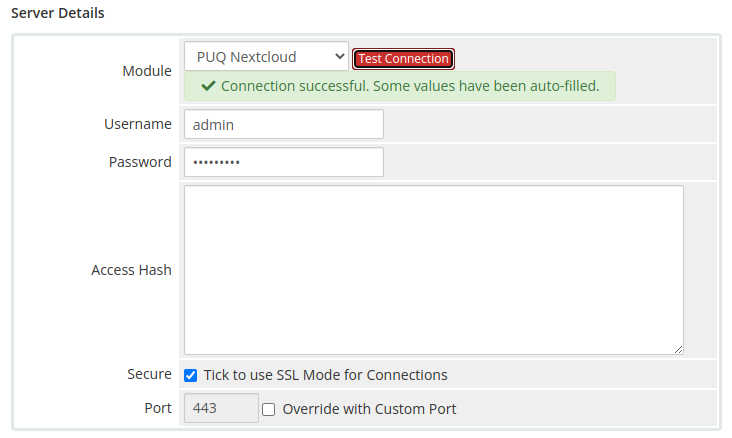
Step 2: Module settings
- In the Server Details section, select the PUQ Nextcloud module from the dropdown
- Enter valid credentials for the Nextcloud web interface:
- Username — Nextcloud administrator username
- Password — Nextcloud administrator password
- Click Test connection to verify the connection is working correctly
The test connection verifies that the module can reach the Nextcloud OCS API (/ocs/v1.php/cloud/users/) and authenticate with the provided credentials.
 05-add-server-2.png
Important: The Nextcloud user must have administrator privileges to manage users via the API. The module uses the Nextcloud OCS API v1 with HTTP Basic Authentication to create, modify, suspend, and delete user accounts.