Setup guide: WHMCS setup
Nextcloud module WHMCS
Order now | Download | FAQ
System requirements
| Requirement | Minimum version |
|---|---|
| PHP | 8.2 or higher |
| WHMCS | 9.x or higher |
| ionCube Loader | v13 or newer (v14, v15) |
Note: The module uses ionCube encoding. Make sure ionCube Loader is installed and active on your server.
Older module versions for WHMCS 8 are available in PHP-specific directories:
Step 1: Download the module
wget https://download.puqcloud.com/WHMCS/servers/PUQ_WHMCS-Nextcloud/php82/PUQ_WHMCS-Nextcloud-latest.zip
Step 2: Extract the archive
unzip PUQ_WHMCS-Nextcloud-latest.zip
Step 3: Copy module files
Copy the puqNextcloud directory to:
WHMCS_WEB_DIR/modules/servers/
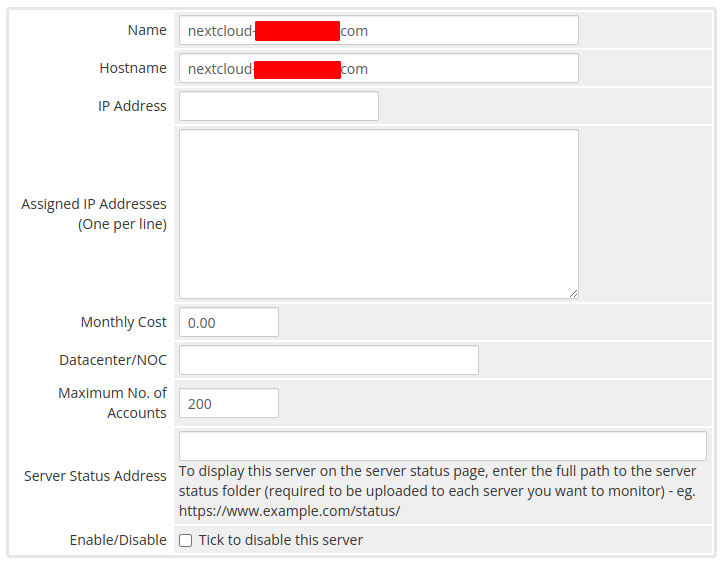
Step 4: Add server in WHMCS
- Enter the correct Name and Hostname
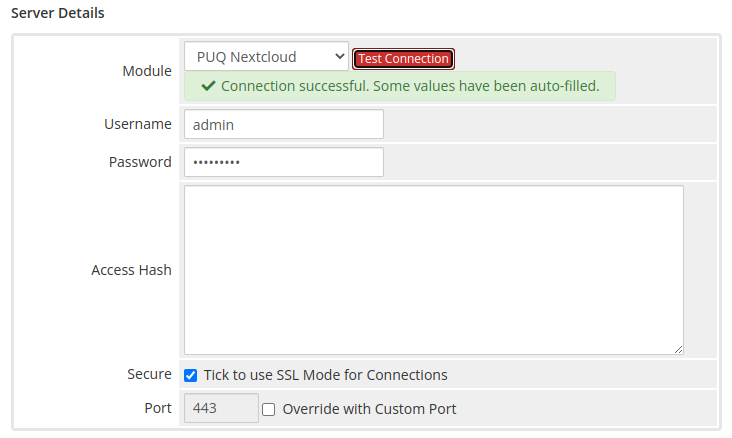
- In the Server Details section, select the PUQ Nextcloud module
- Enter valid Nextcloud web interface credentials (username and password)
- Click Test connection to verify the connection
 04-add-server-1.png
 05-add-server-2.png
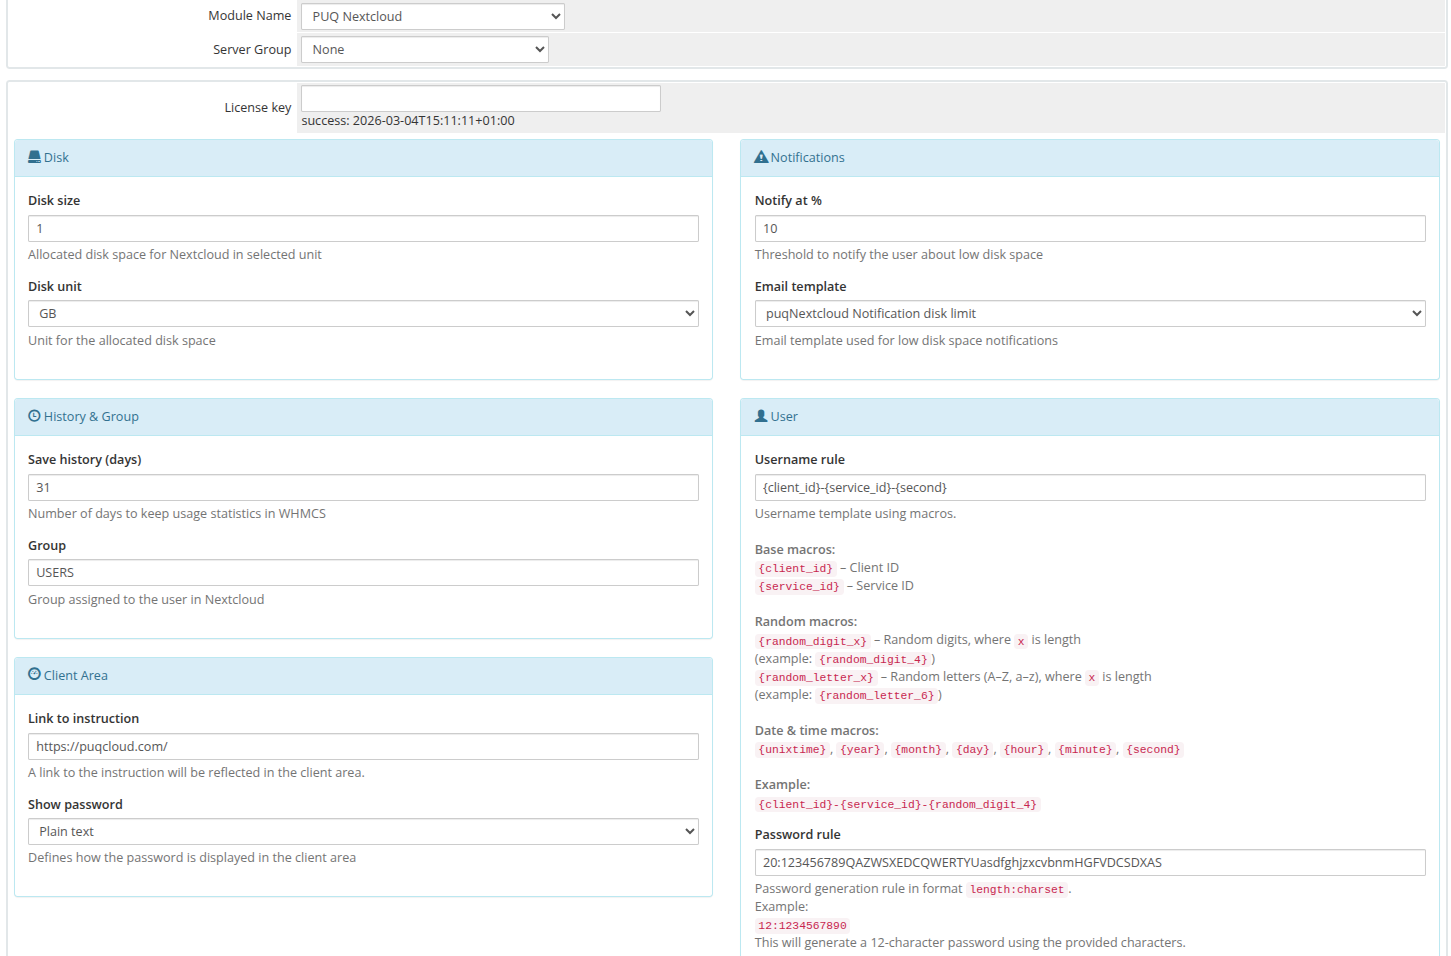
Step 5: Create product in WHMCS
Select the PUQ Nextcloud module in the Module settings section.
 06-whmcs-setup.png