Add server (PUQVPNCP) in WISECP
WireGuard Business-VPN module WISECP
1. Log in to the administrative area of your WISECP.
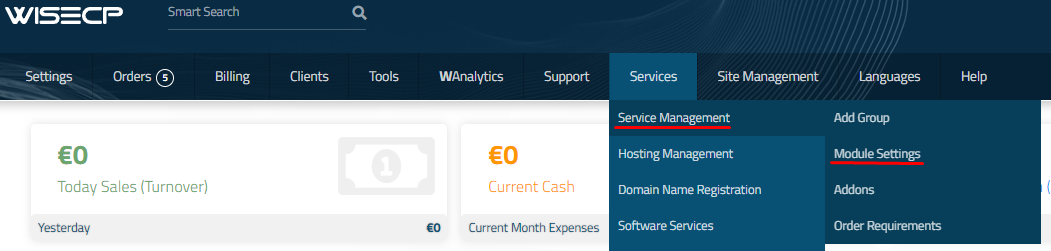
2. Go to module configuration.
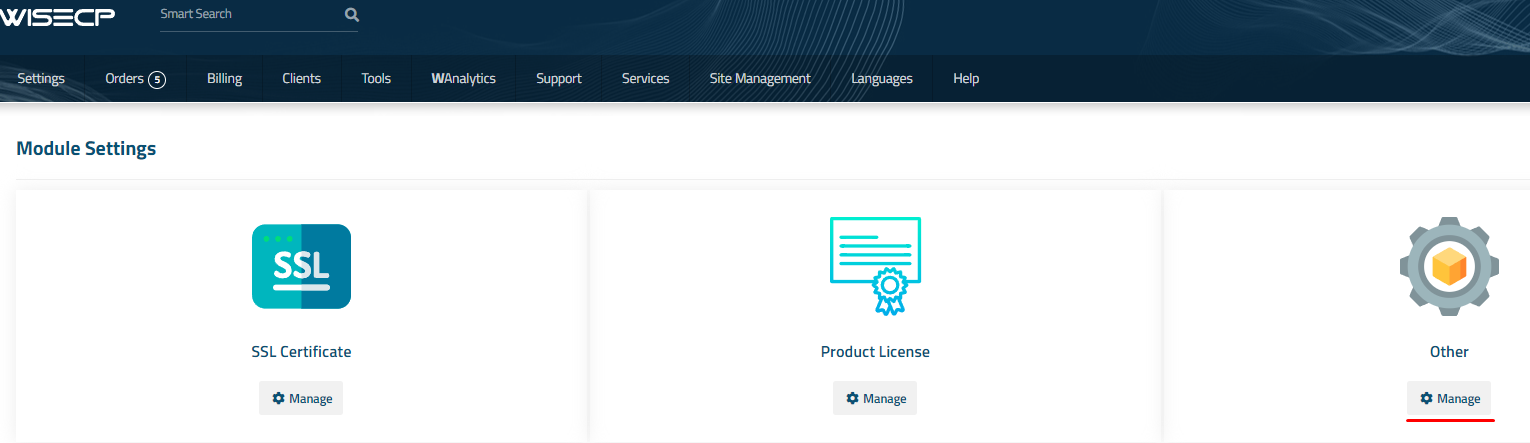
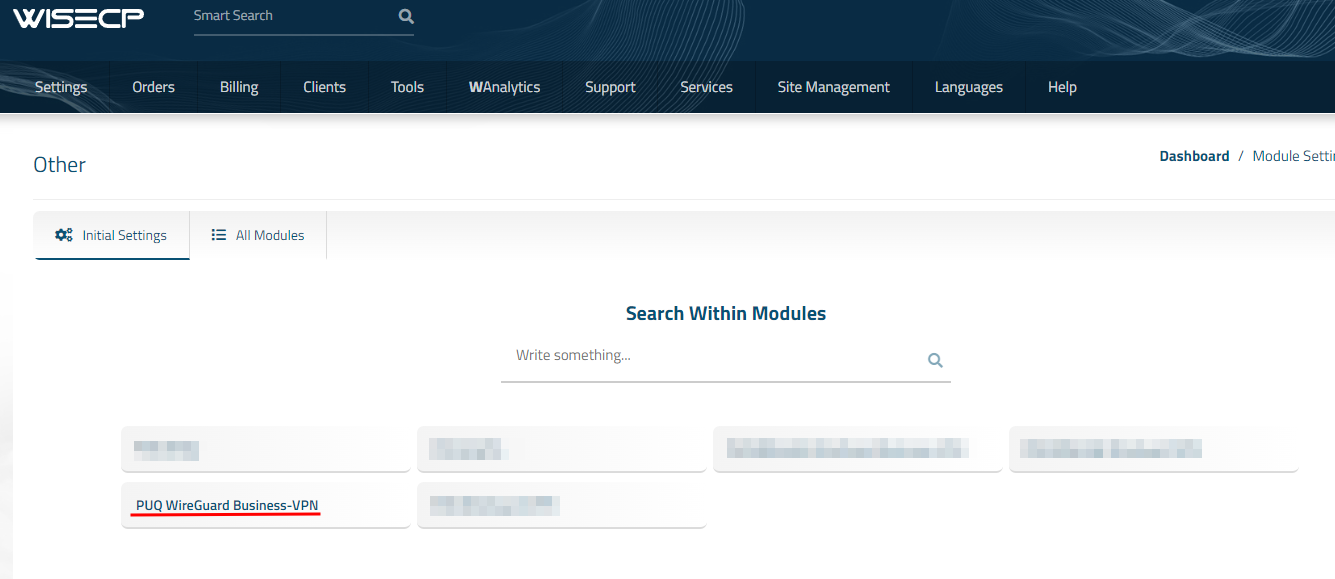
Services -> Service Management -> Module Settings -> Other -> All Modules -> PUQ WireGuard Business-VPN


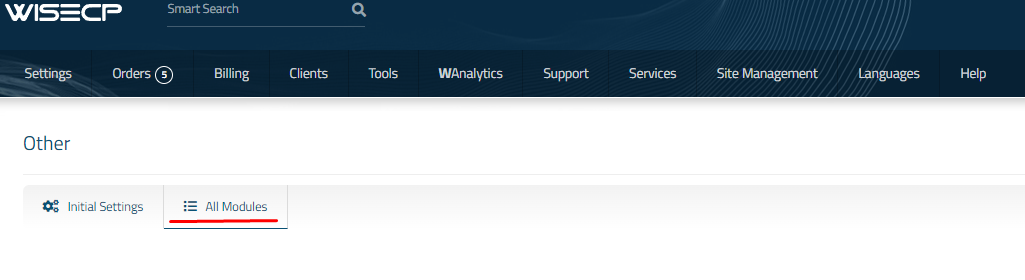
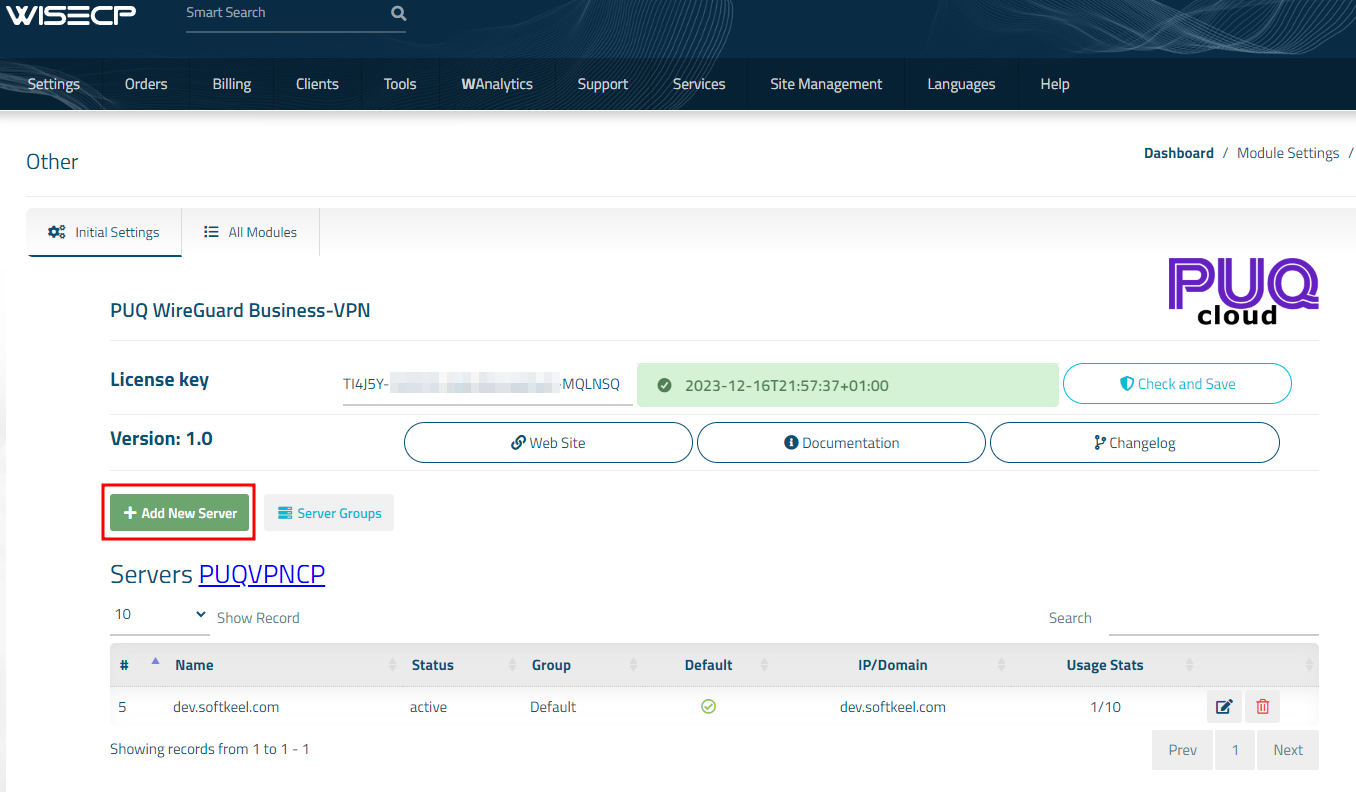
3. In the opened page, click the 'Add Server' button.
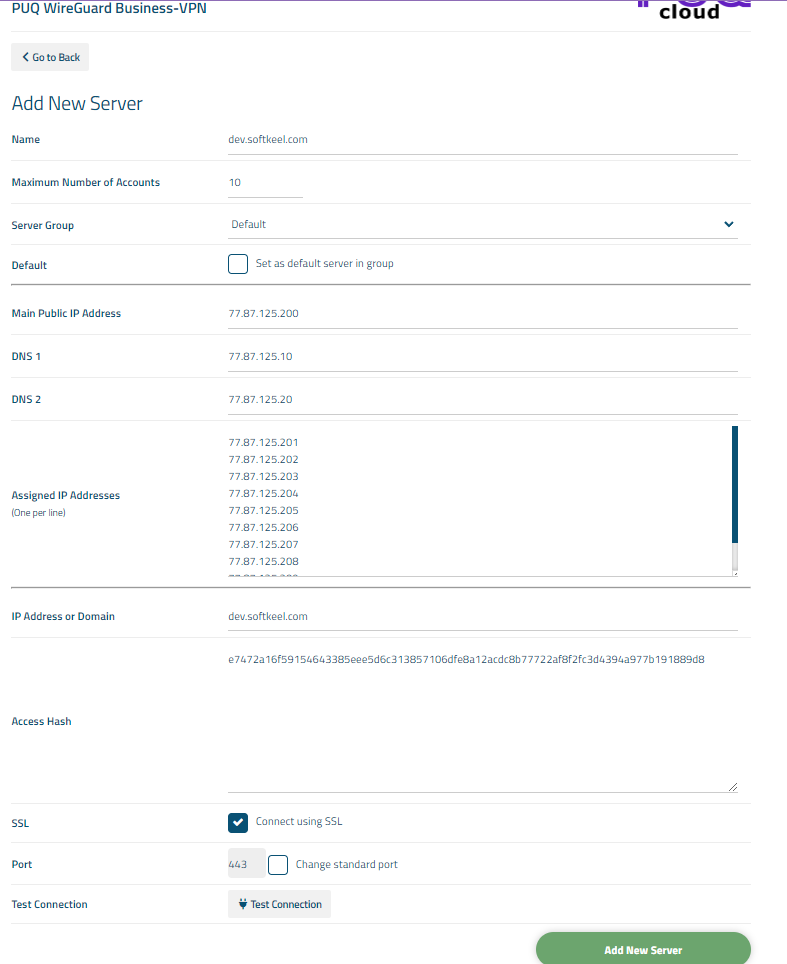
4. On the opened page, enter all the necessary information:
- Name: Displayed name of the server.
- Maximum Number of Accounts: The number of services that can be on this server.
- Server Group: Optionally, choose the server group.
- Main Public IP Address: is the public IP that will be used in those services which will utilize a single public IP for all.
- DNS 1 and DNS 2: are DNS servers that will be specified in the configuration of WireGuard clients.
- IP Address or Domain: The address of the PUQVPNCP server you are connecting to
- Access Hash: API key that you created in the previous step on the PUQVPNCP server. (IP addresses should be configured on the interfaces in PUQVPNCP.)
- Check the SSL box if you want to use SSL-encrypted connection. If necessary, specify the port and perform a connection test.