Service/Product configuration
WireGuard Business-VPN module WISECP
Order now | Download | FAQ
If you do not have a Service Group where you want to place the new service, you need to create a new Service Group
1. Log in to the administrative area of your WISECP.
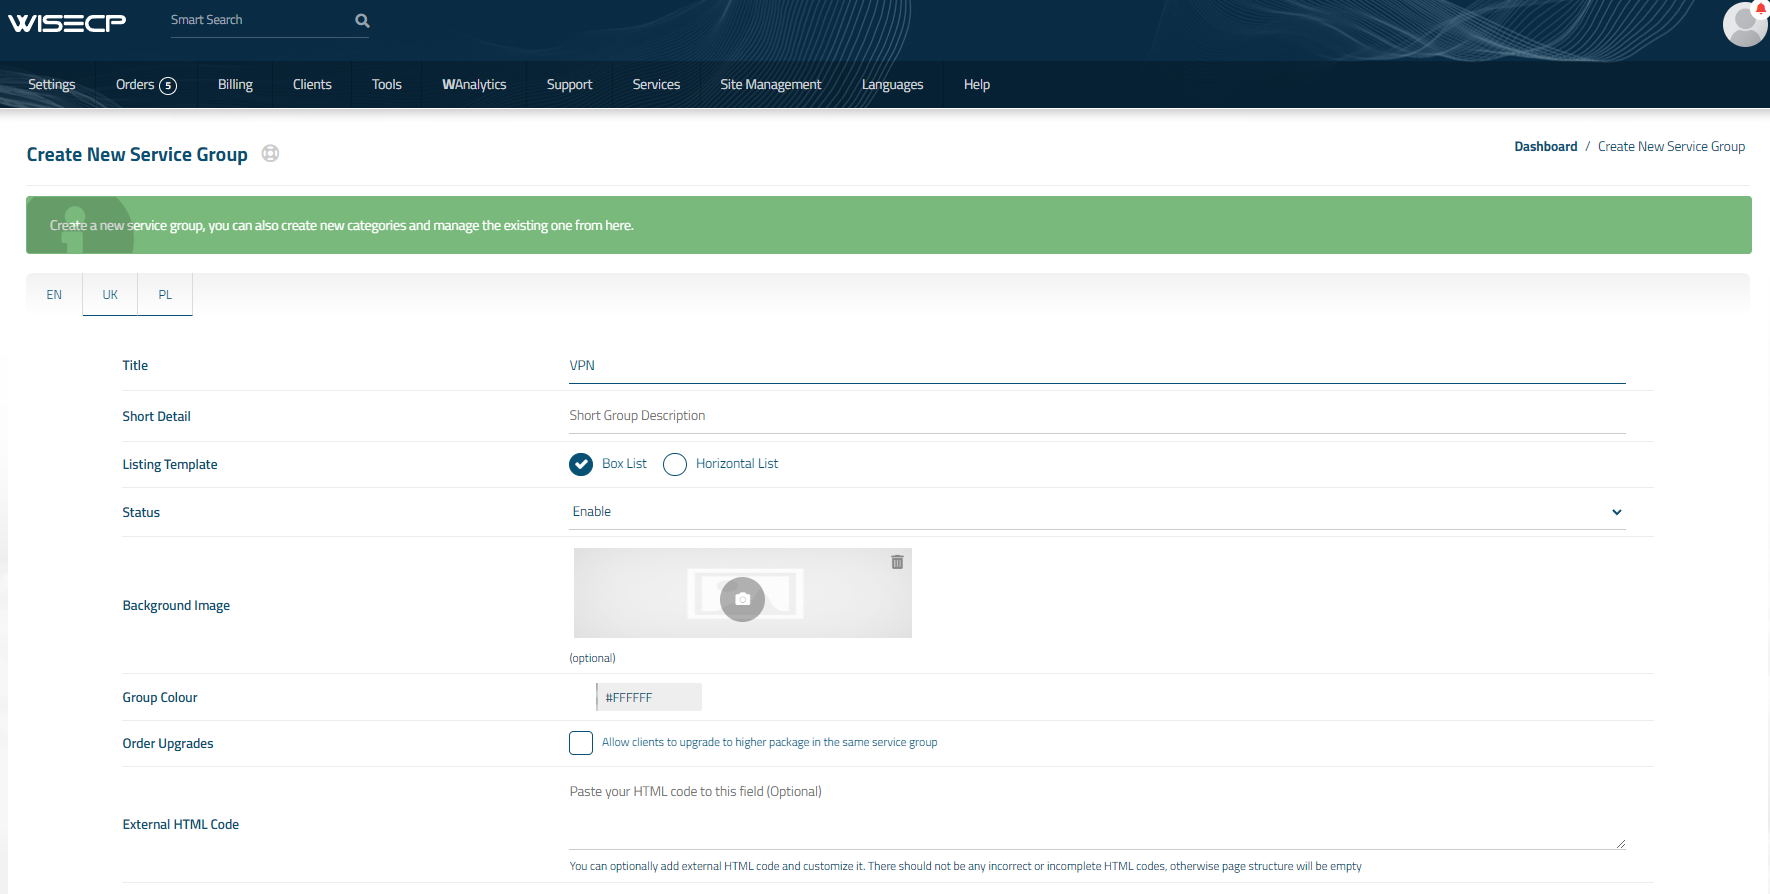
2. Create New Service Group
Go to
Services -> Service Management -> Add GroupEnter all the necessary data and click the 'Create Group' button.
3. Adding a New Service
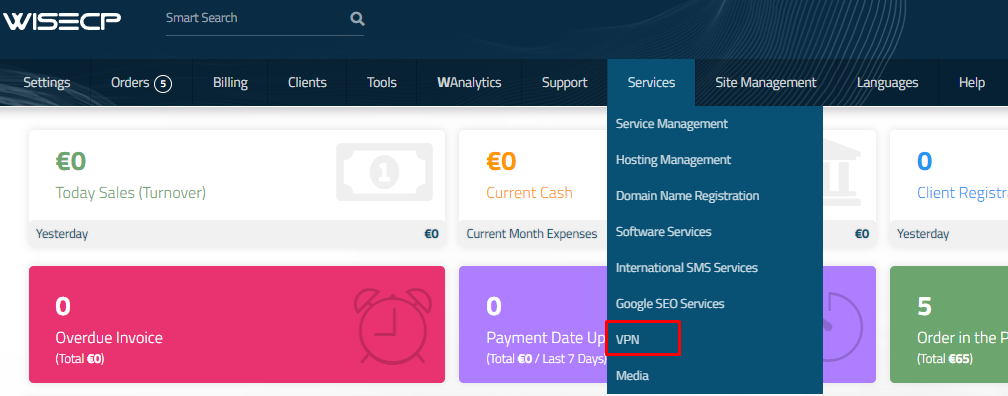
Go to
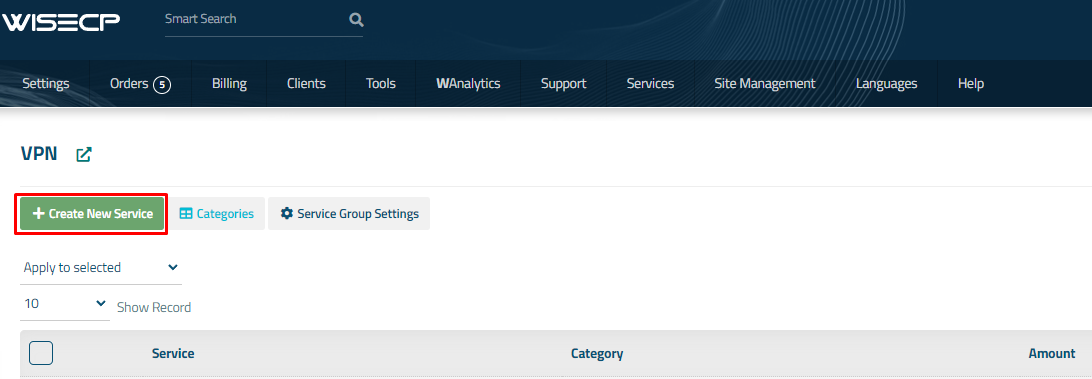
Services -> our service group where you need to add the new service.In the opened window, click the 'Create New Service' button.
On the opened page, enter all the necessary details for your new service and navigate to the 'Core' tab.
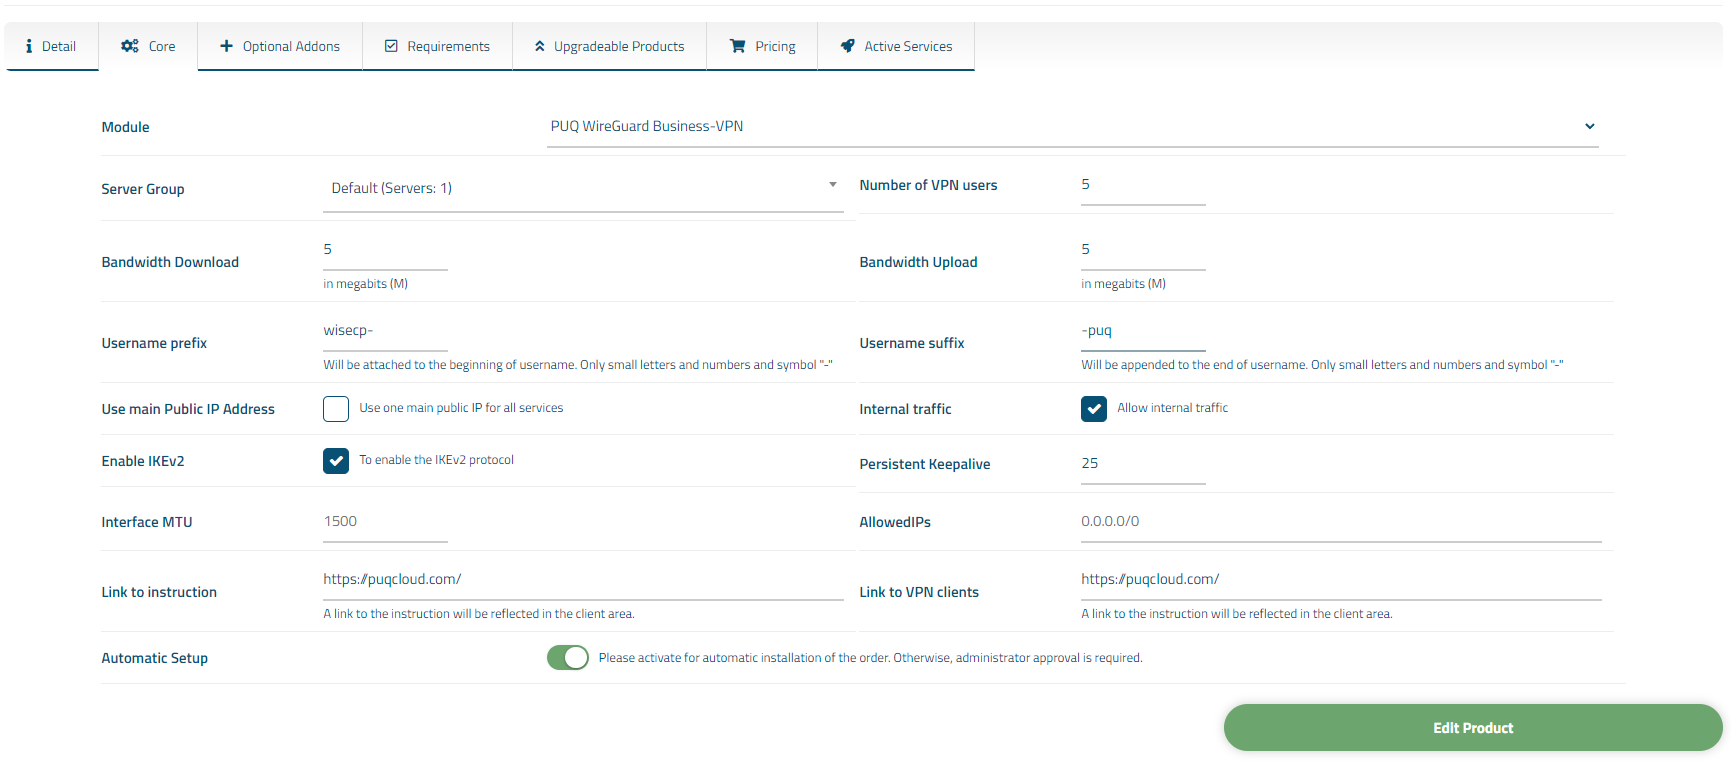
Select the 'PUQ WireGuard Business-VPN' module from the drop-down list of modules.
4. Fill in the configuration options according to your preferences.
- Server Group is the group of servers from which a server will be chosen for provisioning the service
- Number of VPN Accounts: the quantity of VPN user accounts a client can create within this package
- Bandwidth Download and Bandwidth Upload represent the connection speed that will be restricted by these parameters, in megabits per second, respectively.
- Username prefix: Will be attached to the beginning of username. Only small letters and numbers and symbol "-"
- Username suffix: Will be appended to the end of username. Only small letters and numbers and symbol "-"
- Use main Public IP Address: Use one main public IP for all services
- Internal Traffic: If the checkbox is selected, it indicates that internal traffic between VPN clients of the client will be allowed.
- Persistent Keepalive/AllowedIPs: parameters of configuration WireGuard clients
-
Interface MTU: This parameter will be set during the creation of the WireGuard interface.
- Link to Instruction Provide the link to the instruction for the service, and it will be displayed in the client area as a separate button
- Link to VPN Clients Provide the link to the page for downloading VPN clients for the service, and it will be displayed in the client area as a separate button


No Comments