Add server (Mikrotik router)
Mikrotik VPN module WHMCS
Order now | Download | FAQ
Adding a Mikrotik router to WHMCS
Configure a Mikrotik router as a server within WHMCS using the PUQ Mikrotik VPN module.
Step 1: General settings
Enter the correct Name and Hostname for your Mikrotik router.
- Name — an internal identification for the server (e.g. "My great Mikrotik router")
-
Hostname — a resolvable domain pointing to the router's IP address (e.g.
vpn.mydomain.com)
If your Mikrotik API-SSL service listens on a non-standard port, enter it in the Port field. Check the Secure checkbox (the module talks to the router through API-SSL).
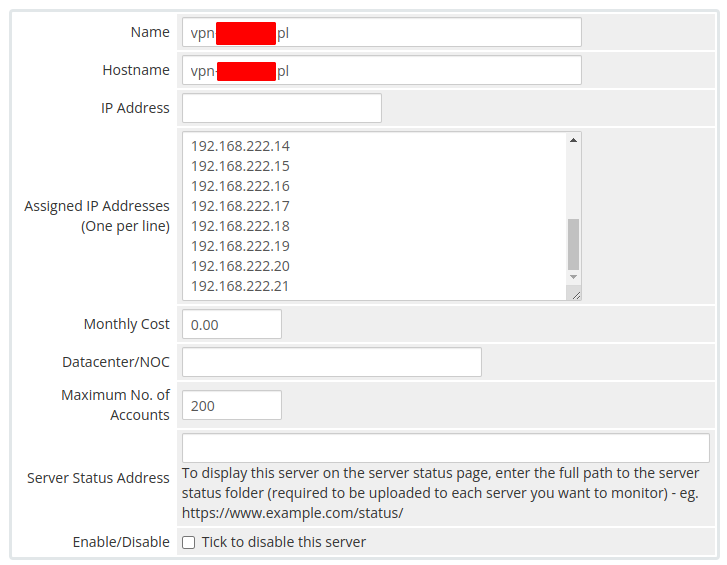 04-add-server-1.png
Step 2: Assigned IP addresses
In the Assigned IP Addresses field, enter the list of IP addresses that will be distributed to users. These IPs are consumed sequentially as new VPN accounts are provisioned. Both private and public IP addresses are supported.
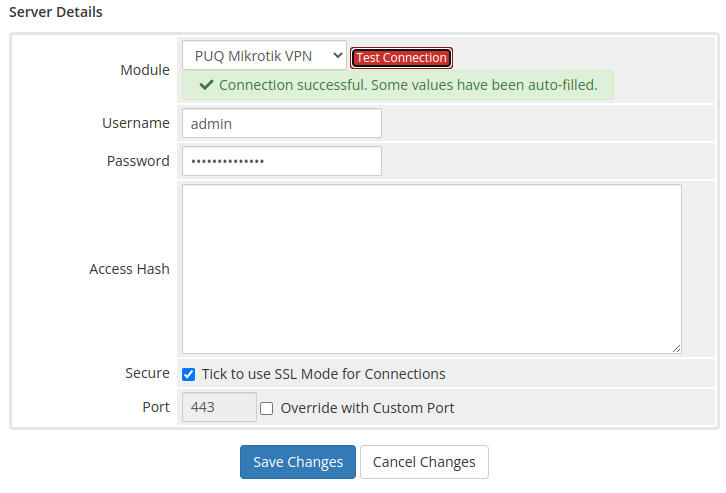
Step 3: Module settings
- In the Server Details section, select the PUQ Mikrotik VPN module from the dropdown
- Enter valid Mikrotik router credentials:
-
Username — Mikrotik user with API access (typically with the
fullgroup or custom group that includesapi,write,read,policy) - Password — the corresponding password
-
Username — Mikrotik user with API access (typically with the
- Click Test connection to verify the connection is working correctly
The test connection verifies that the module can reach the Mikrotik API-SSL service and authenticate with the provided credentials.
 05-add-server-2.png
Important: The Mikrotik user must have sufficient privileges to create and manage PPP secrets, read traffic counters and reset them. The module uses the Mikrotik API only — SSH access is not used.