Schedules
Account Statement addon WHMCS
Order now | Download | FAQ
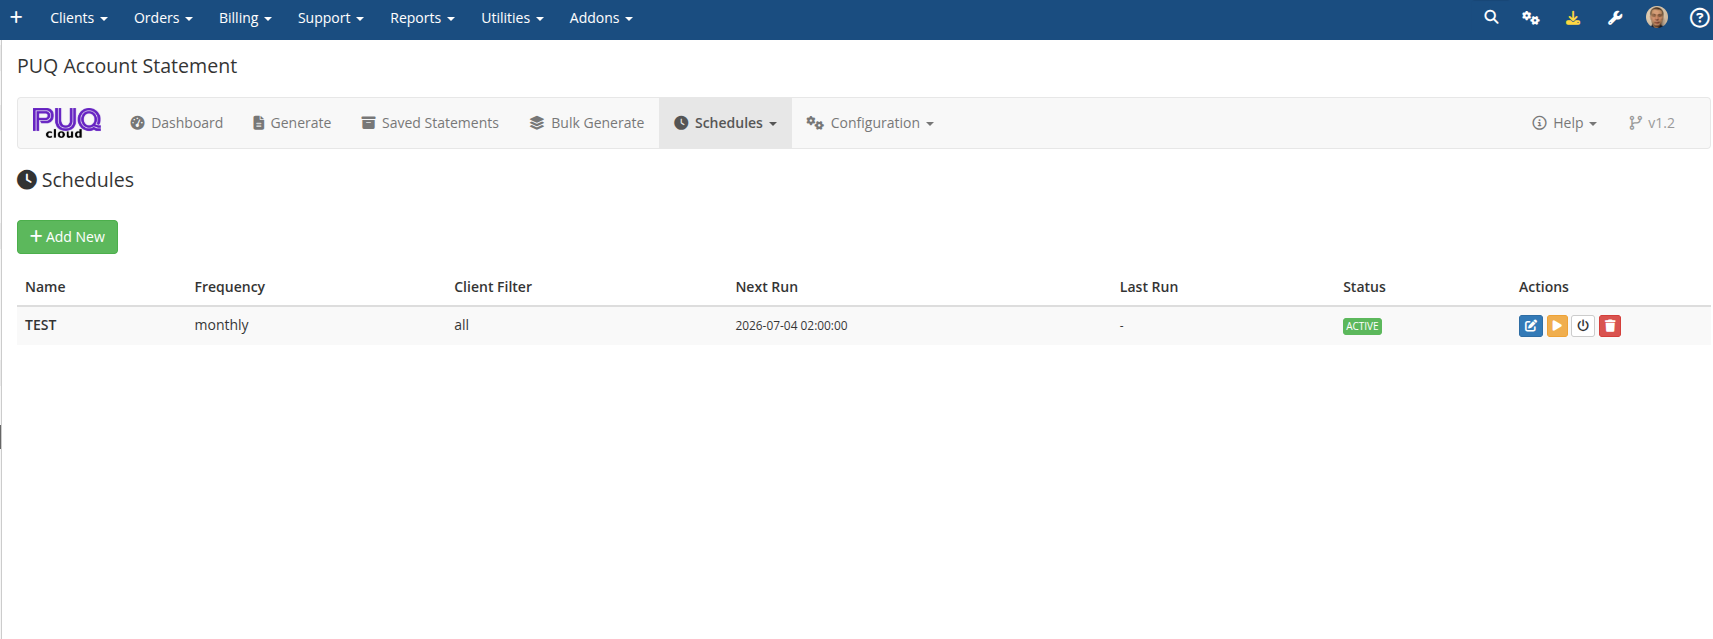
The Schedules page is available at: Addons > PUQ Account Statement > Schedules > All Schedules
This page manages automated statement generation schedules. Schedules run automatically via WHMCS cron.
 07-schedules.png
Schedules Table
The table lists all configured schedules with the following columns:
| Column | Description |
|---|---|
| Name | Schedule name for identification |
| Frequency | How often it runs: Daily, Weekly, Monthly, Quarterly, Yearly |
| Client Filter | Target clients: All, By Group, By Country, or With Unpaid Invoices |
| Next Run | Date and time of the next scheduled execution |
| Last Run | Date and time of the most recent execution |
| Status | Badge: Active (green) or Inactive (gray) |
| Actions | Action buttons (see below) |
Actions Per Schedule
| Button | Icon | Description |
|---|---|---|
| Edit | edit | Open the schedule editor to modify settings |
| Run Now | play | Execute the schedule immediately without waiting for the next scheduled time |
| Toggle | power-off | Enable or disable the schedule |
| Delete | trash | Delete the schedule (requires confirmation) |
Creating a New Schedule
Click the Add New button at the top or go to Schedules > Add Schedule in the navigation menu.
See the Schedule Editor page for details on configuring a schedule.
How Schedules Work
Schedules are executed by the WHMCS cron job. When a schedule's next run time is reached:
- The module identifies matching clients based on the schedule's client filter
- For each client, a statement is generated for the configured period
- Depending on the schedule's output settings, statements are saved to archive and/or emailed to clients
- The schedule's next run time is updated based on its frequency
- Execution details are logged for reference