How to Create & Manage Administrator Groups
Use this to build role-based access for your staff. I’ll also show where to place each screenshot.
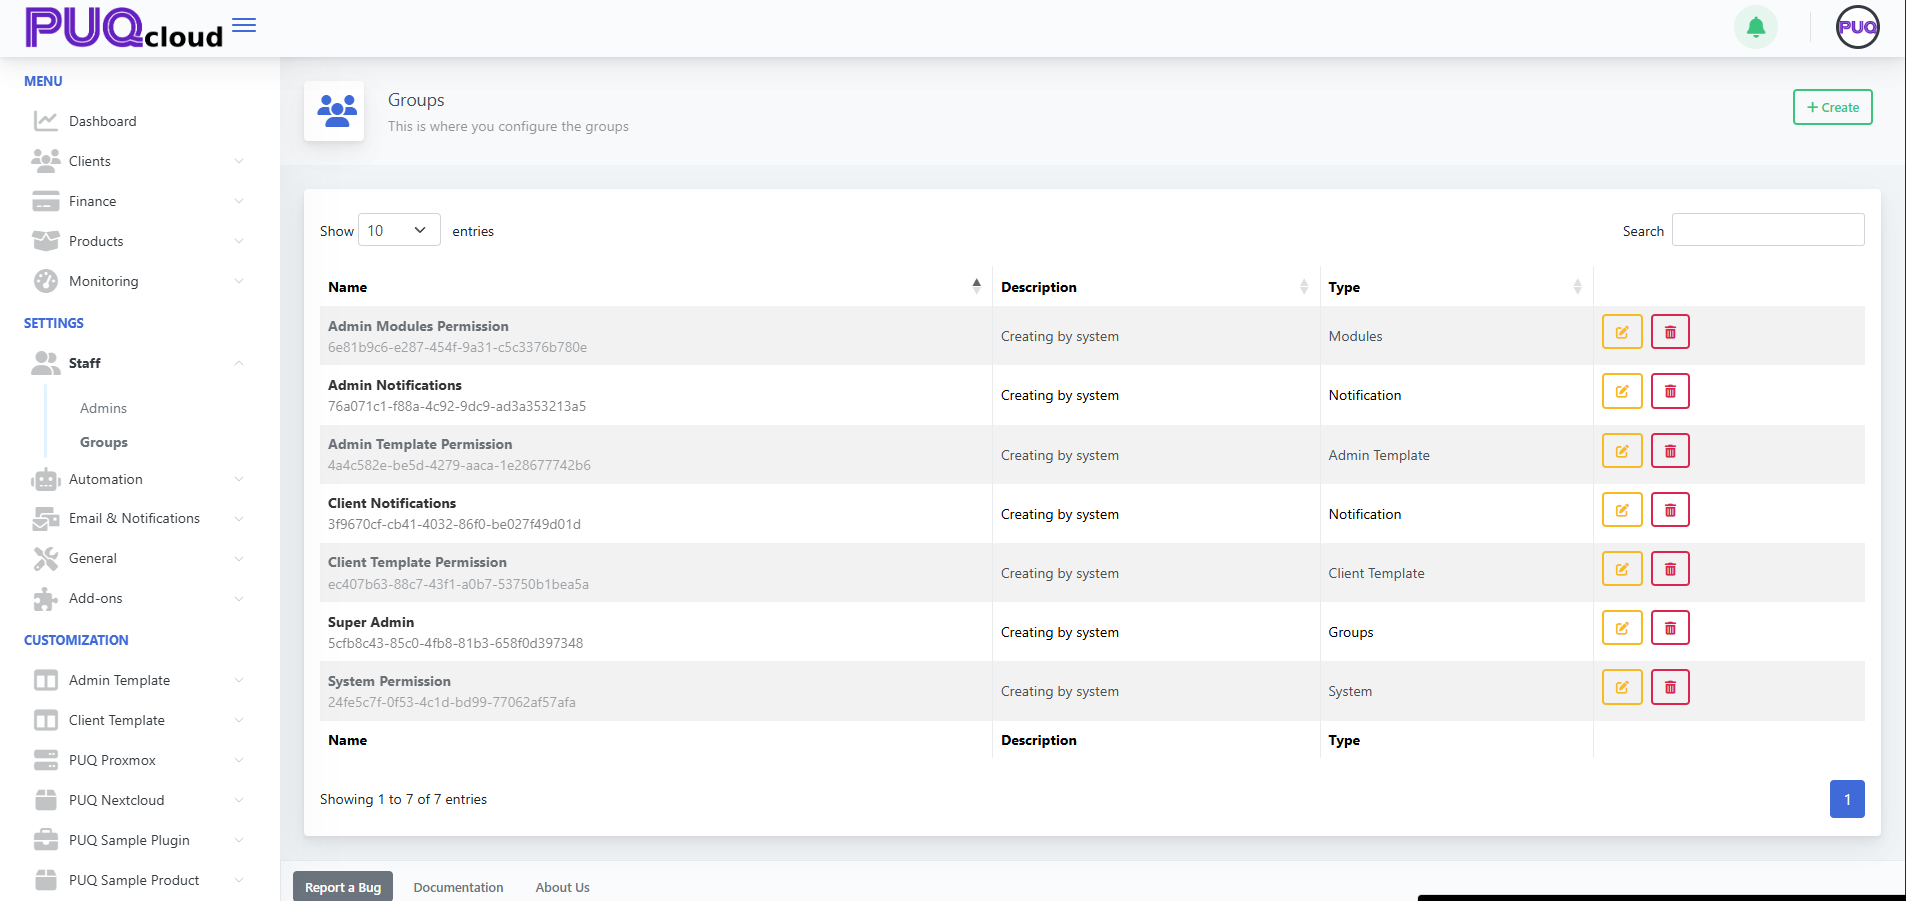
1) Open Groups
Path: Settings → Staff → Groups
Here you can see all groups plus Edit ✏️ / Delete 🗑️.
Groups list (with action buttons).
2) Create a Group (for Admins)
-
Click + Create (top-right).
-
Fill in:
-
Name — e.g., Support, Finance, Ops
-
Type — choose Groups (this is the correct type for administrator roles)
-
-
Save.
“Create Group” modal (Type dropdown visible).
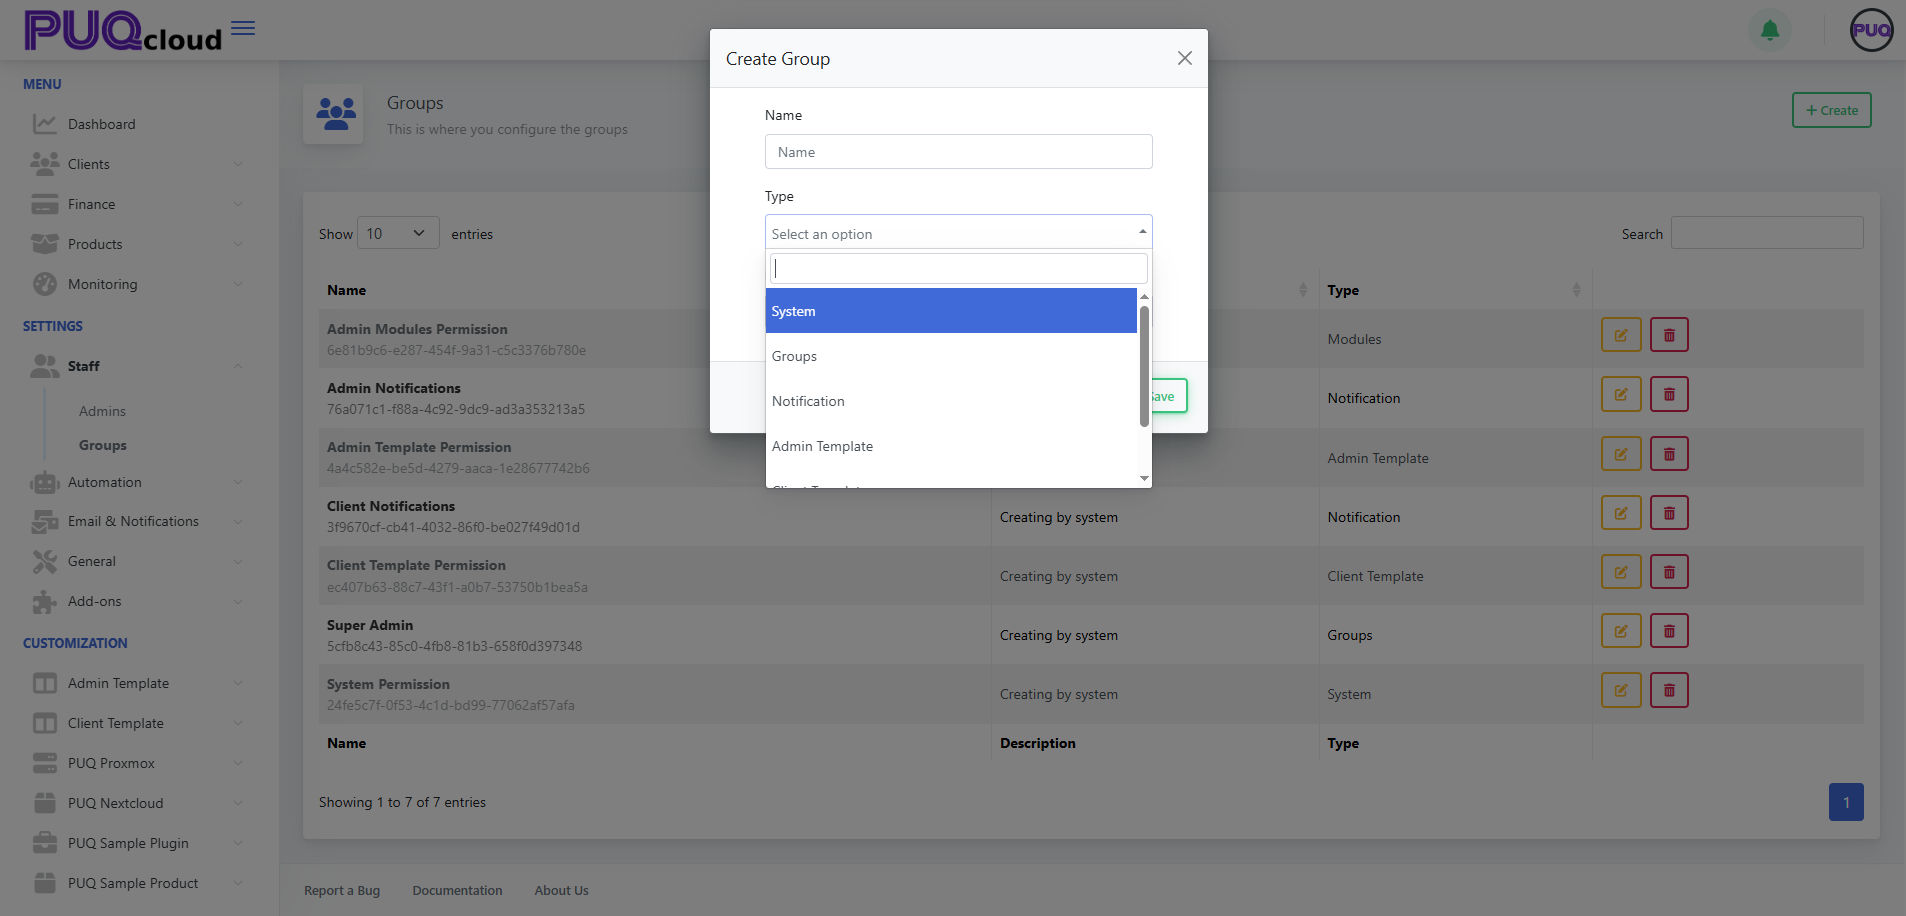
Other types (System, Notification, Admin/Client Template) are system/helper sets. For admin roles, use Groups.
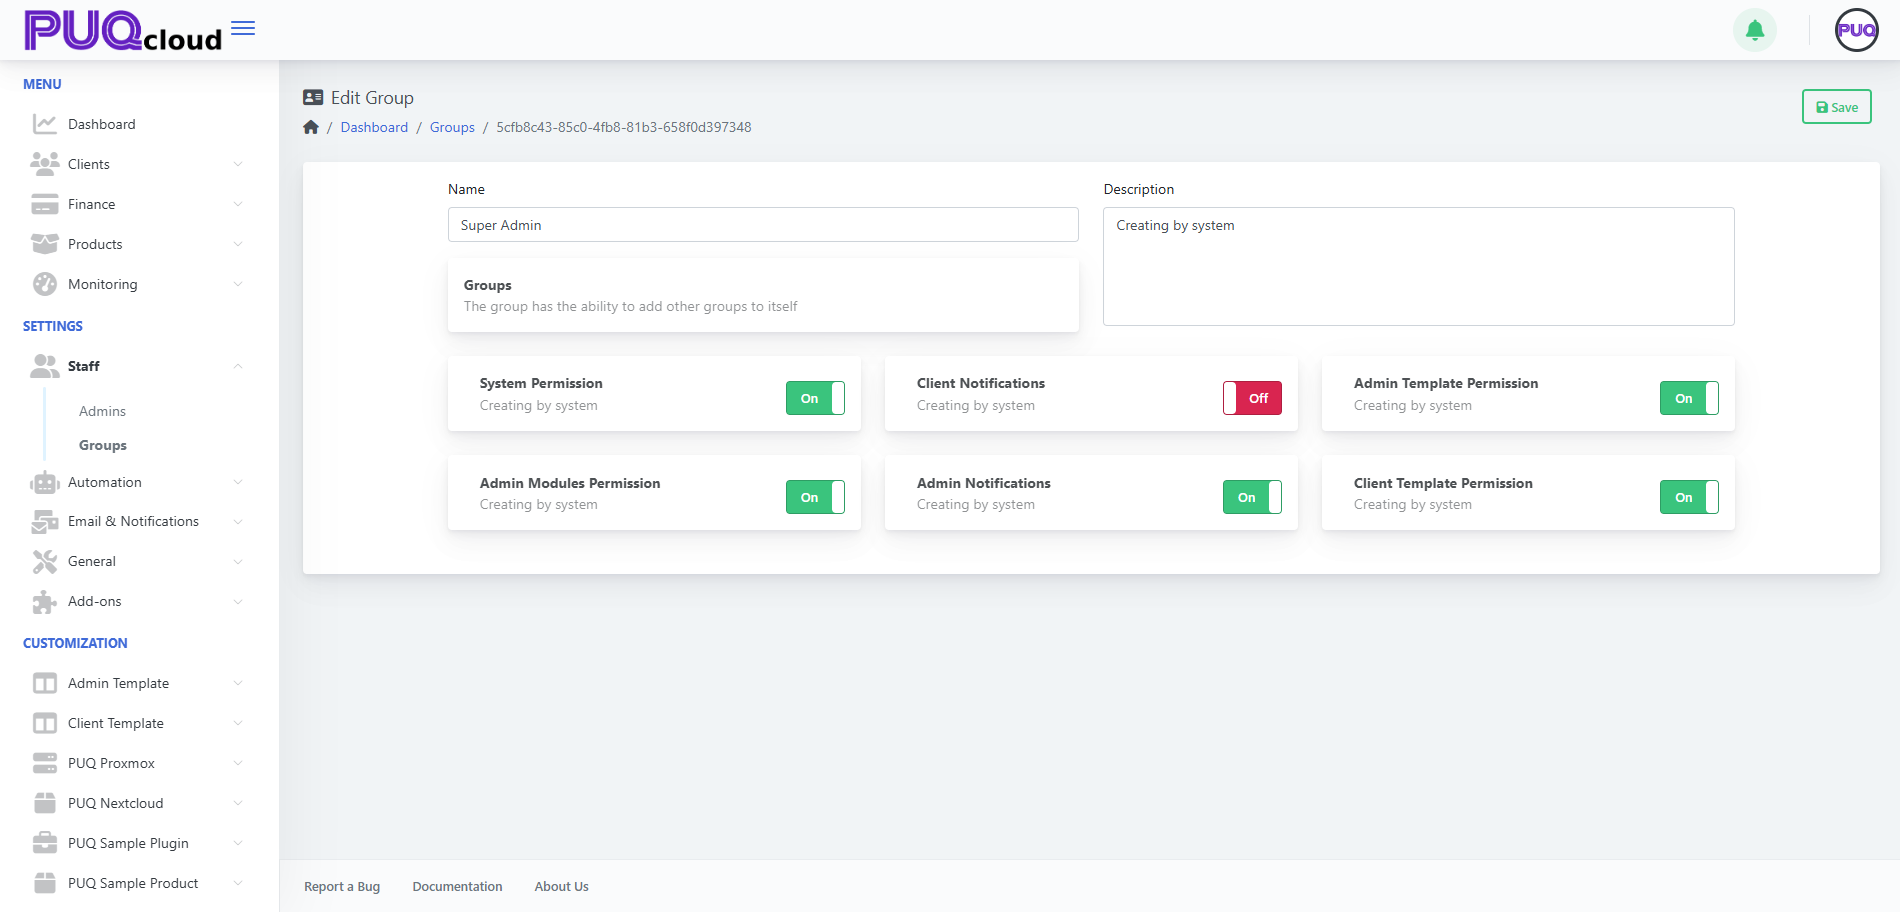
3) Configure Permissions
After saving, you’re on the Edit Group page. Toggle capabilities the group should have, e.g.:
-
System Permission — system-level operations.
-
Admin Modules Permission — access to admin modules/features.
-
Admin Notifications — receive back-office alerts.
-
Client Notifications — receive client-side alerts (usually off for admins unless needed).
-
Admin Template Permission / Client Template Permission — manage templates.
Add a Description, then Save.
Edit Group with toggles (On/Off).
4) Assign the Group to Administrators
Path: Settings → Staff → Admins → Edit an admin → Groups field → add your group → Save.
(Use least-privilege: only the access they need.)
5) Edit / Delete a Group
-
From the Groups list, click ✏️ Edit to change toggles or rename/describe.
-
Click 🗑️ Delete to remove a group (only if no critical users rely on it).
Tips & Good Practice
-
Start with broad roles (Support, Finance, Ops), then refine toggles.
-
Keep Super Admin for a few trusted people only.
-
Review memberships monthly; remove access for ex-staff immediately.
-
Test new roles with a non-super-admin account before rollout.
No Comments