Create and Manage Product Option Groups
PUQcloud Panel
Order Now | Download | FAQ
Why Option Groups?
Option Groups let you package reusable choices (like Firewall levels, CPU tiers, RAM sizes) and attach them to many products at once. You get consistent naming, pricing, and ordering — and one place to update them.
Step-by-step, with pro tips
1) Create the Group
-
Go to Products → Option Groups → + Create.
Screenshot list view.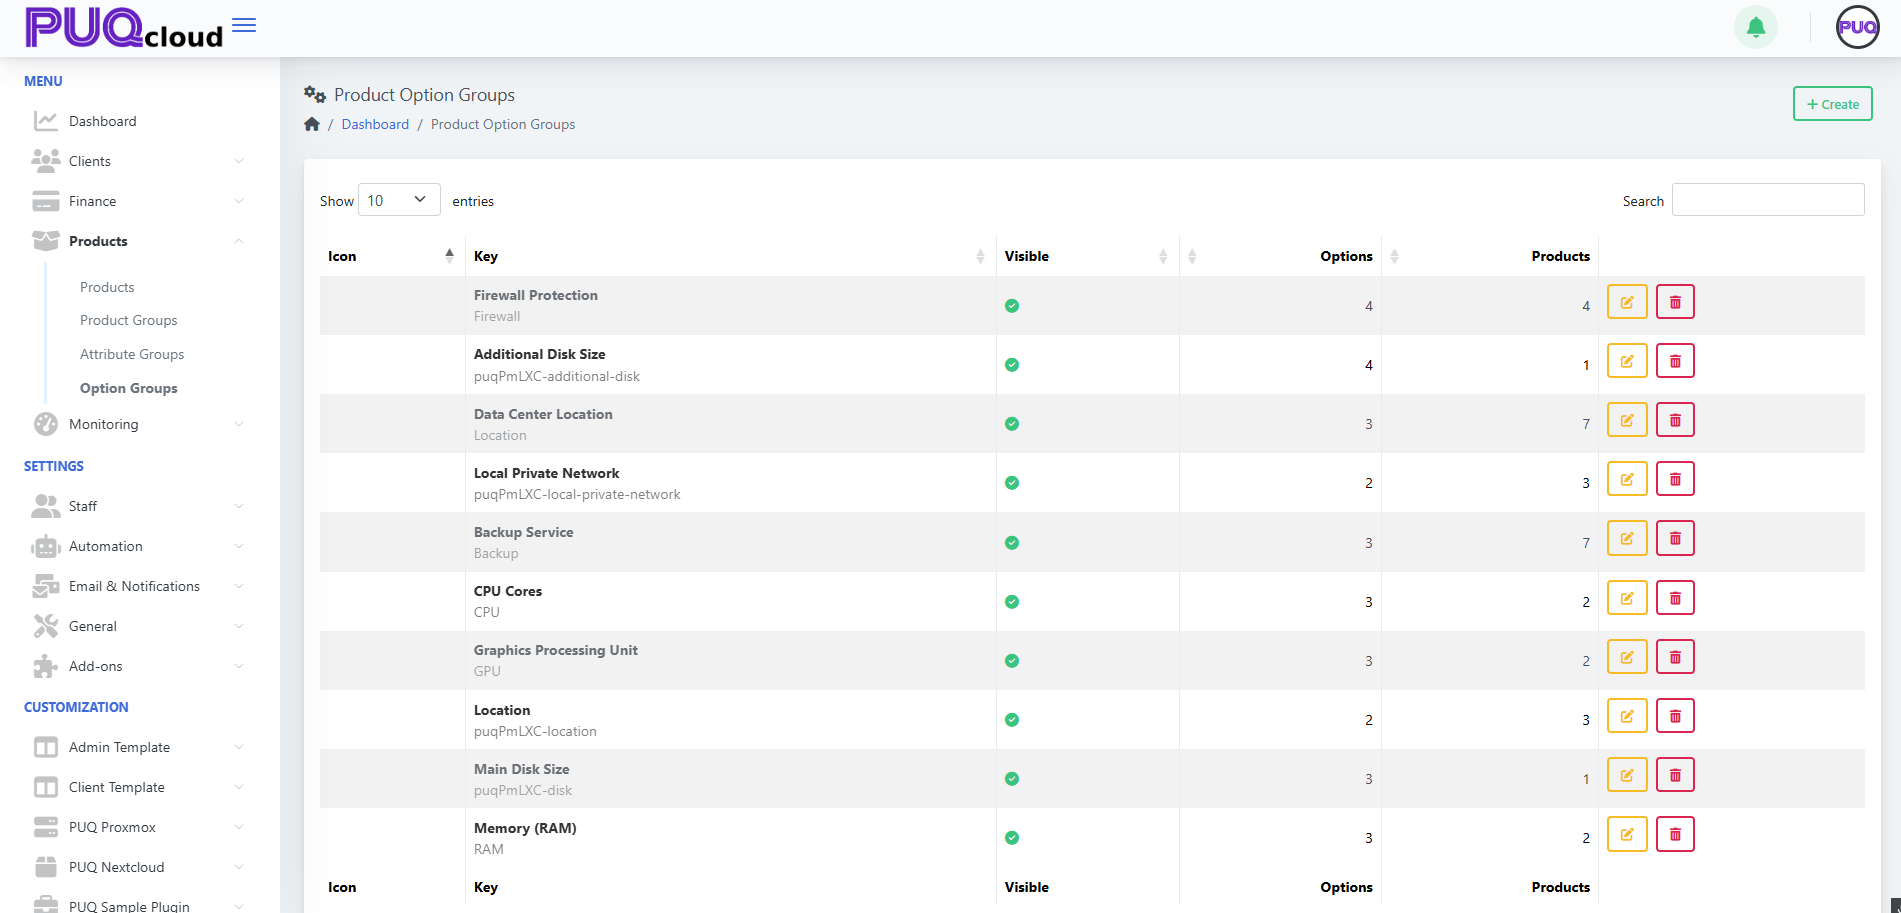
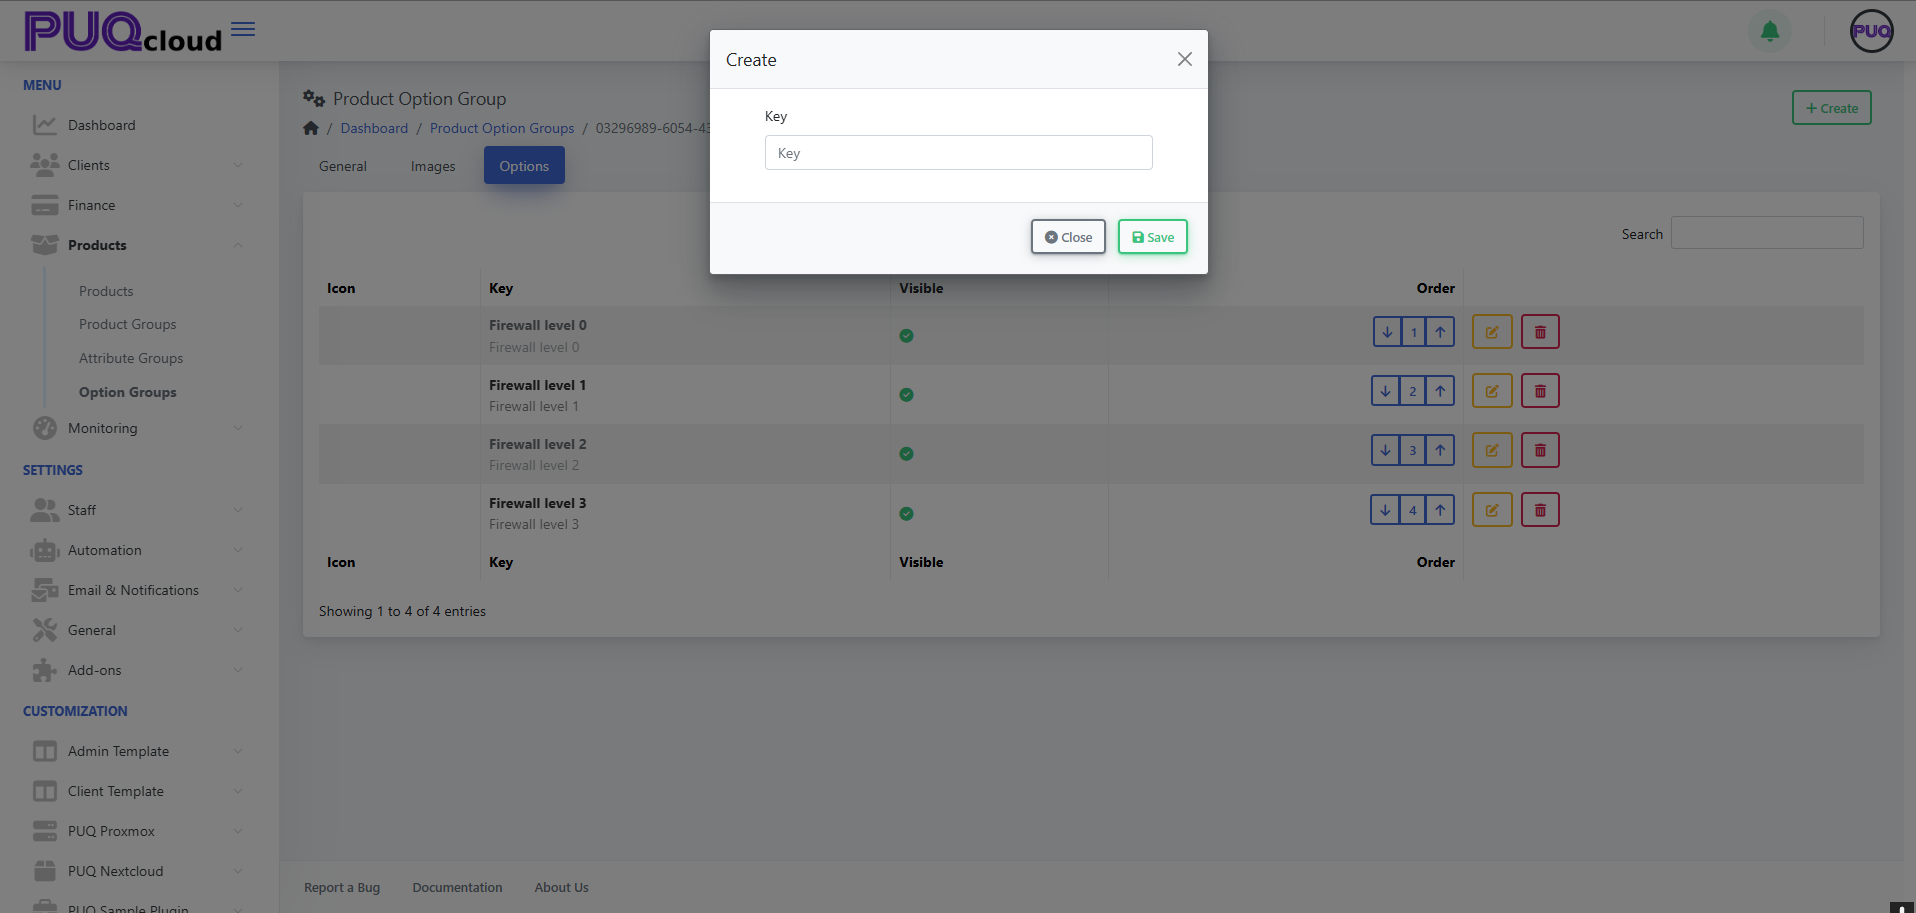
Screenshot “Create Option Group” modal


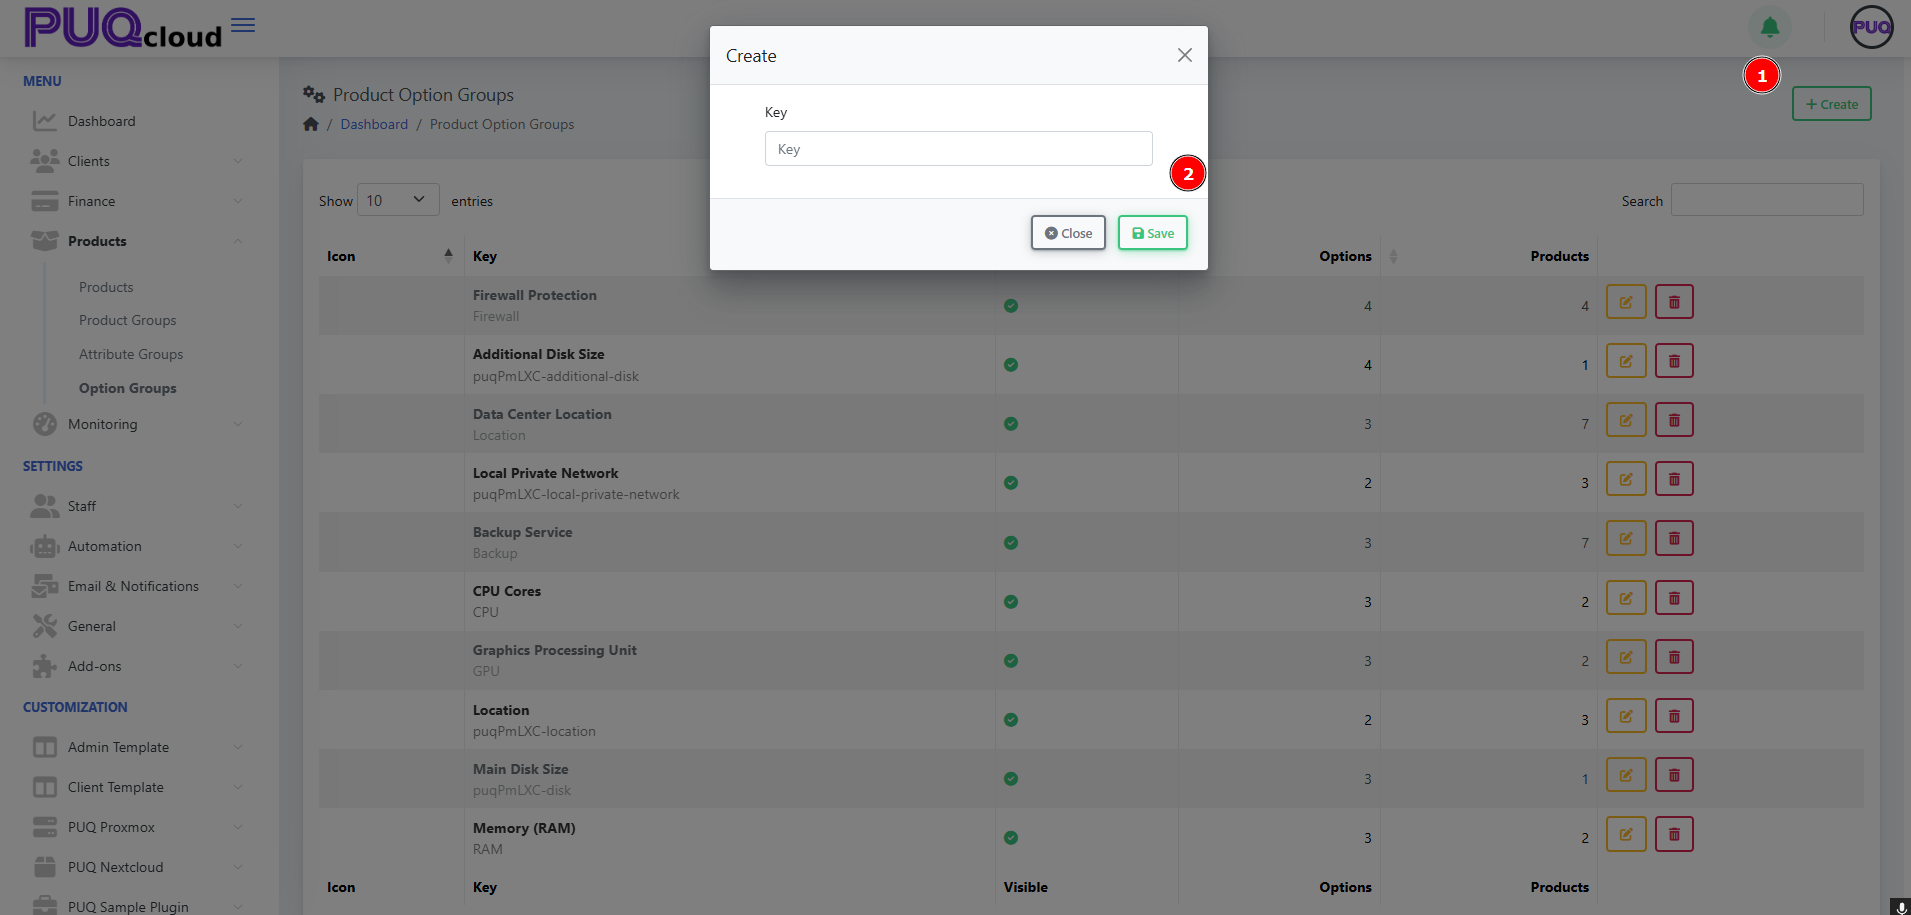
Naming rule of thumb
-
Key: machine-friendly & permanent (e.g.,
Firewall,CPU,puqPmLXC-disk). -
Name: client-facing & translatable (e.g., “Firewall Protection”).
-
Avoid spaces in Key; use hyphens or camelCase for consistency.
2) Set General Properties
Open the group and configure:
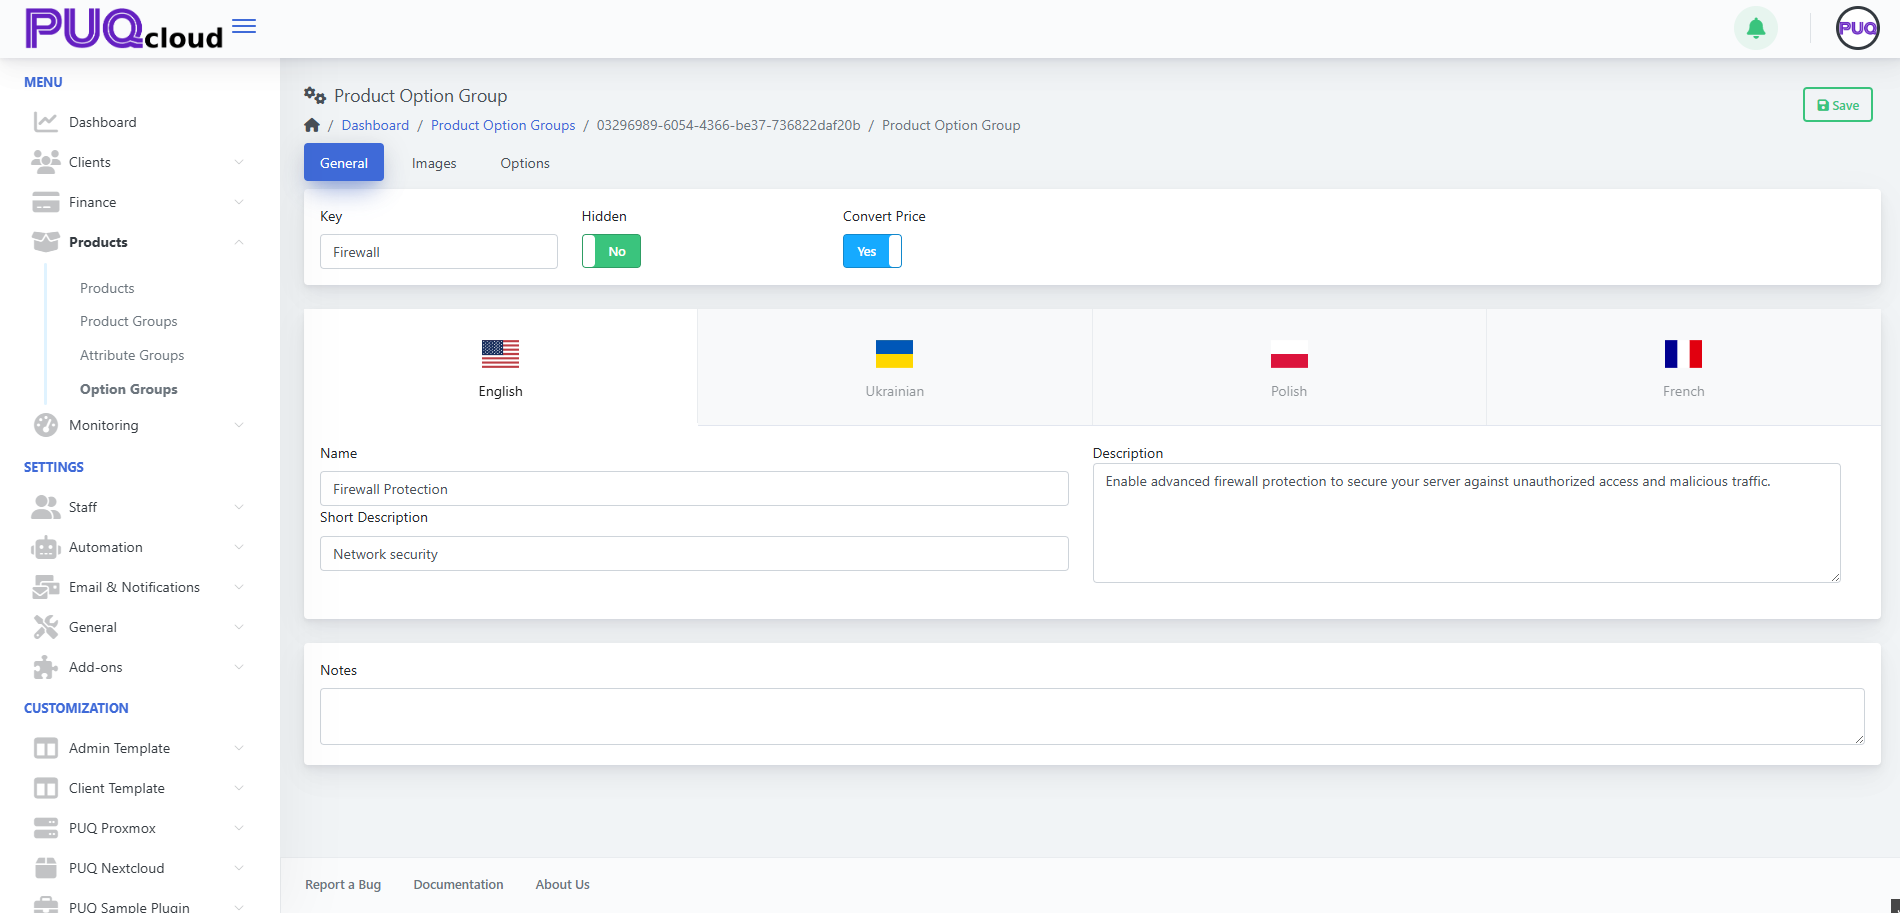
Pro tip: Put upgrade logic in the Description (“Level 2 adds IP reputation filter”), so clients know what changes between levels.
3) Add Visuals (optional, but nice)
Add an Icon for quick recognition and a Background for storefront cards.
Screenshot Images tab
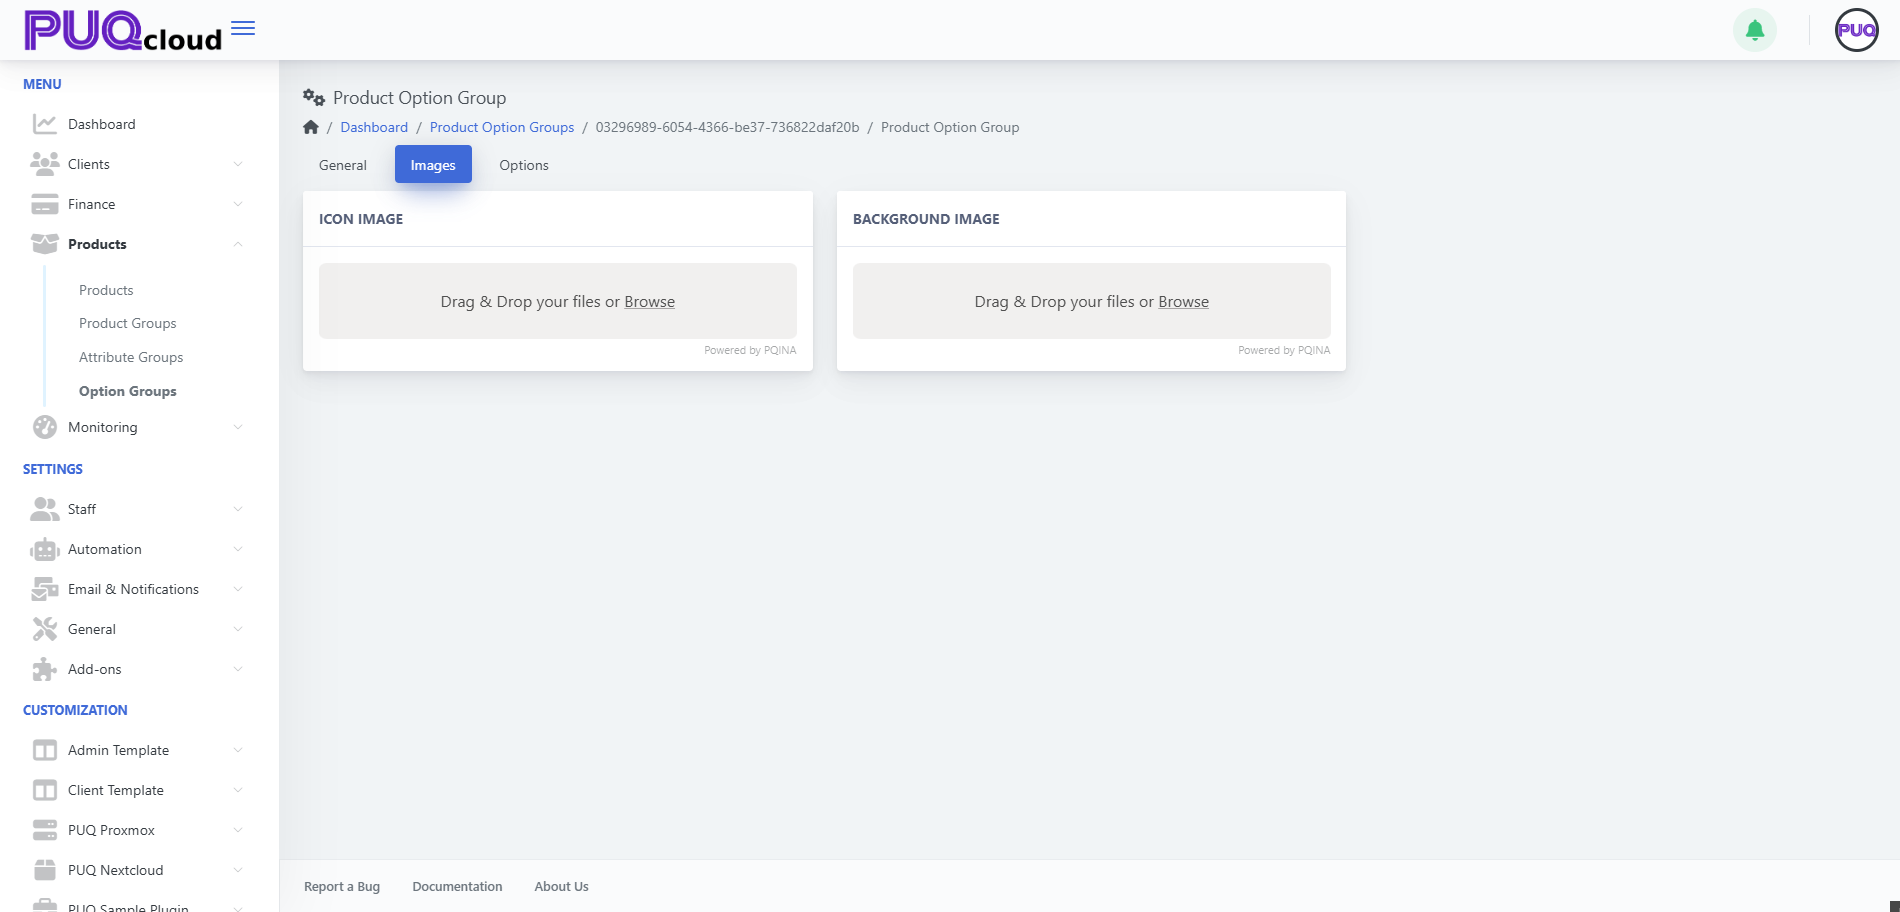
Branding tip: Use neutral, product-agnostic icons so this group can be reused across offerings.
4) Add Options (the items clients actually choose)
Go to Options → + Create and add each selectable item (e.g., Firewall level 0/1/2/3).
Screenshot Options list with order controls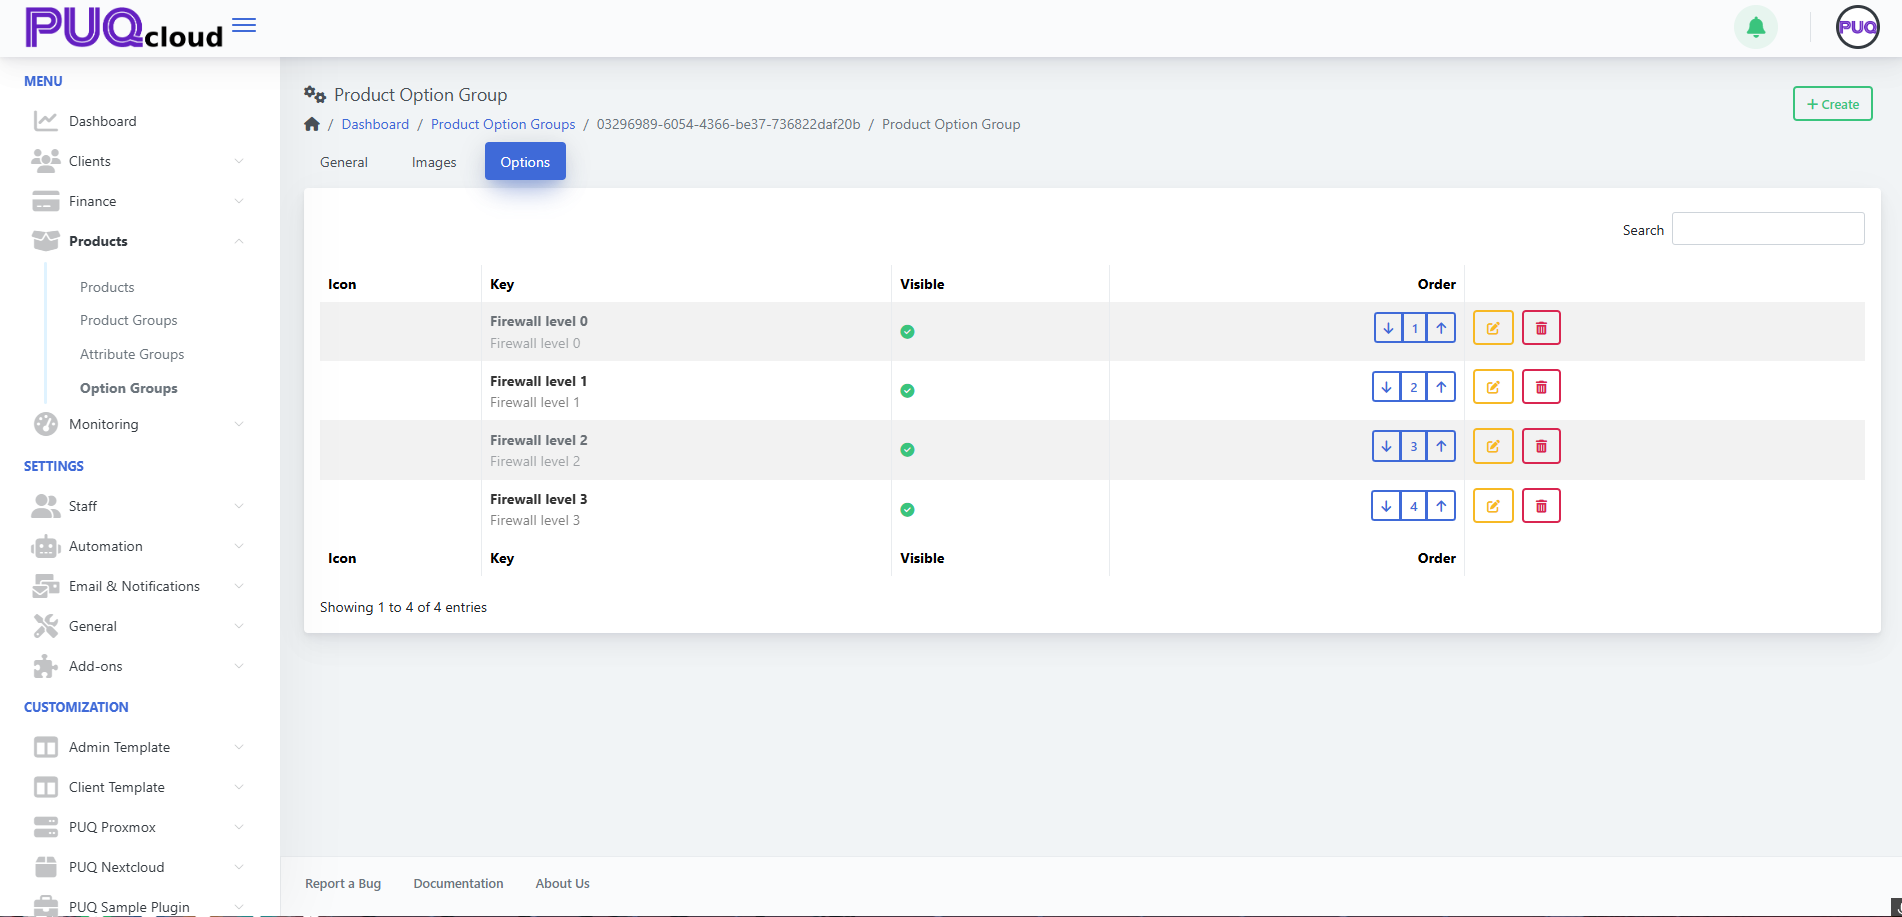
Screenshot “Create Option” modal
-
Keep Key short (e.g.,
firewall-level-1). -
Use the order arrows to arrange from lowest → highest tier.
-
Toggle Visible to quickly remove an option from the storefront without deleting it.
UX tip: List from “basic → advanced”. Clients upgrade more confidently when progression is obvious.
5) Edit an Option & Add Prices
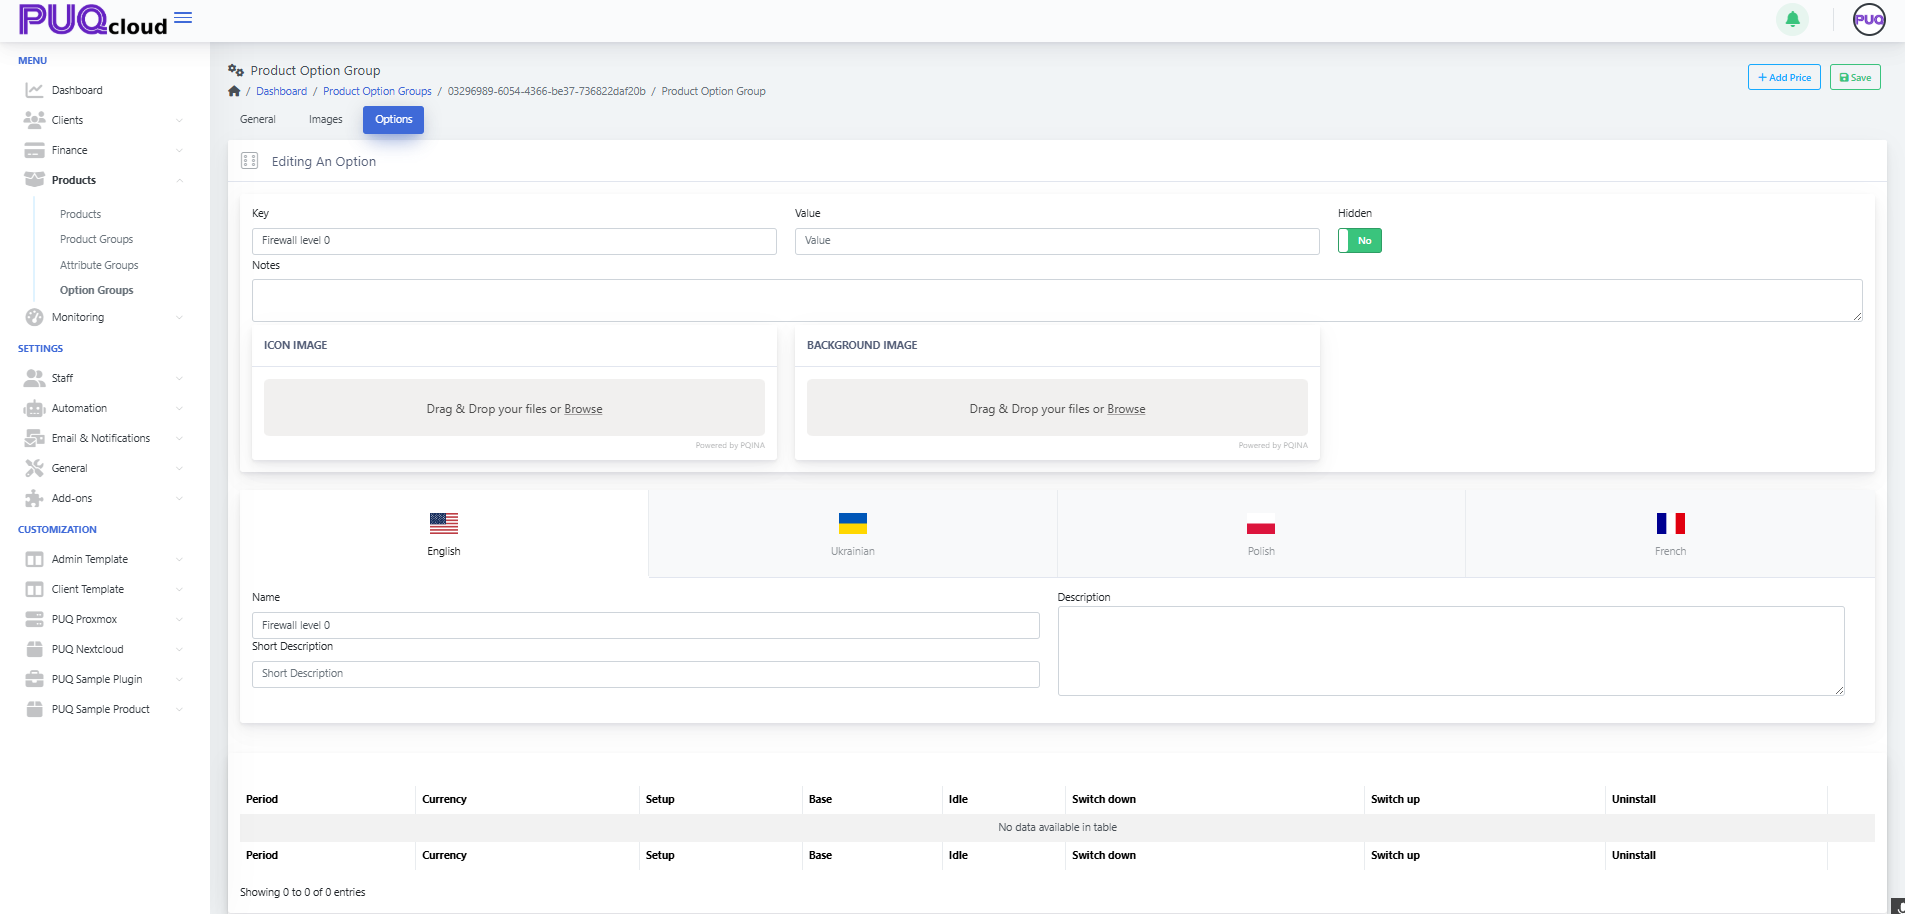
Click Edit on an option:
-
Fill Key, optional Value (if your module reads a value), Hidden, Notes.
-
Upload Icon/Background for this option (optional).
-
Localize Name, Short Description, Description.
Screenshot Edit Option page
Now add a price row:
-
Click + Add Price → choose Currency & Period (One-time, Daily, Monthly, etc.).
-
Fill Setup, Base (recurring), Idle (if billed when idle), Switch up/down (upgrade/downgrade delta), Uninstall (one-time removal fee).
Screenshot “Add Price” modal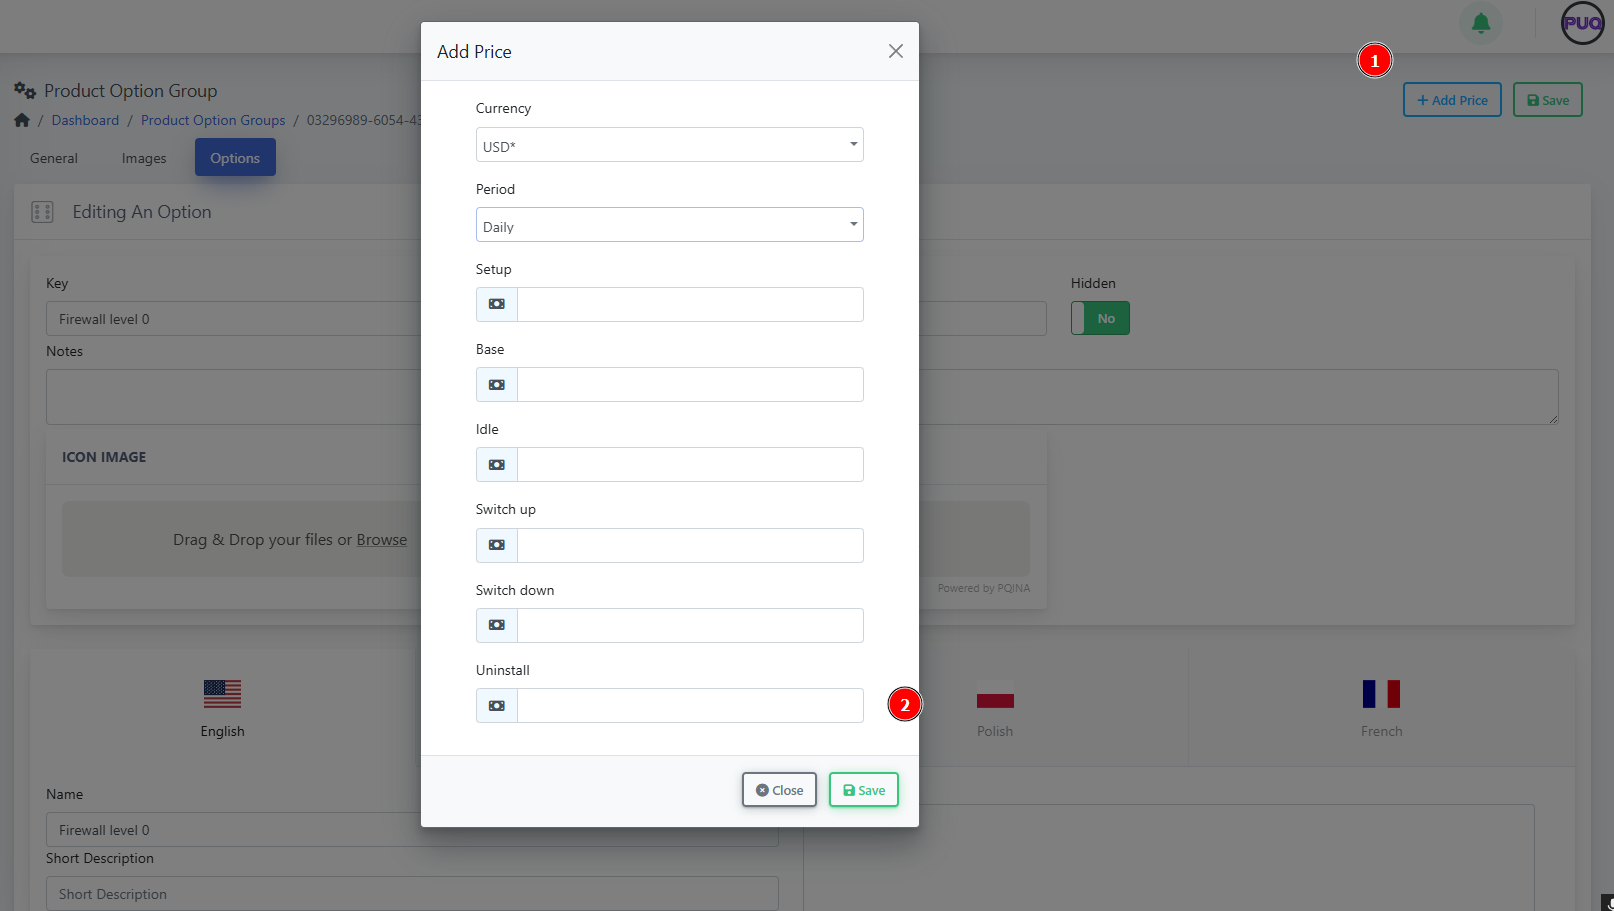

Pricing tip: Only add price rows you actually need. If an option is informational, leave pricing blank.
Example: “Firewall Protection” (ready-to-copy model)
Group Key: Firewall
Options (ordered):
-
Firewall level 0 — baseline filtering
-
Firewall level 1 — adds IP reputation lists
-
Firewall level 2 — + geo-blocking
-
Firewall level 3 — + L7 rules & rate limiting
Minimal price matrix idea
-
Level 0: Base 0.00 (included)
-
Level 1: Base 3.00 (Monthly)
-
Level 2: Base 6.00 (Monthly)
-
Level 3: Base 9.00 (Monthly)
(Use Convert Price = Yes for multi-currency catalogs.)
Attaching the Group to Products
-
Open a Product → Options tab → link your Option Group.
-
Save and preview the product order page to verify order, visibility, and prices.
Governance tip: Reuse one Firewall group across multiple products; update once, benefit everywhere.
Quality checks (2-minute audit)
-
✅ Group is Visible and option order makes sense.
-
✅ Each option has localized Name (and descriptions where needed).
-
✅ Price rows exist only where you charge.
-
✅ Group is attached to every relevant product.
-
✅ Upgrade paths are clear (level numbers or size increments).
Troubleshooting & gotchas
-
Group doesn’t show on the product: It isn’t attached on the product’s Options tab.
-
Wrong currency on price: Add a row per currency or enable Convert Price.
-
Client can’t see an option: The option is Hidden or priced for a period the product doesn’t use.
-
Reordering doesn’t reflect on storefront: Refresh cache and verify product still points to the same group.
Maintenance playbook
-
Use Notes to record internal logic (e.g., “Level 2 requires WAF module v2.1+”).
-
When deprecating, switch an option to Hidden first, then remove after migrations.
-
Version your groups with a suffix only when schema changes (e.g.,
Firewall-v2).