Manage Notification Layouts in the Admin Area
PUQcloud Panel
Order Now | Download | FAQ
Below is a compact, step-by-step guide to creating and customizing the HTML wrappers (“layouts”) that your notification templates use. You’ll: find the section, add a layout, and tailor the HTML/CSS with live preview and multi-language tabs.
Open Notification Layouts
-
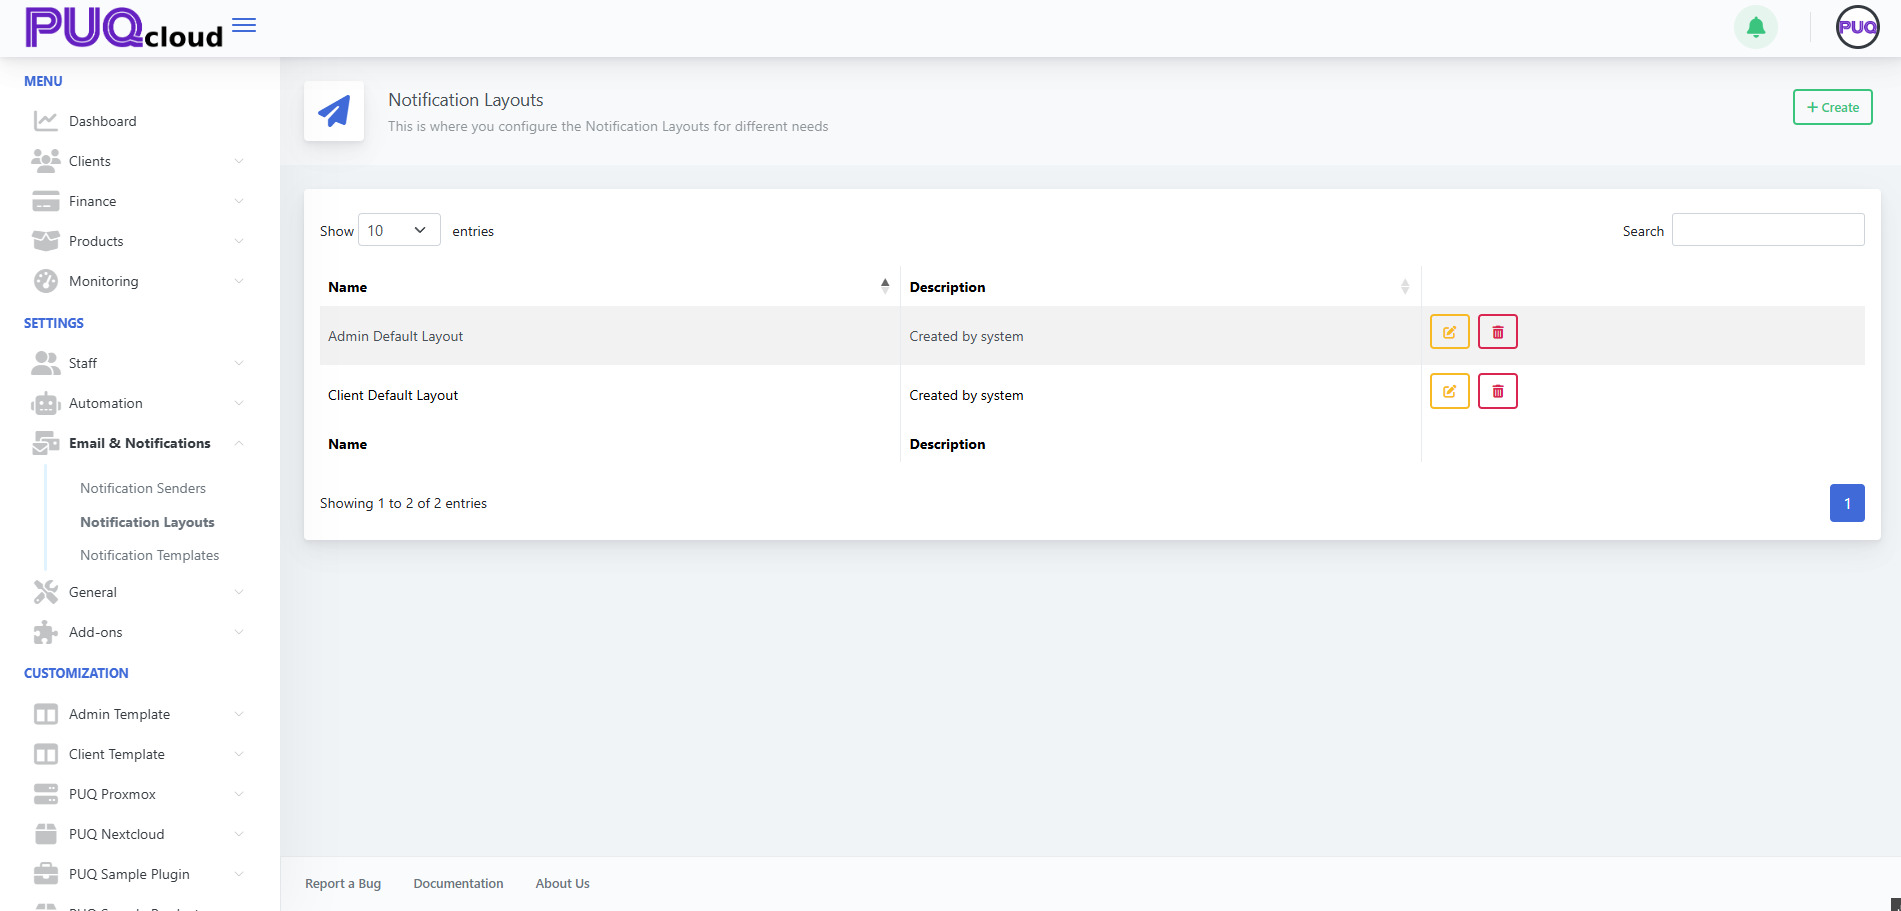
Go to Email & Notifications → Notification Layouts.
-
You’ll see the built-in Admin Default Layout and Client Default Layout.
What you can do here
-
✏️ Edit an existing layout.
-
🗑️ Delete a custom layout (system layouts are protected).
-
+ Create a new layout.
Notification Layouts list with built-in Admin/Client entries.
Create a new layout
-
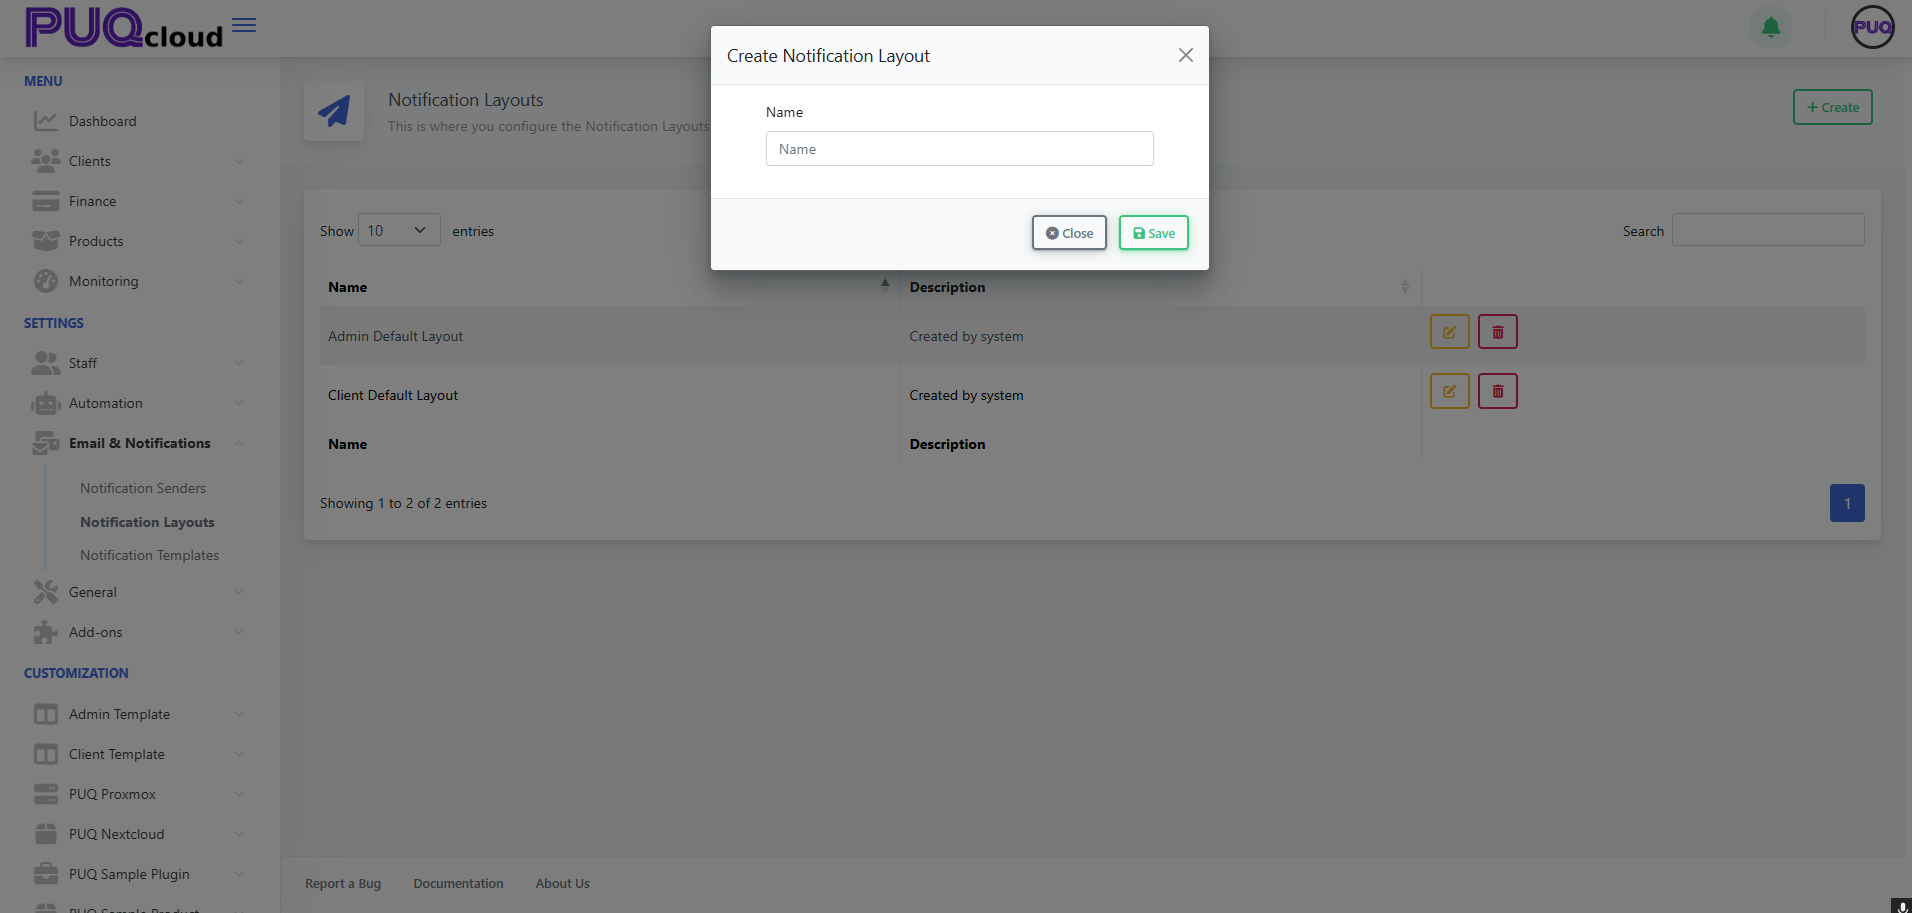
Click ➕ Create (top-right).
-
Give the layout a Name (e.g., “Marketing Layout”).
-
Click Save.
“Create Notification Layout” modal (Name).
Edit a layout (HTML/CSS + preview)
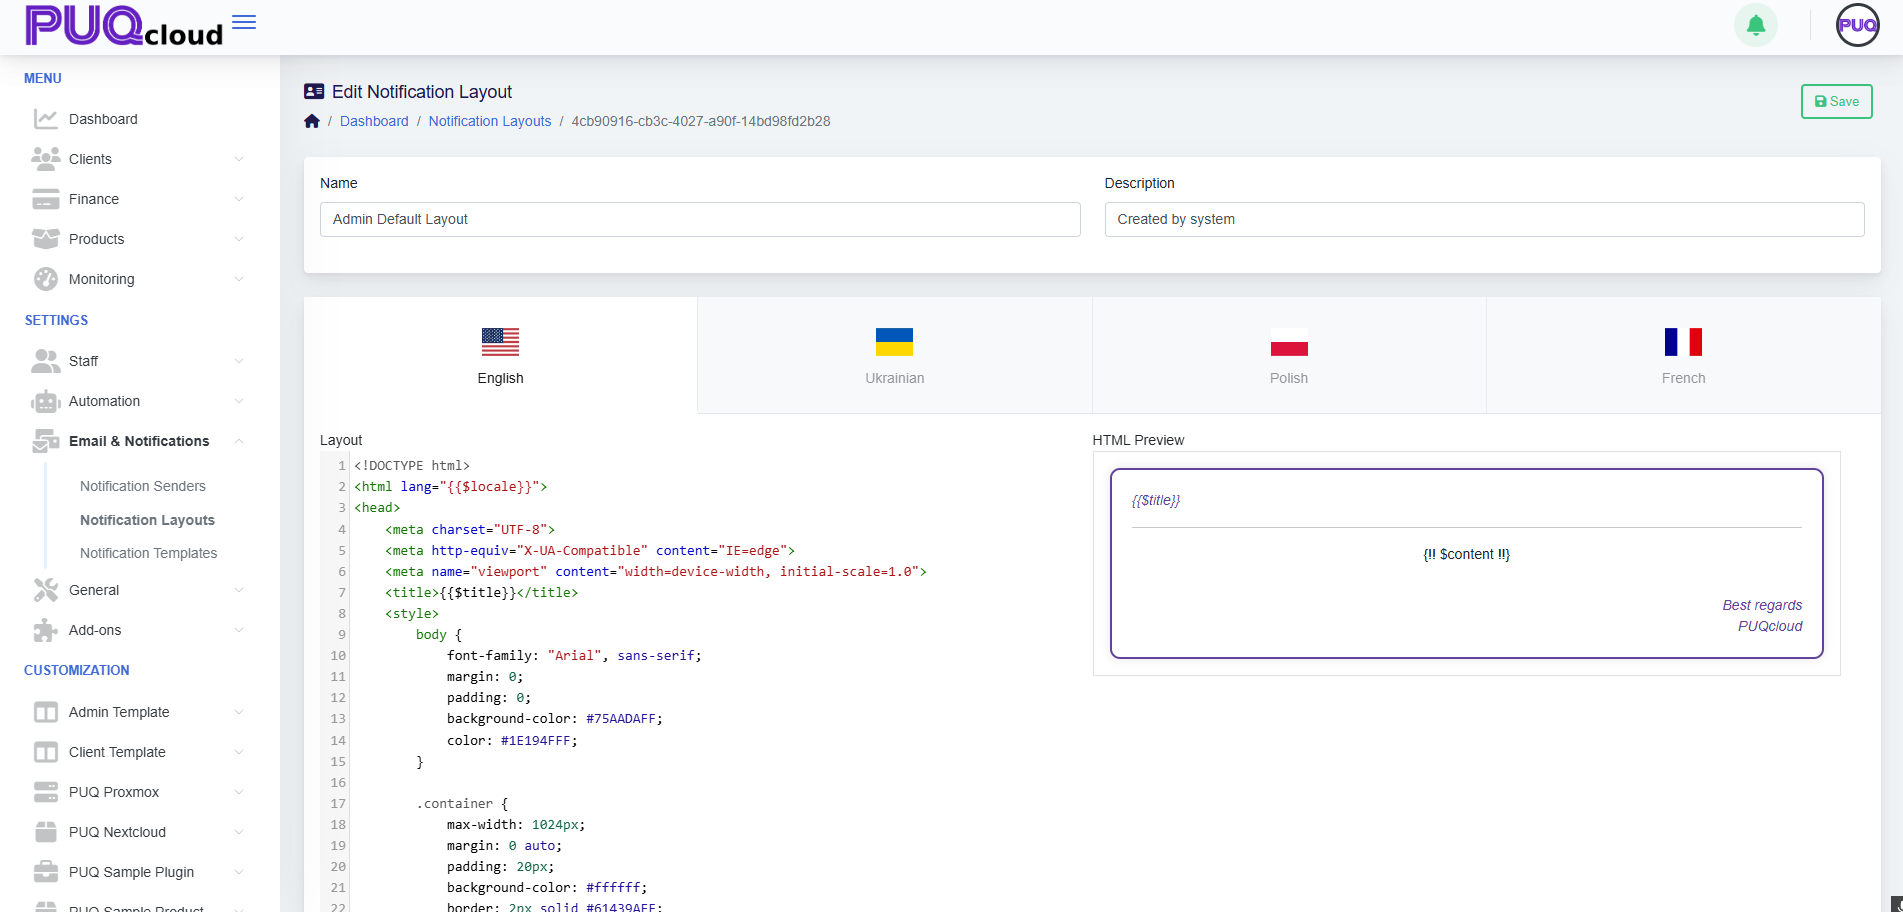
Open a layout (e.g., Admin Default Layout). The editor provides:
-
Multi-language tabs across the top (🇺🇸 English, 🇺🇦 Ukrainian, 🇵🇱 Polish, 🇫🇷 French).
-
A code editor (left) for your HTML/CSS wrapper.
-
A live HTML preview (right) showing how variables render.
Key variables/partials you’ll use
-
{{ $title }}– Notification/title string. -
{!! $content !!}– The body that each specific notification template injects. -
{{ $locale }}– Current language code (often used on the<html lang="">tag). -
Optional:
{{ $signature }}or{!! $signature !!}if your layout includes a signature partial (depends on your installation).
Tip: Your layout is the frame. Individual notification templates only inject their own content into {!! $content !!}. Keep shared branding, header, footer, fonts, and styling in the layout.
“Edit Notification Layout” (Admin Default) with code editor and live preview.
Style a client-facing layout
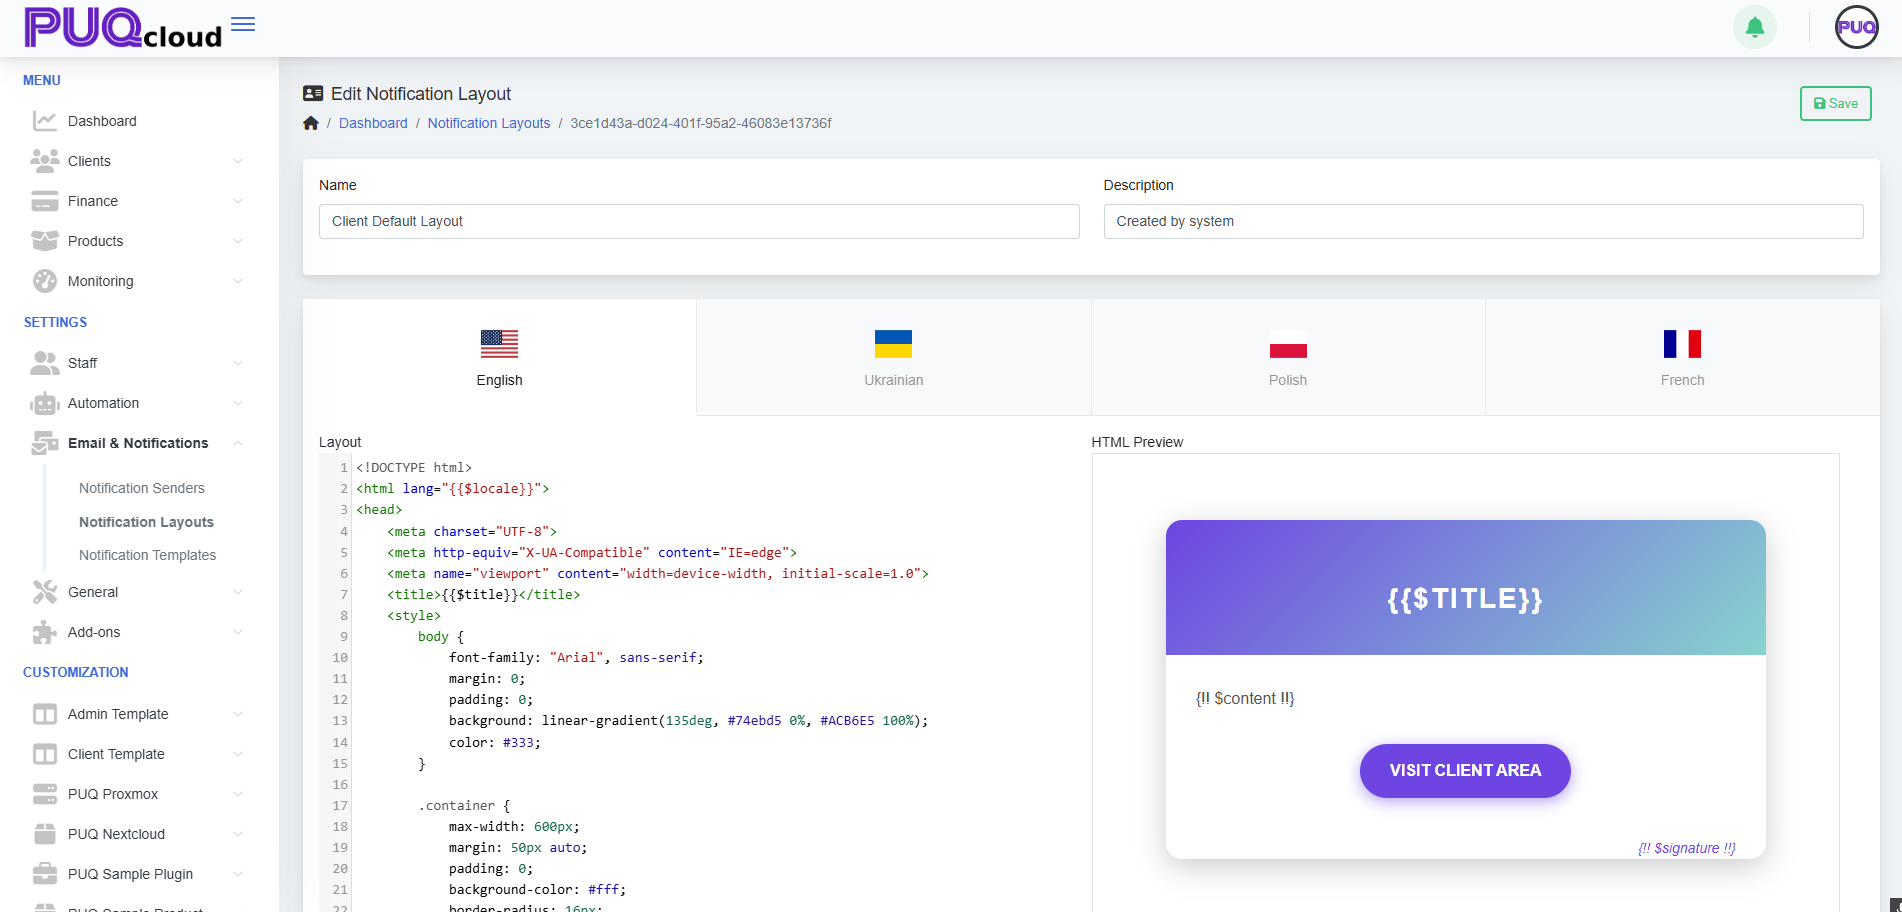
For the Client Default Layout, you might include:
-
A branded header with gradient background.
-
A CTA button (e.g., “Visit Client Area”).
-
A footer with company signature.
Best practice: Keep fonts, spacing, and colors consistent with your website, and ensure the CTA is visible in both light/dark email clients.
“Edit Notification Layout” (Client Default) with branded CTA preview.
Apply layouts to your notification templates
-
Each notification template (e.g., “Invoice Paid”, “Password Reset”) can reference one of your layouts.
-
Use the Client Default Layout for customer-facing emails and Admin Default Layout for staff/internal alerts.
If your system allows choosing the layout inside each template: open Email & Notifications → Notification Templates, pick the template, and select the layout from the dropdown. (If not present, your installation may assign layouts automatically by scope—Client vs Admin.)
Test before you go live
-
Use Notification Senders (SMTP/PHPMail/Bell) to ensure delivery works.
-
Send a real test for each language tab you changed.
-
Check the email in a few clients (Gmail, Outlook, Apple Mail) and on mobile.
Tips & safeguards
-
Do not remove
{!! $content !!}— your template body inserts here. -
Keep inline styles where possible; many email clients strip external CSS.
-
Avoid heavy JS (email clients ignore it).
-
Dark mode: test contrast (buttons and text).
-
Language tabs: update all languages to avoid fallback mismatches.
-
Versioning: copy your HTML to a snippet file or Git before big edits.
Quick Troubleshooting
-
Broken layout? Revert to the default layout or restore your last working HTML.
-
Variables not rendering? Ensure you used the correct blade/templating syntax (
{{ }}for escaped,{!! !!}for raw HTML). -
Images blocked? Host images over HTTPS and add
alttext; consider base64 for critical icons.
That’s it! Your notifications are now consistent, branded, and ready to ship.