Create and manage a Home Company
PUQcloud Panel
Order Now | Download | FAQ
Overview
A Home Company is the legal entity that appears on your invoices, credit notes, emails, and payment pages (name, address, logo, tax IDs, etc.). You can keep one or many Home Companies and switch which one is Default.
Path: Dashboard → Home Companies
1) Create a Home Company
-
Go to Menu → Finance → Home Companies.
(Screenshot: list view with “+ Create”)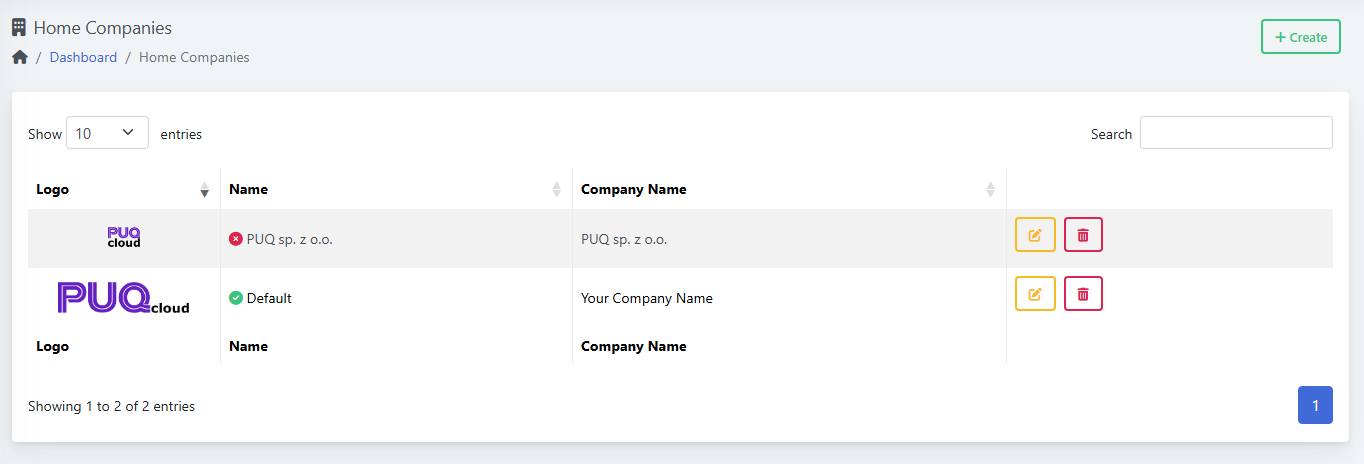
-
Click + Create.
(Screenshot: “Create” modal)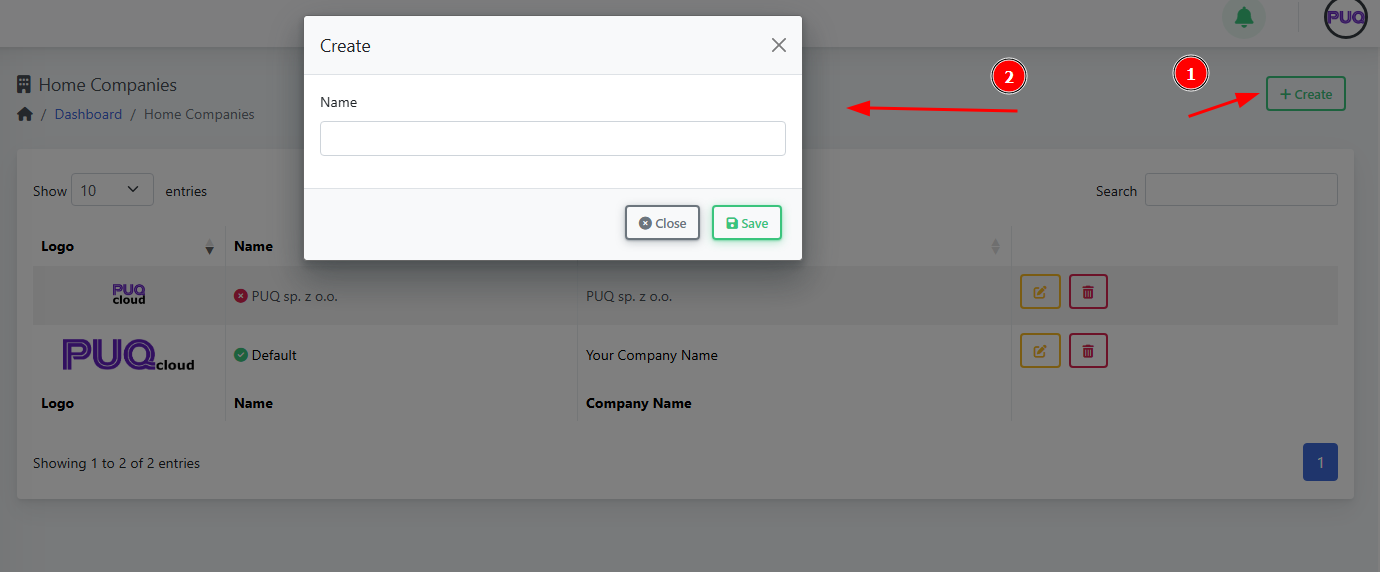
-
Enter Name (internal name, e.g., “PUQ sp. z o.o.” or “North America”).
-
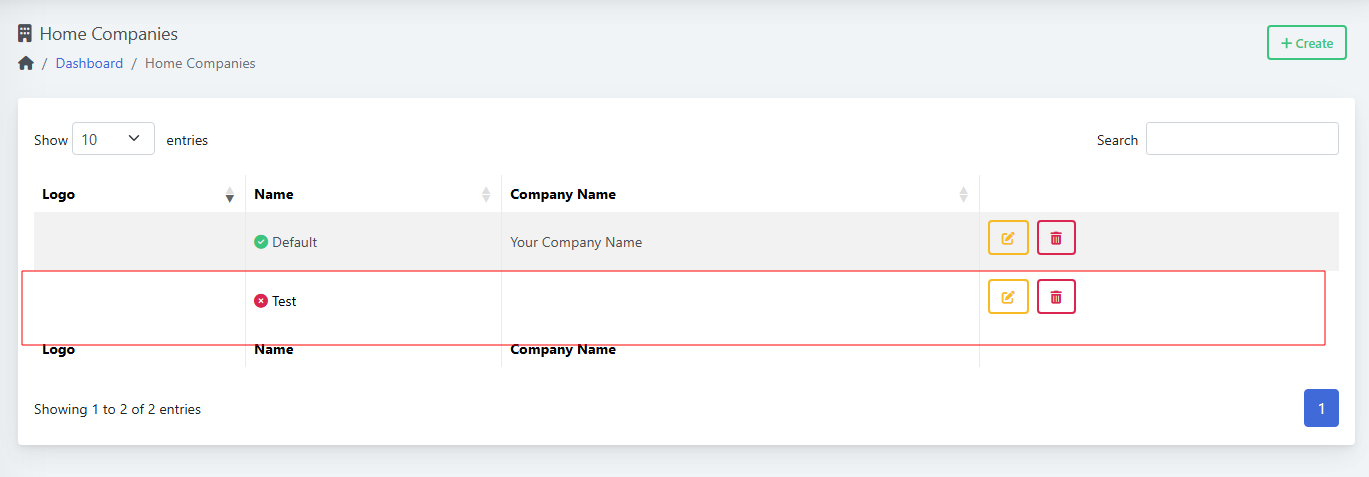
Click Save.
(Screenshot: list shows new row)


Tips
-
The green check means “Default”. The red dot means “not default”.
-
Use the search box to find companies quickly.
2) Edit a Home Company
-
In the list, click the yellow edit button on the row.
(Screenshot: edit icon highlighted)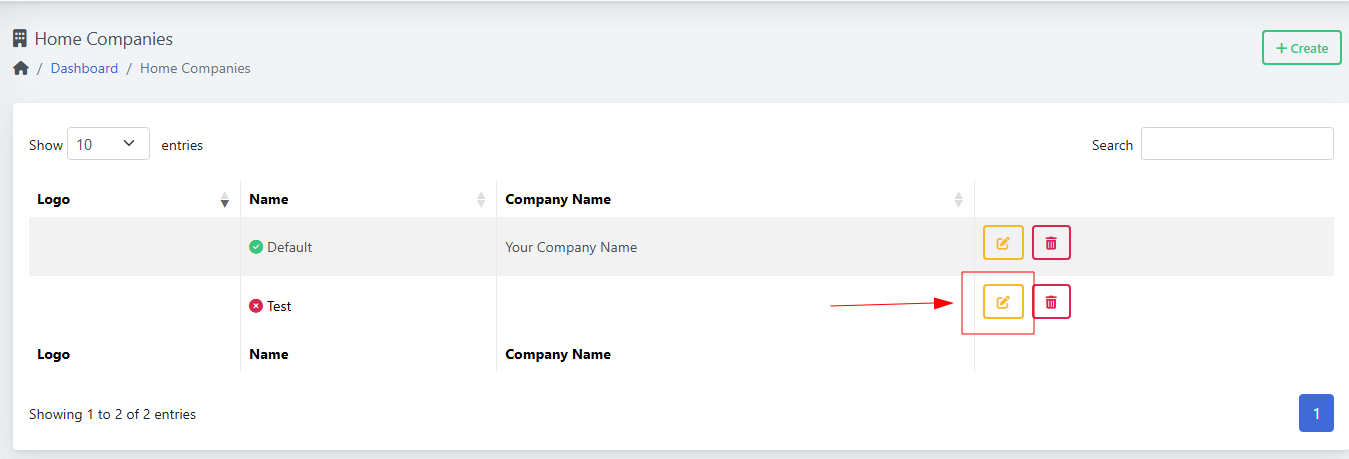
-
You’ll open the Home Company editor with tabs:
-
General
-
Images
-
Email Settings
-
Tax Settings
-
Invoice Settings
-
Proforma Template
-
Invoice Template
-
Credit Note Template
-
Payment Gateways
-
-
After changes, click Save (top-right).

3) Fill out each tab
General
(Screenshot: General tab)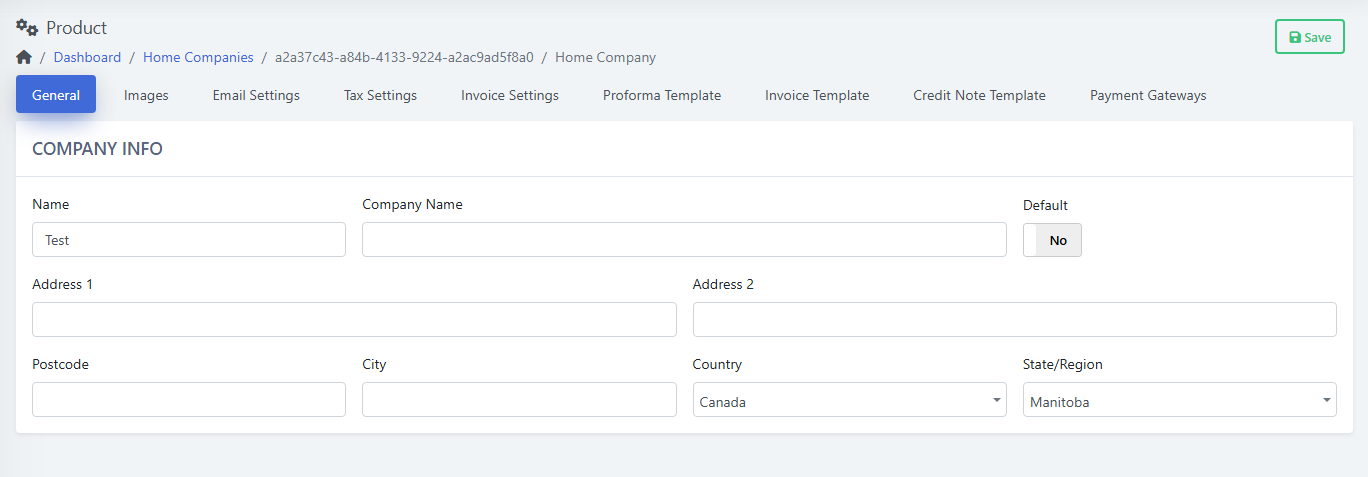
-
Name — internal label (already set).
-
Company Name — legal name shown on documents.
-
Address 1/2, Postcode, City, Country, State/Region — printed on invoices/credit notes.
-
Default: Yes/No — set this company as the Default sender across billing.
-
Click Save.
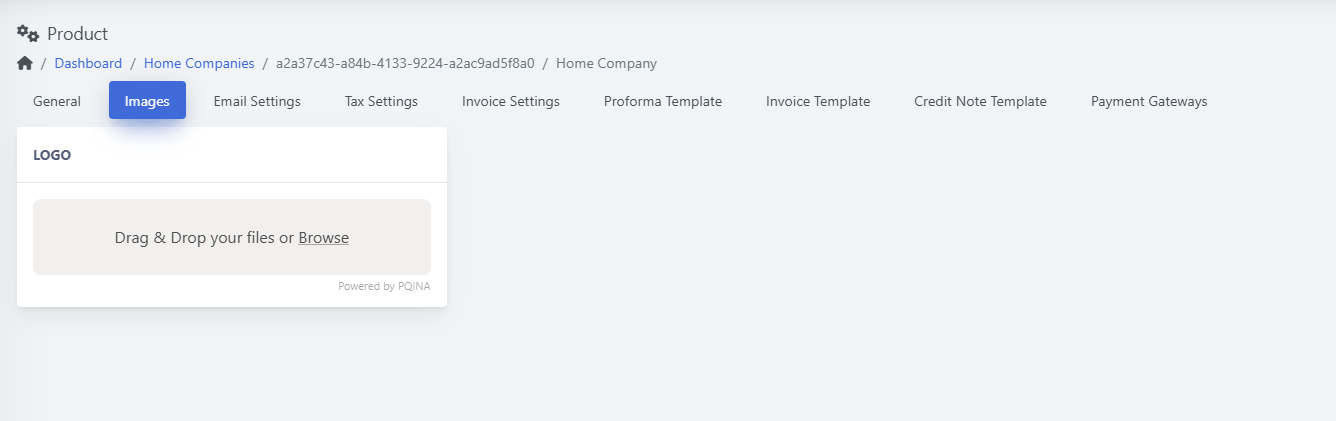
Images
(Screenshot: Images tab)
-
Upload your Logo (drag & drop or “Browse”).
-
Use a transparent PNG for best results.
-
Click Save.
Email Settings
(Screenshot: Email Settings tab)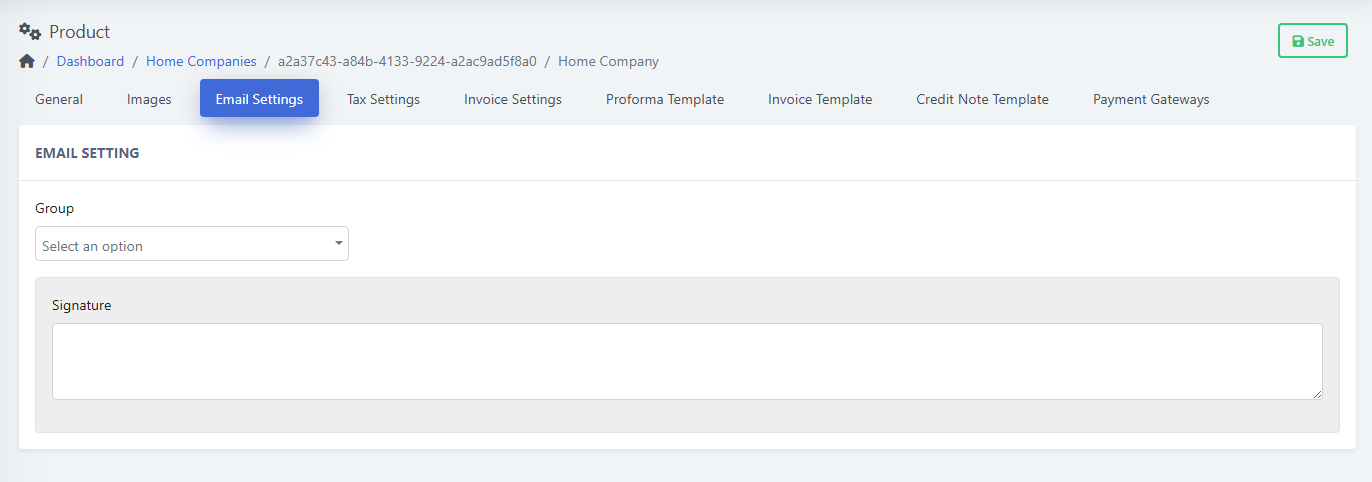
-
Group — choose the email group this company uses (for templates/routing).
-
Signature — footer appended to outgoing emails (support info, legal note).
-
Click Save.
Tax Settings
(Screenshot: Tax Settings tab)

European Tax Information
-
Local Tax ID Name / Local Tax ID (e.g., NIP, VAT, etc.)
-
EU VAT ID Name / EU VAT ID
-
Registration Number Name / Registration Number
Country-Specific Tax Information
-
United States: US EIN, US State Tax ID, US Entity Type
-
Canada: CA Business Number, CA GST/HST Number, CA PST/QST Number, CA Entity Type
Tax Rates
-
Tax 1/2/3 Name and Rate (%) — define up to three stacked taxes.
-
Click Save.
Invoice Settings
(Screenshot: Invoice Settings tab)

Numbering
-
Proforma / Invoice / Credit Note Number Format — use tokens such as
{YEAR},{MONTH},{DAY},{NUMBER}. -
Next … Number — starting counter (e.g.,
1). -
… Number Reset — how often to reset numbering (e.g., Never, yearly).
Item Texts
-
Balance Credit Purchase Item Name/Description — wording shown when adding balance.
-
Refund Item Name/Description — wording shown on credit/refunds.
Customization
-
PDF Font (e.g., DejaVu Sans for multilingual).
-
Paper Size (A4 or Letter).
-
Pay To Text — payment instructions.
-
Invoice Footer Text — legal notes, company disclaimer.
-
Click Save.
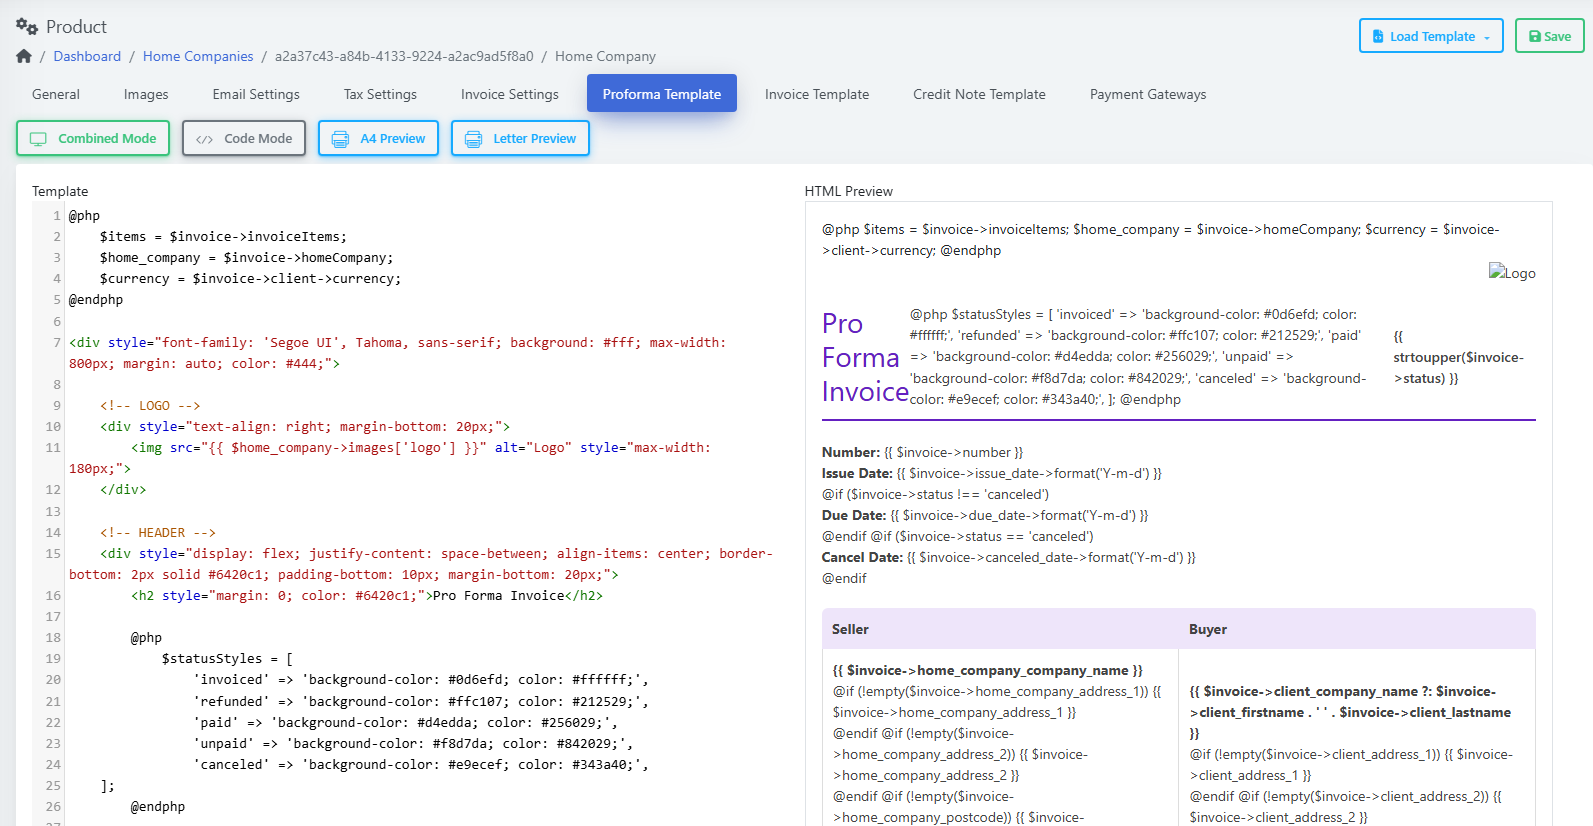
Proforma Template
-
Works like the Invoice/Credit Note Template editors below.
-
Edit the HTML/Blade content; preview and Save.
Invoice Template
(Screenshot: Invoice Template editor with live preview)

-
Modes: Combined, Code Mode; Previews: A4 / Letter.
-
Left pane: template code (Blade + HTML/CSS).
-
Right pane: HTML Preview.
-
Variables available (examples):
-
$invoice,$invoice->invoiceItems,$invoice->client,$invoice->homeCompany, etc.
-
-
Keep your styles simple for nice PDFs. Save after edits.
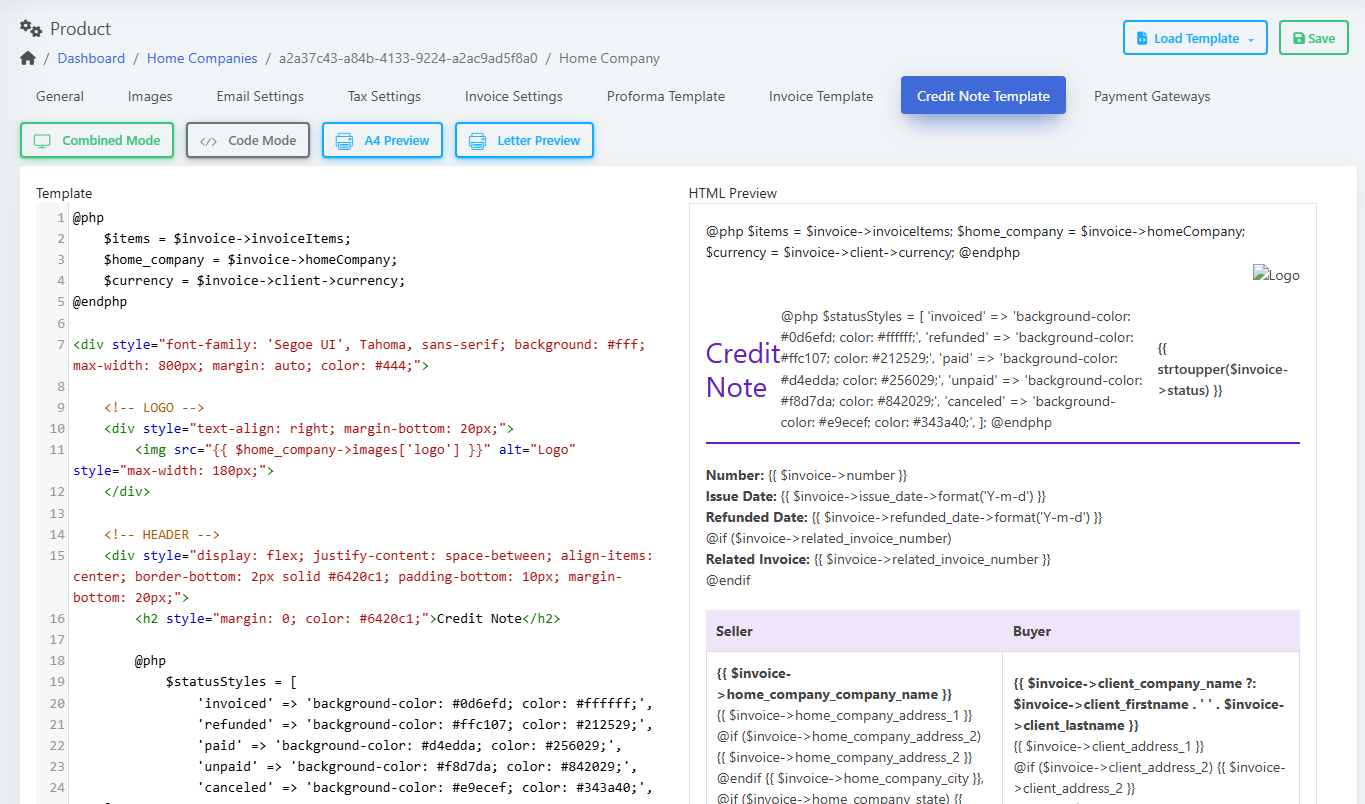
Credit Note Template
(Screenshot: Credit Note Template editor with live preview)
-
Same tools as Invoice Template; shows “Credit Note” preview.
-
Save after edits.
Payment Gateways
(Screenshot: Payment Gateways tab — empty table with + Create)
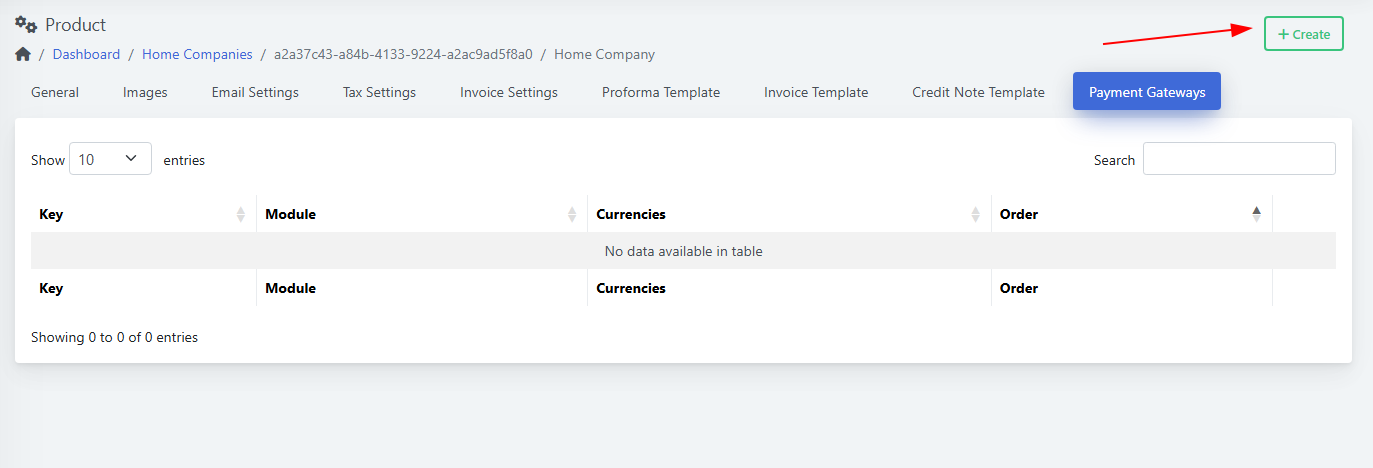
Add a Gateway
-
Click + Create.
(Screenshot: Create Payment Gateway modal)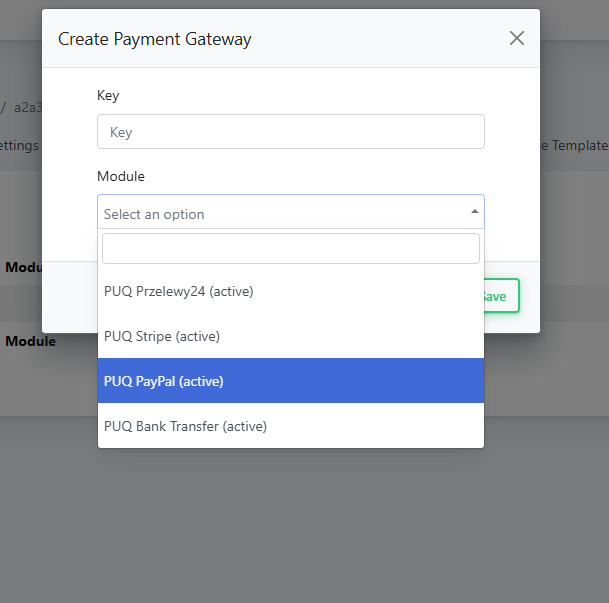
-
Fill Key (internal ID, e.g.,
stripe_main). -
Pick Module:
-
PUQ Przelewy24 (active)
-
PUQ Stripe (active)
-
PUQ PayPal (active)
-
PUQ Bank Transfer (active)
-
-
Click Save.

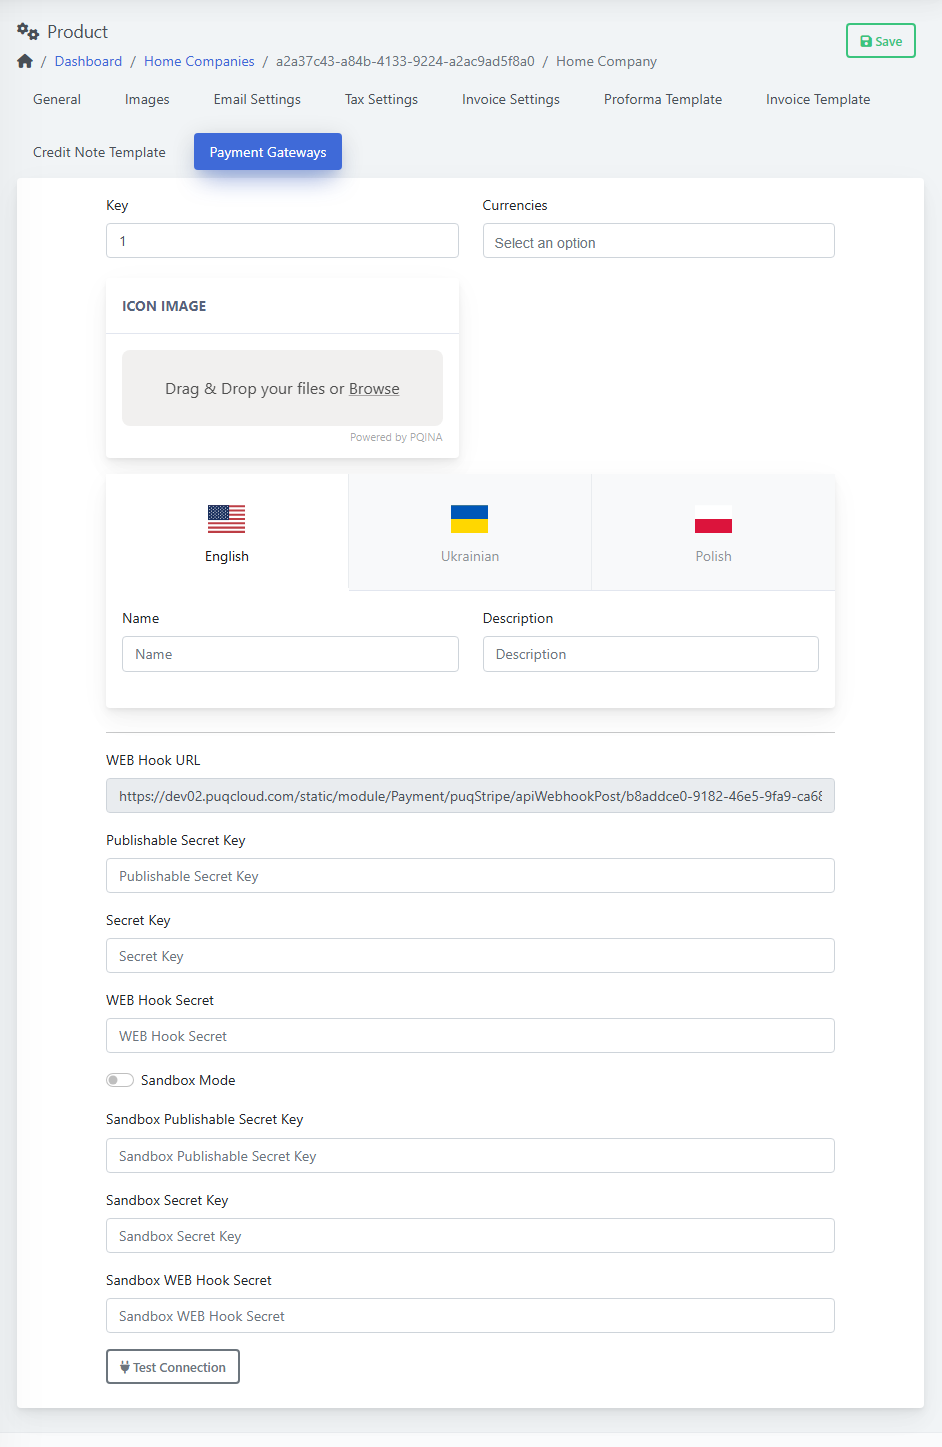
Configure the Gateway
(Screenshot: Payment Gateway detail form)
-
Key — internal ID.
-
Currencies — choose supported currencies.
-
Icon Image — optional logo for checkout.
-
Multilingual Name and Description (English / Ukrainian / Polish).
-
Module fields (example: Stripe):
-
WEB Hook URL (paste into Stripe dashboard).
-
Publishable Key, Secret Key, WEB Hook Secret.
-
Sandbox Mode toggle + sandbox keys.
-
Test Connection — verify credentials.
-
-
Click Save.
4) Make a company Default (or change it)
-
Open the company → General tab.
-
Toggle Default to Yes.
-
Save.
The Default Home Company will be used on new billing documents unless a module or workflow specifies otherwise.
5) Manage the list
-
Edit (yellow pencil) — change details.
-
Delete (red trash) — remove a company you no longer need.
-
Tip: do not delete a company that still appears on historical invoices.
-
-
Search — filter by name.
Best Practices
-
Numbering: include
{YEAR}in formats to avoid duplicates across years (e.g.,INV-{YEAR}-{NUMBER}). -
Logos: upload a high-resolution PNG with transparent background.
-
Taxes: set the correct country section (US or CA) and fill local VAT/GST fields to keep invoices compliant.
-
Backups: before editing templates, export or copy the current code.
Troubleshooting
-
Gateway test fails: recheck the keys, ensure you used the live or sandbox pair to match the Sandbox Mode setting.
-
Wrong logo/text on documents: verify you edited the correct Home Company and that it’s set as Default.
-
Numbers jumping: confirm the Next … Number and the Reset policy; avoid changing formats mid-year.