Create and manage users
PUQcloud Panel
Order Now | Download | FAQ
This guide explains how administrators can create users, view their client associations, edit details, and remove users in PUQcloud Panel.
Overview
Tip: A User is a person’s login. A Client is an account/business they belong to. One user can be associated with multiple clients (e.g., consultant, owner). Permissions are managed from the Client → Users tab.
List View (Manage Users)
In the table you’ll see: avatar, name, status badges (e.g., ACTIVE, INACTIVE, NEW), 2FA indicator, contact details (email, phone), Clients counter with an eye button, Created date, and row actions (Edit, Delete). Use Search to filter.
(Screenshot: View/Search Users list view)

Create a User
-
Go to Clients → Manage Users and click + Create.
(Screenshot: Create User modal)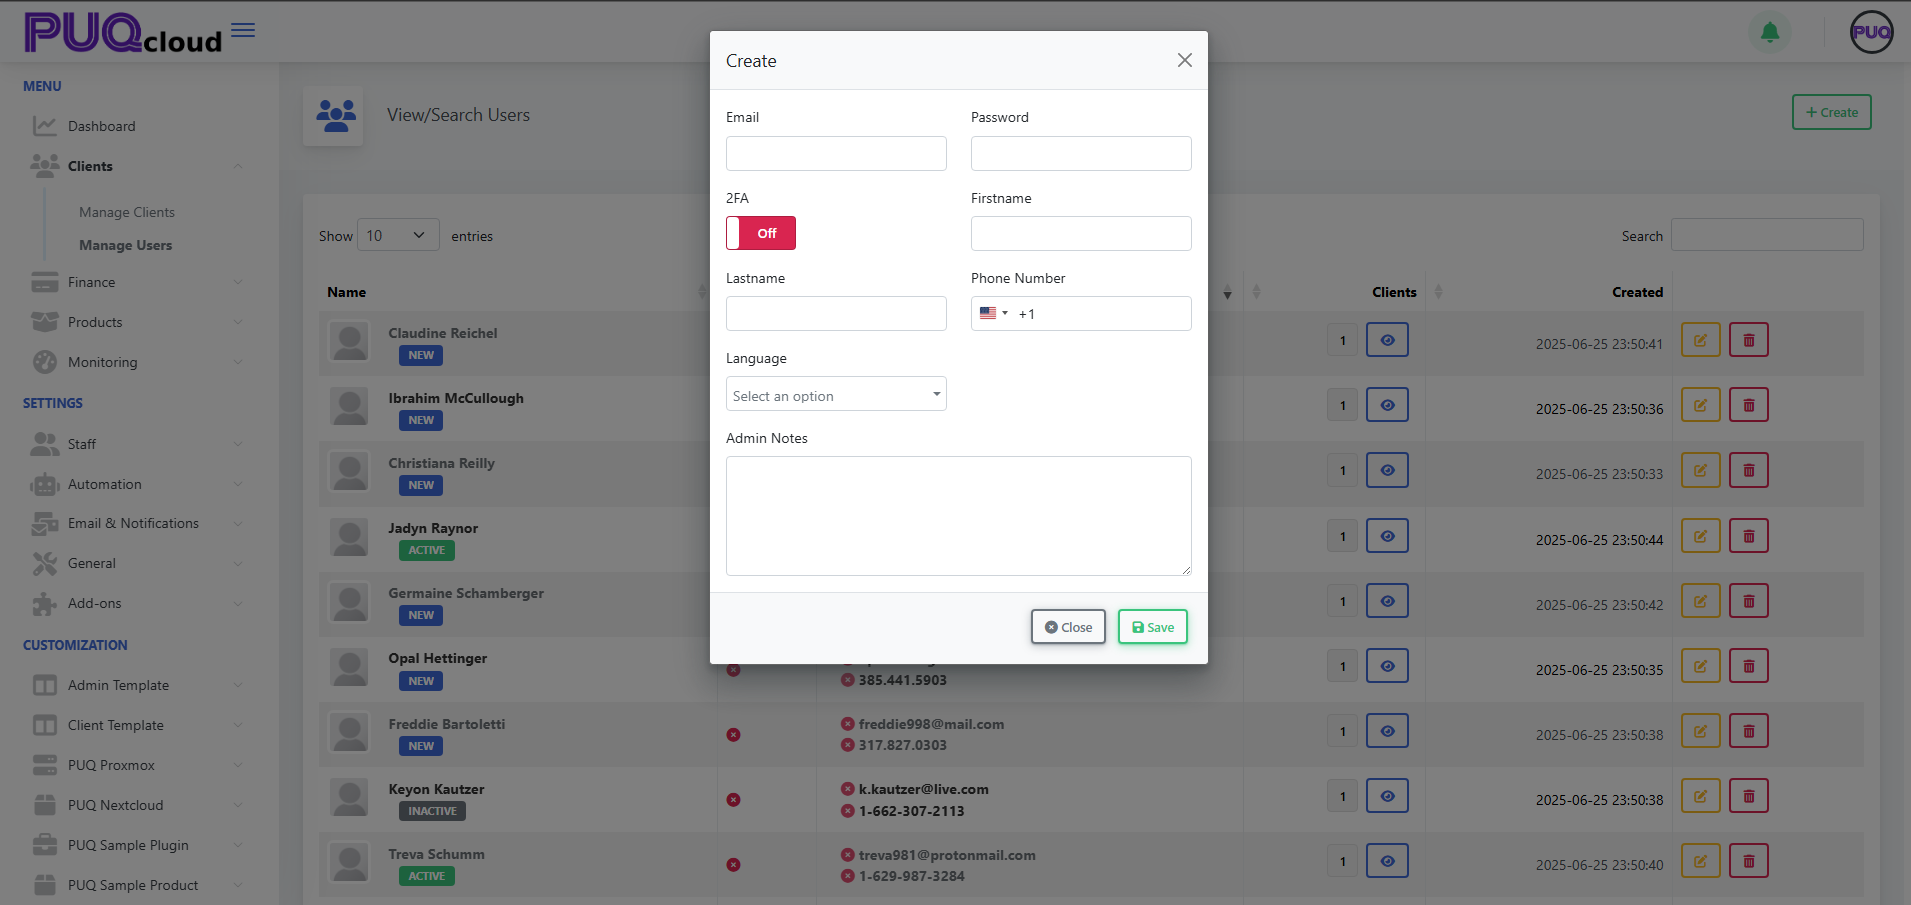
-
Fill the fields:
-
Email (required)
-
Password (required)
-
2FA (toggle; optional but recommended)
-
Firstname, Lastname
-
Phone Number (with country code)
-
Language (UI language for the user)
-
Admin Notes (internal only)
-
-
Click Save. The user appears in the list.

Next step: Associate this user with a client from Clients → Manage Clients → open a client → Users tab → + Associate User (choose permissions there).
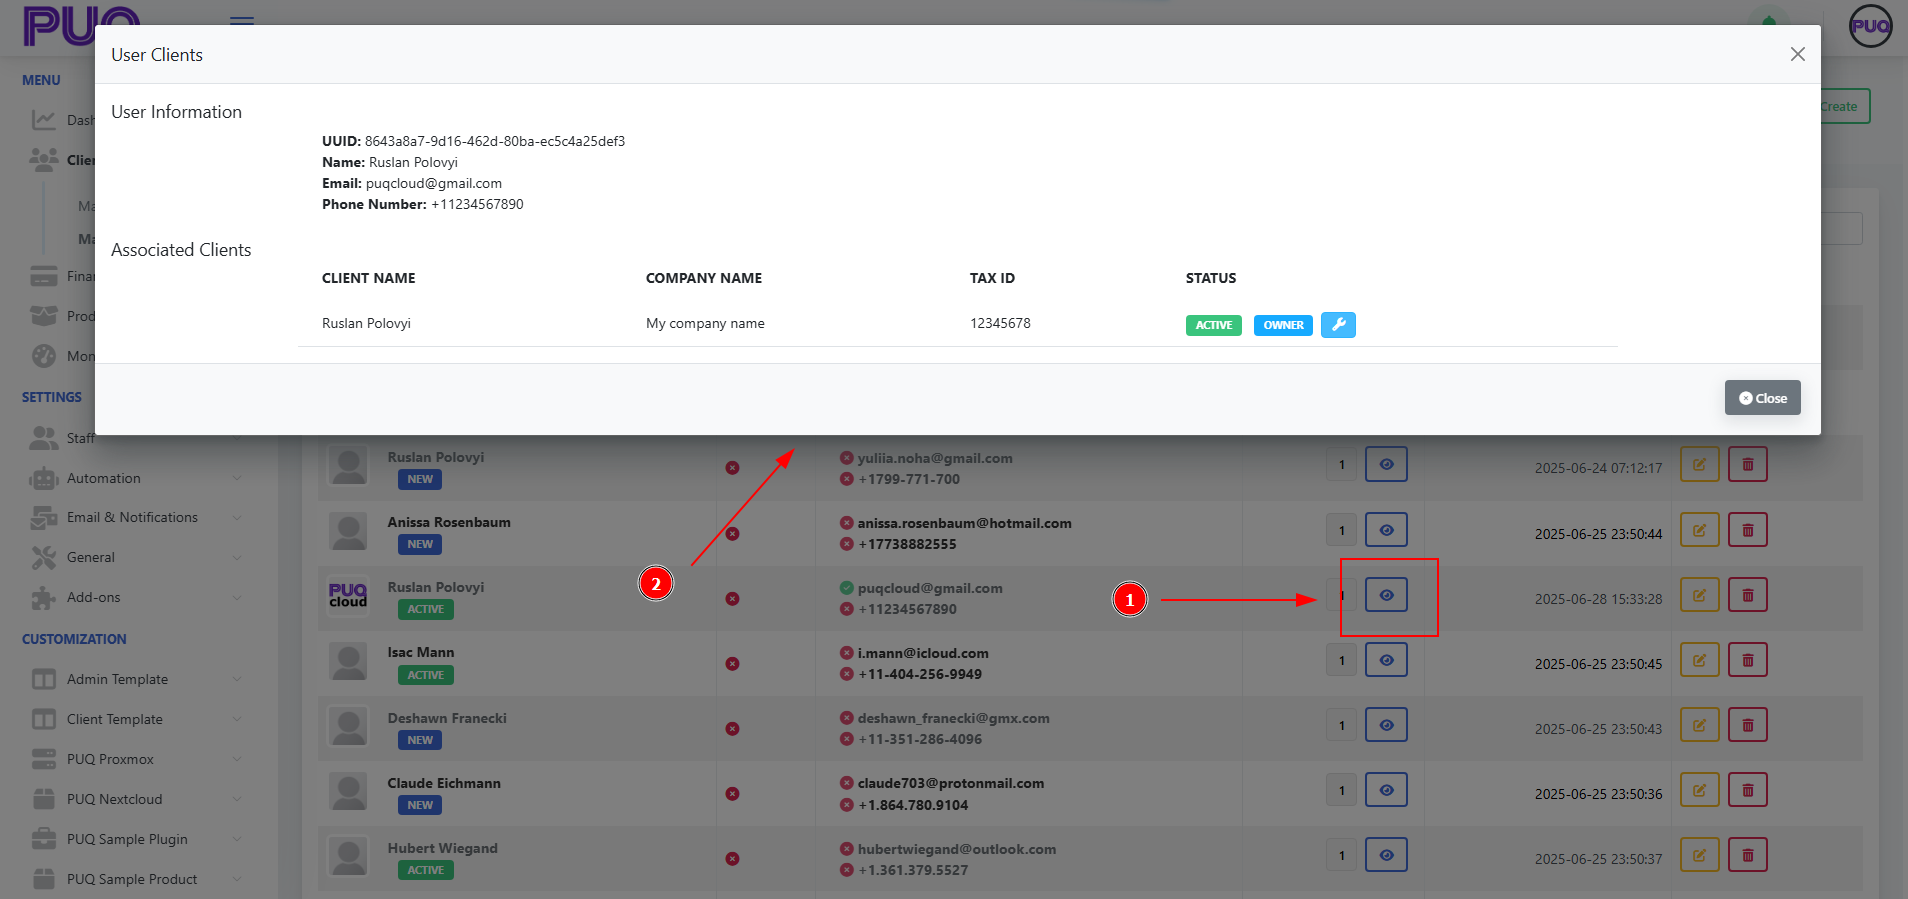
View a User’s Clients
-
In Manage Users, find the user.
-
Click the eye icon in the Clients column.
-
In User Clients modal, review:
-
User Information: UUID, Name, Email, Phone.
-
Associated Clients: Client Name, Company Name, Tax ID, and Status badges (e.g., ACTIVE, OWNER).
-
-
Close when done.
(Screenshot: User Clients modal)
Edit a User
-
In Manage Users, click the Edit (pencil) icon on the desired row.
(Screenshot: Edit User modal)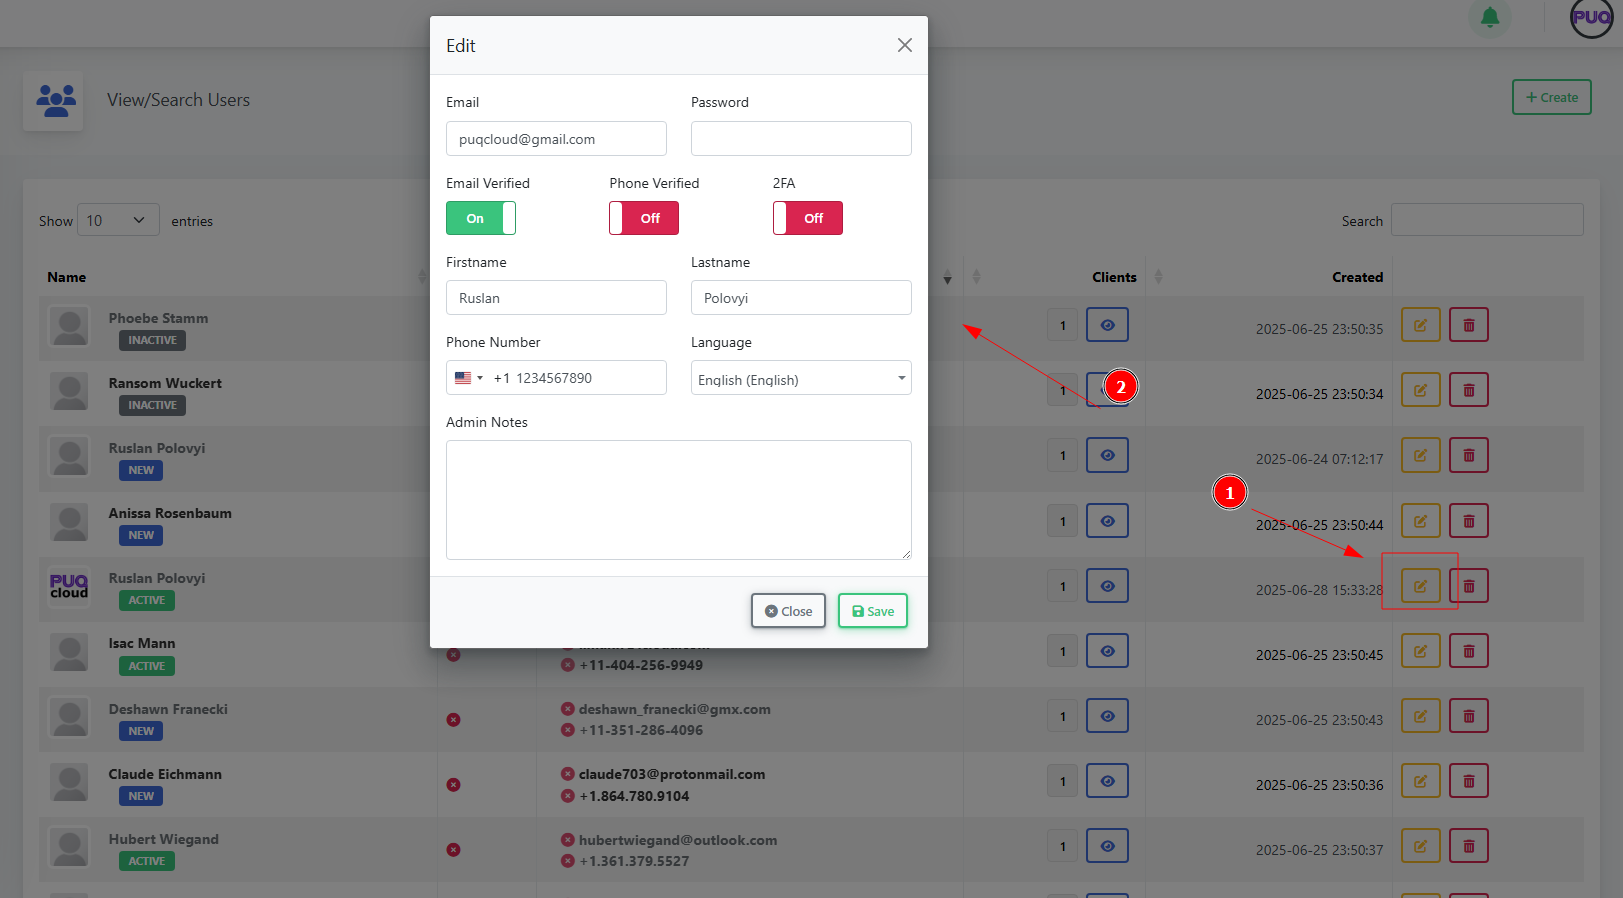
-
Update fields:
-
Email, Password (to reset), Firstname, Lastname
-
Phone Number, Language, Admin Notes
-
Verification toggles: Email Verified, Phone Verified
-
Security toggle: 2FA (enable/disable)
-
-
Click Save.

Delete a User
-
In Manage Users, click the Delete (trash) icon.
-
Confirm the action.
Field Reference
| Field | Where | Description |
|---|---|---|
| Create/Edit | User’s login email. Must be unique. | |
| Password | Create/Edit | Set/reset the user’s password. |
| 2FA | Create/Edit | Turn on two‑factor authentication for extra security. |
| Firstname / Lastname | Create/Edit | User’s display name. |
| Phone Number | Create/Edit | Stored with international country code. |
| Language | Create/Edit | UI language for this user. |
| Admin Notes | Create/Edit | Internal notes visible to admins only. |
| Email Verified | Edit | Mark whether the email has been verified. |
| Phone Verified | Edit | Mark whether the phone has been verified. |
Good Practices
-
Require strong passwords and 2FA for staff.
-
Keep contact info and language up to date.
-
Use Admin Notes to capture context (e.g., who requested access, ticket link).
-
Manage access at Client → Users (set granular permissions per client).
Troubleshooting
-
Cannot log in → Reset Password; ensure Email Verified is On; check if the user is ACTIVE.
-
User can’t see a client → Associate them in Client → Users, verify status and permissions.
-
2FA lockout → Temporarily disable 2FA in Edit, then re‑enroll.
-
Duplicate email → Each user must have a unique email; rename or remove old account.