Create and Manage Product Groups
PUQcloud Panel
Order Now | Download | FAQ
Product Groups let you organize related products (e.g., Mini/Medium/Advanced plans) into a single category with shared visuals and templates.
Overview
Groups control how products are displayed on the storefront (list/order/manage templates) and provide a place to order items and manage visibility.
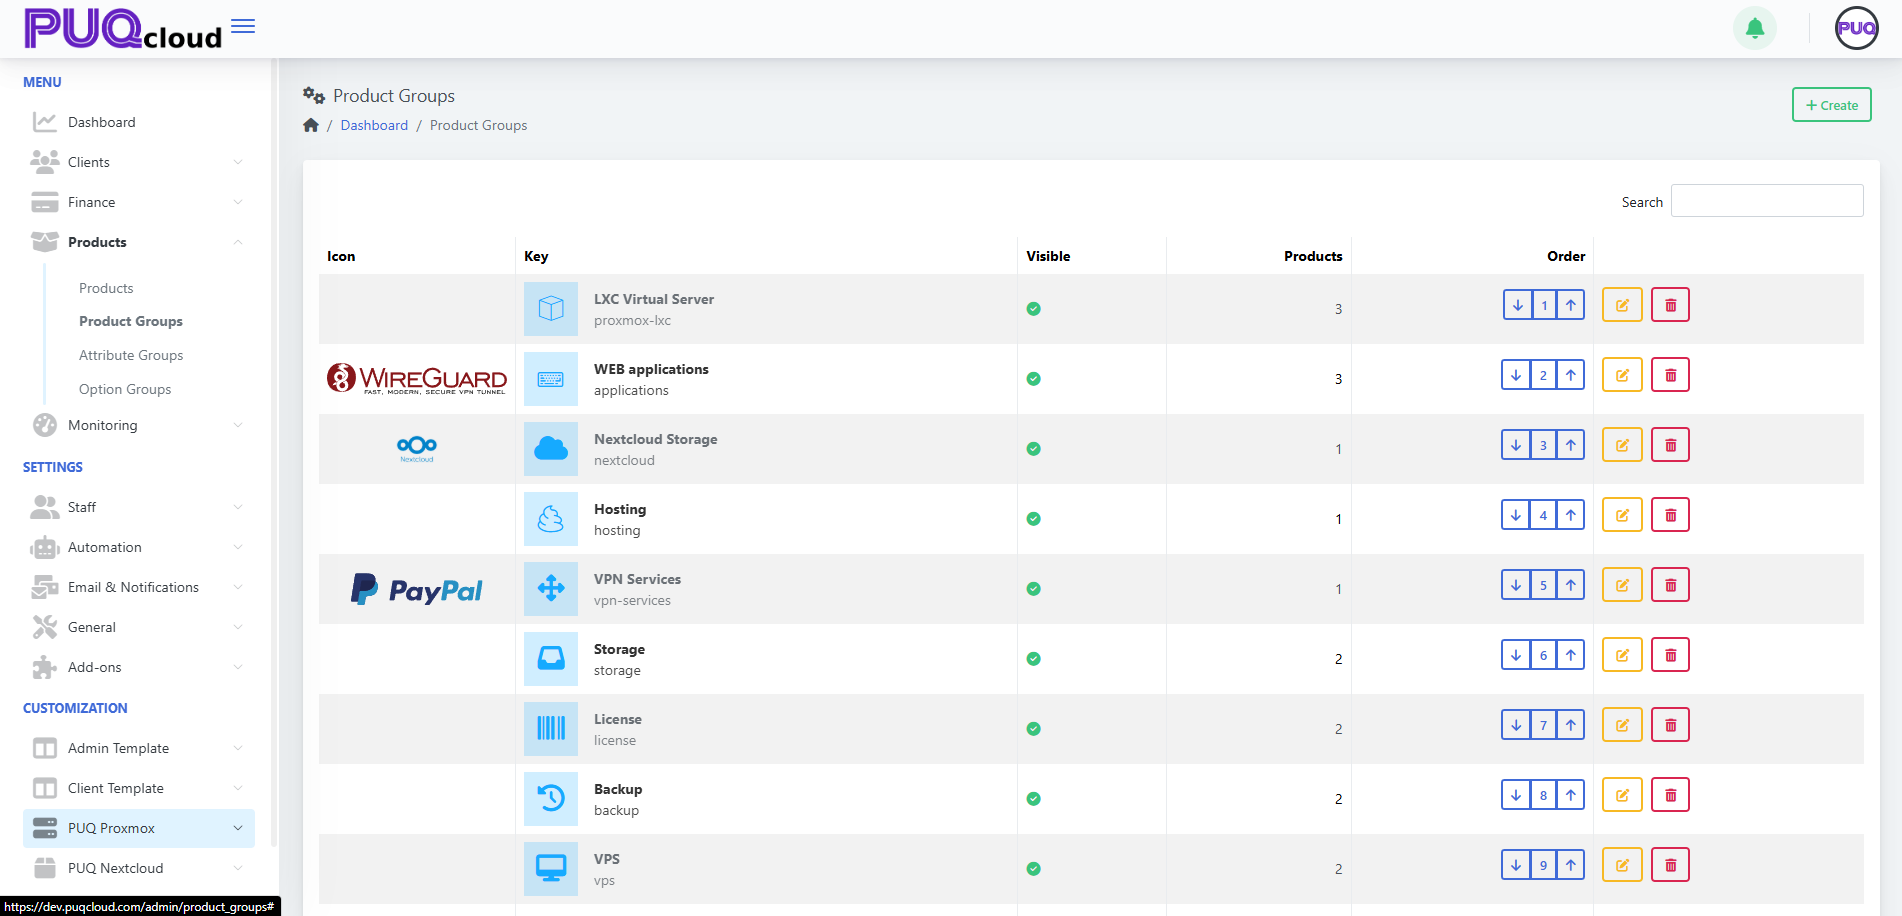
Product Groups List
You’ll see: Icon, Key, Visible, Products (count), Order controls (down / index / up), and actions (Edit, Delete). Use Search to filter.
(Screenshot reference: Product Groups list)
Actions
-
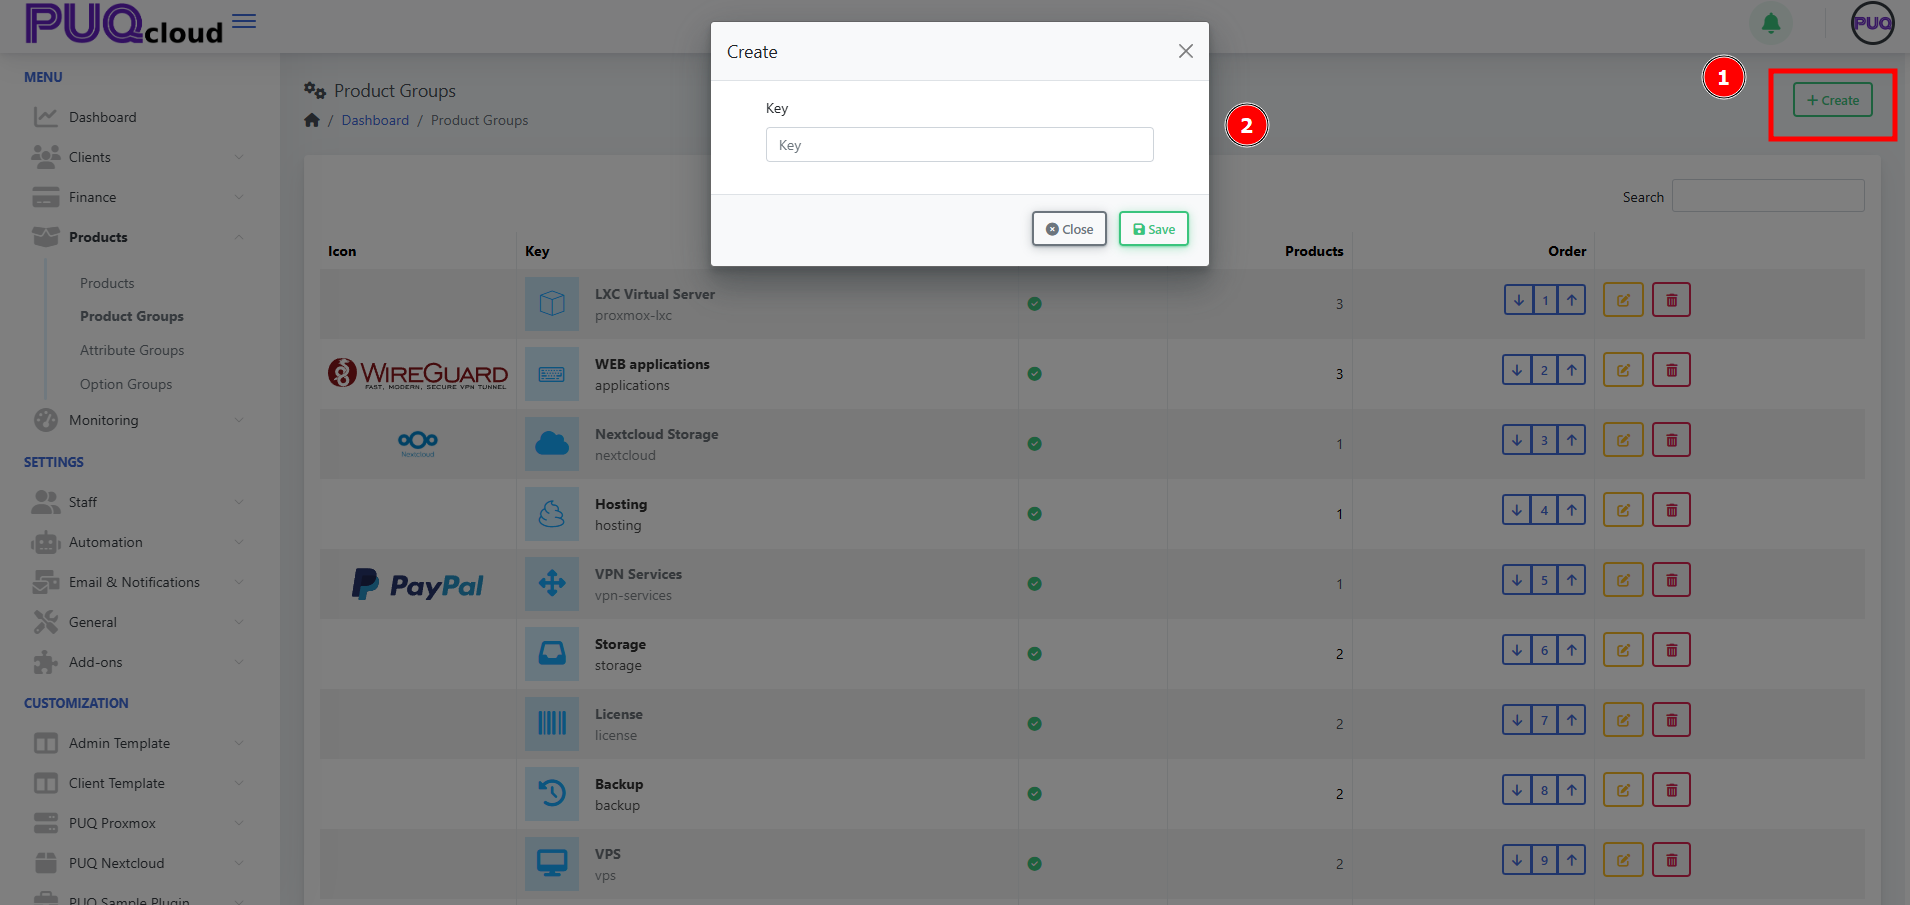
+ Create — add a new group. (Screenshot: Create Group modal)
-
Order — use arrows to arrange groups on the storefront.
-
Edit — open tabs General / Images / Products.
-
Delete — remove the group (does not delete products).

Create a Product Group
-
Click + Create.
-
Enter a unique Key (e.g.,
proxmox-lxc). -
Click Save. The group opens on the General tab.
(Screenshots: Create modal → General tab)
Configure the Group
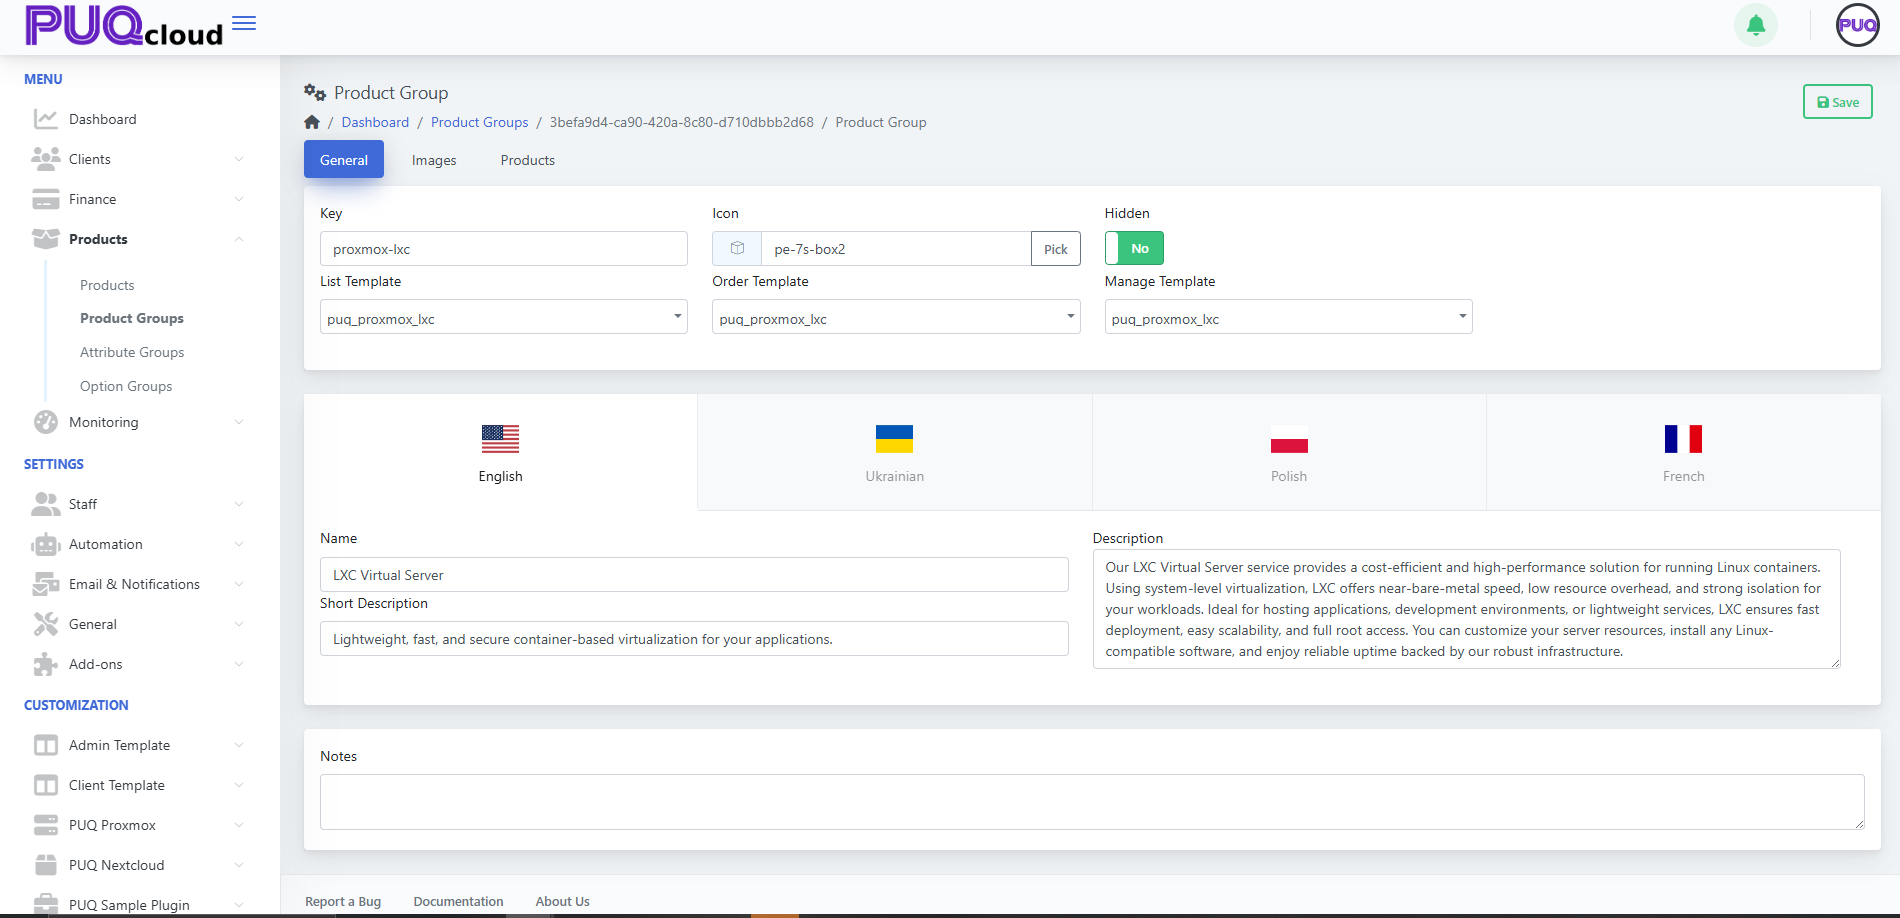
General tab
-
Key — internal identifier (read‑only after creation).
-
Icon — choose an icon from your set (Pick).
-
Hidden — hide/show the group from storefront.
-
Templates
-
List Template — how the group appears on the catalog page.
-
Order Template — layout for the order page of products in this group.
-
Manage Template — layout for the client’s service management page.
-
-
Localized content — Name, Short Description, Description per language.
-
Notes — internal, visible to admins only.
Click Save.
Images tab
Upload visuals that represent the group:
-
Icon Image — small logo used in lists/cards.
-
Background Image — large banner-style image.
Drag & drop or Browse, then Save.
(Screenshot: Images tab)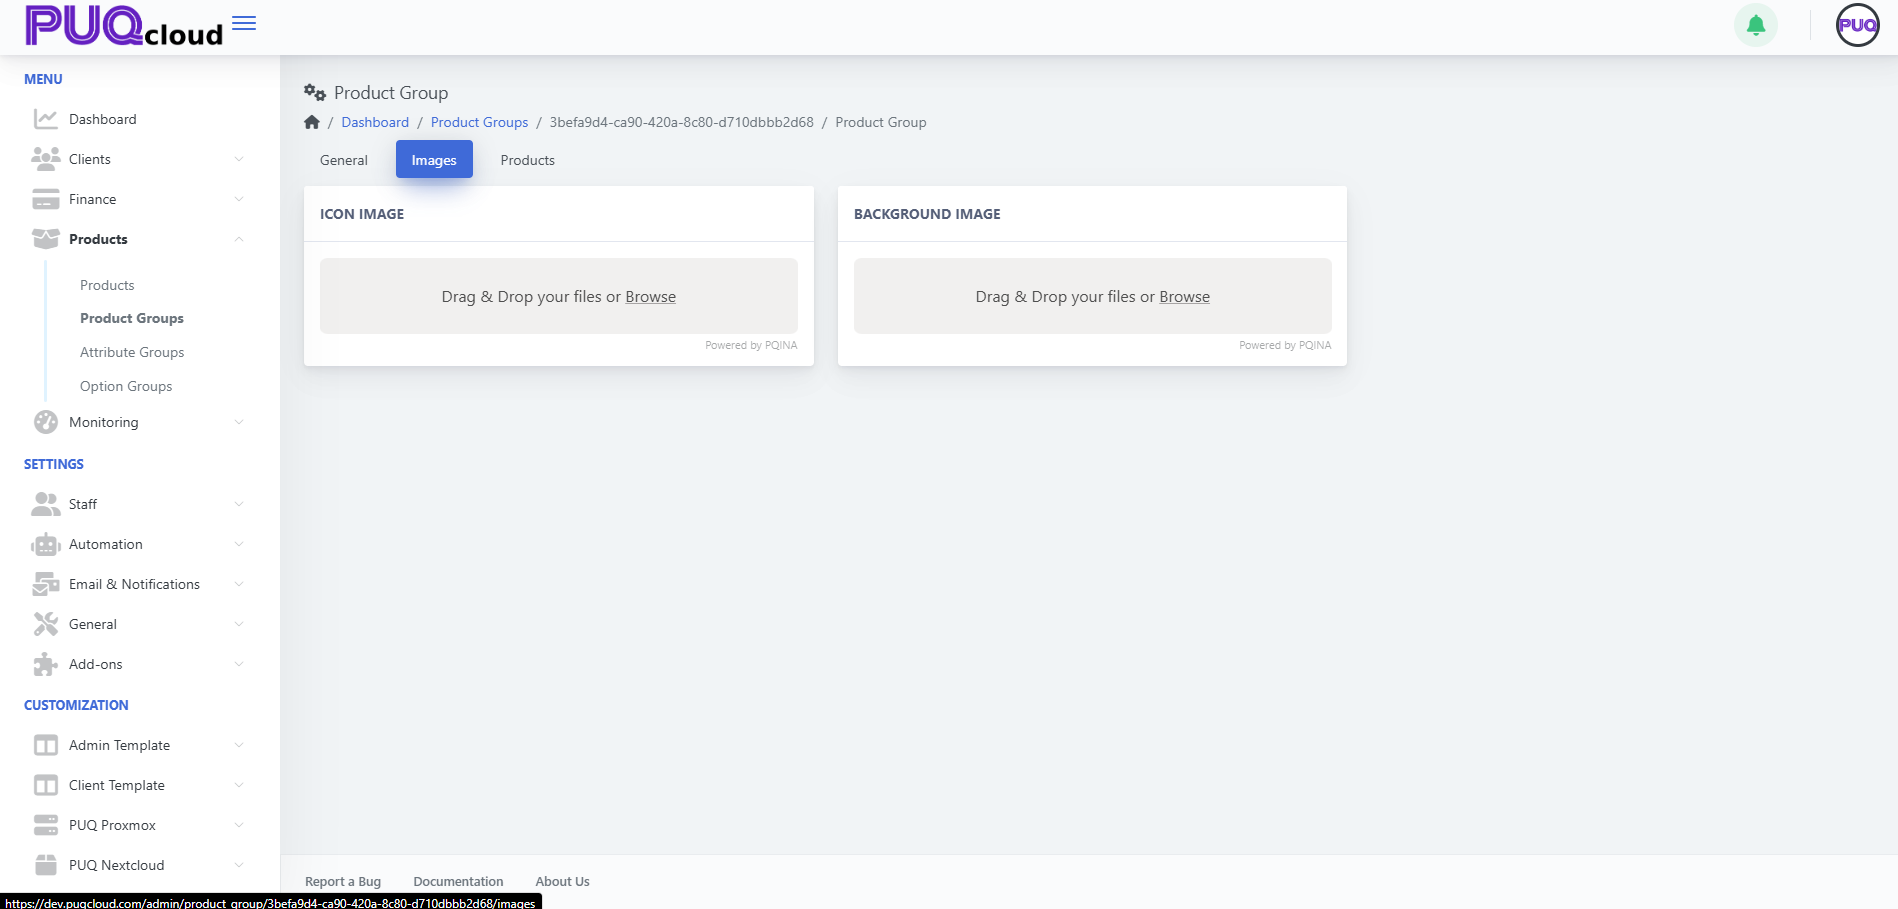

Add & Manage Products in the Group
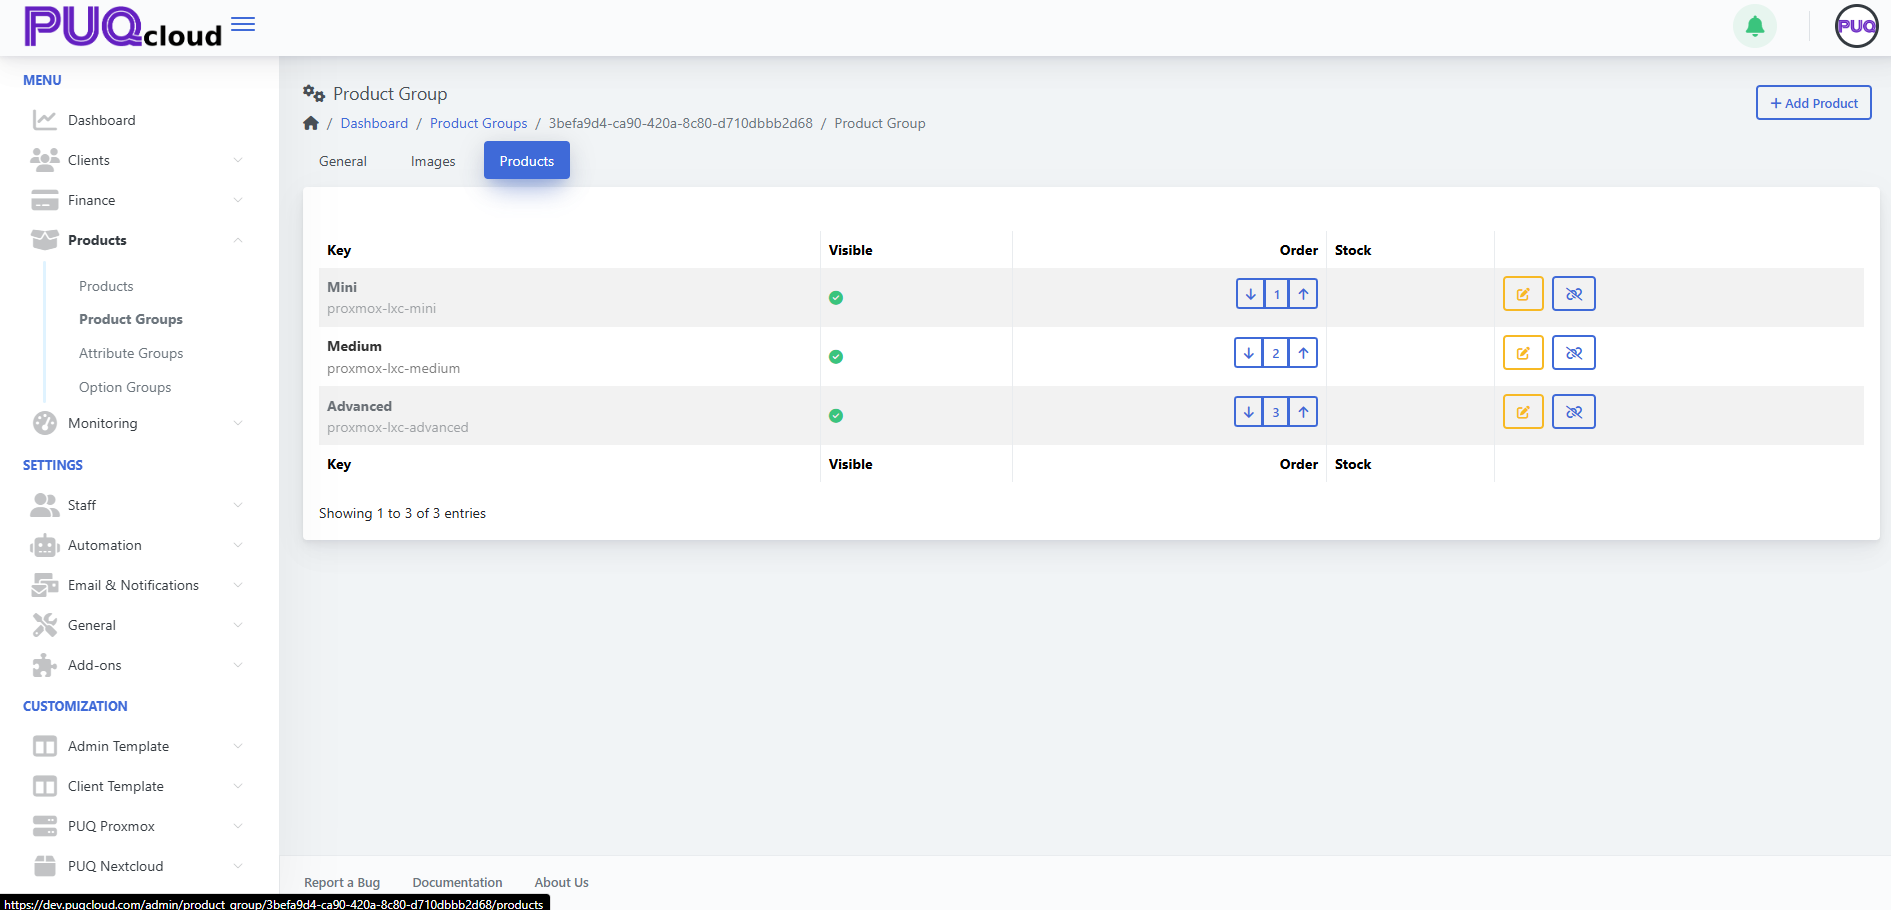
Open the Products tab. (Screenshot: Products tab)
Add products
-
Click + Add Product.
-
Select one or more existing products to link to this group.
-
Save.
Manage items
-
Visible — the green check indicates the product is visible inside this group.
-
Order — use arrows to set the display order (e.g., Mini = 1, Medium = 2, Advanced = 3).
-
Edit — open the product for editing in a new view.
-
Hide/Show — toggle product visibility in this group (without altering the product’s global status).
-
Unlink — detach the product from the group (confirmation dialog).
Tip: Keep a clear progression (e.g., Mini → Medium → Advanced) and ensure at least one visible product exists per group.
Best Practices
Troubleshooting
-
Group doesn’t appear in catalog → Turn Hidden = Off; verify that the group contains at least one visible product.
-
Product not showing under the group → Ensure it’s linked and visible in the Products tab; also check the product’s own Hidden/Active flags.
-
Wrong page layout → Confirm List/Order/Manage Templates are correct for this group.
-
Unexpected order → Use the arrow controls in both Group list (for groups) and Products tab (for items) to correct ordering.
Screenshot References
-
Product Groups list — overview of groups with counts, visibility and order.
-
Create Group modal — single Key field.
-
General tab — Key, Icon, Hidden, Templates, localized fields.
-
Images tab — Icon Image and Background Image uploaders.
-
Products tab — list with Visible, Order, Edit, Hide/Show, Unlink.