Installation
Order now | Download | FAQ
It is important to follow instructions during the installation of VPN server software for several reasons:
-
Following instructions ensures that the software is installed correctly and all required components are present. This can prevent errors and ensure that the software functions properly.
-
Instructions often include important information about system requirements, compatibility, and potential issues that may arise during installation. By following these instructions, you can avoid encountering problems that could affect the performance or stability of the software.
-
Instructions may also include important information about configuring and setting up the software, such as creating user accounts, assigning permissions, and establishing connections with other systems or devices. By following these instructions, you can ensure that the software is set up correctly and ready to use.
-
Finally, following instructions during installation is a good practice that can help you avoid wasting time, effort, and resources. It can also help you avoid making mistakes that could be difficult or costly to fix later.
We suggest installing the software on a clean, freshly installed Debian/Ubuntu server.
We issue all comments after logging into the SSH terminal window as the root user.
Linux kernels less than 5.6 (<=5.5) did not include Wireguard as a feature in the upstream kernel code. Adding Wireguard support to these (older) kernels is possible via additional modules. Therefore, we suggest using the latest Debian or Ubuntu distributions. If you use the versions of the operating system specified in the requirements, you do not need to pay attention to this message.
Check kernel version
uname -sr

Linux 5.10.0-10-amd64
1. Update and Install the required packages
apt-get update
apt-get upgrade
reboot
apt-get update
apt-get install wireguard wireguard-dkms wireguard-tools -y
apt-get install strongswan strongswan-pki libstrongswan-extra-plugins -y
apt-get install bind9 -y
apt-get install iproute2 iptables -y2. Download the latest version of the package
The latest version of software is always located at this address:
https://download.puqcloud.com/cp/puqvpncp/
3. Install the puqvpncp package
We carry out the installation by issuing the following command
wget https://download.puqcloud.com/cp/puqvpncp/puqvpncp_1.8.1_amd64.deb
dpkg -i puqvpncp_1.8.1_amd64.deb
4. After installation, connect to your server via a web browser.
Point Your web browser to following Address: http://YOUR_SERVER_IP:8098
(replace the value of YOUR_SERVER_IP with your unique IP address)
Username: admin
Password: admin
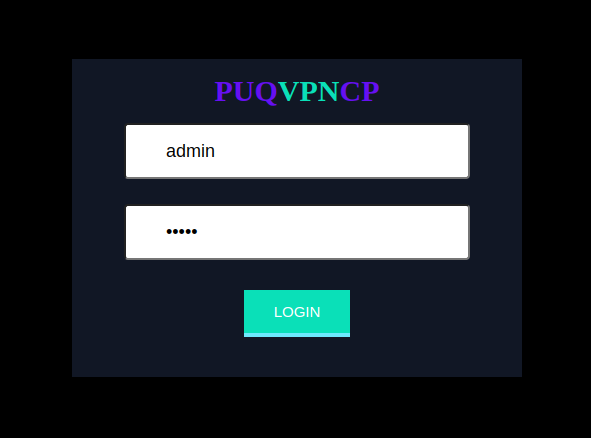
You should see a similar dashboard view (depending on theme chosen and status).
On the screen below, we can see the status of the freshly installed server.
We can see when the panel reports that Wireguard, IKEv2 and DNS server are not installed. The firewall itself is installed, but not enabled. It is important to note that there are no elements in red.

5. Installation of additional required packages.
To fully use the panel, you need to install a few additional packages.
5a. Installing WireGuard
Please click "Configuration" button in WireGuard box to be moved to installation WireGuard package.
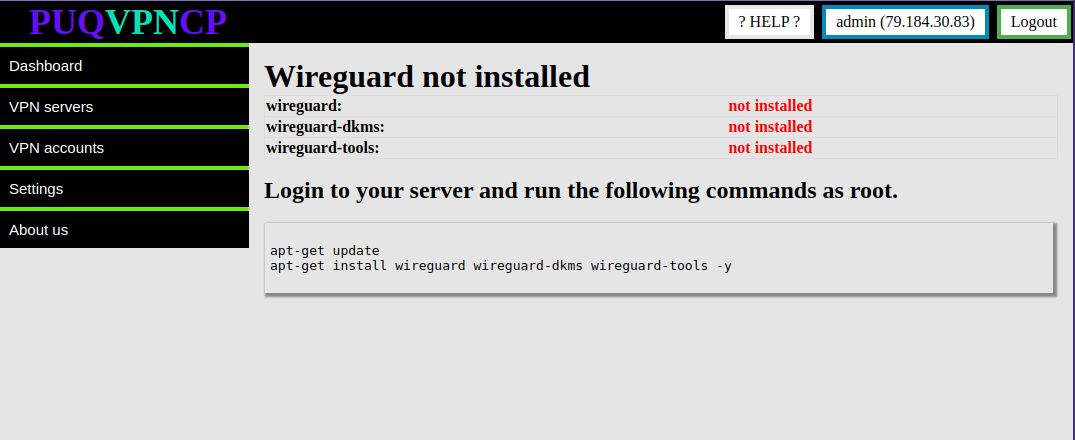
Please complete the package installation process according to the given instructions. Run these commands as root in a terminal/CLI window
5b. Installing IKEv2
If you want to use the IKEv2 protocol, you need to install additional packages.
The installation of the IKEv2 protocol is not necessary for the operation of the system.
Please click "Configuration" button in IKEv2 box to be moved to installation mentioned package.
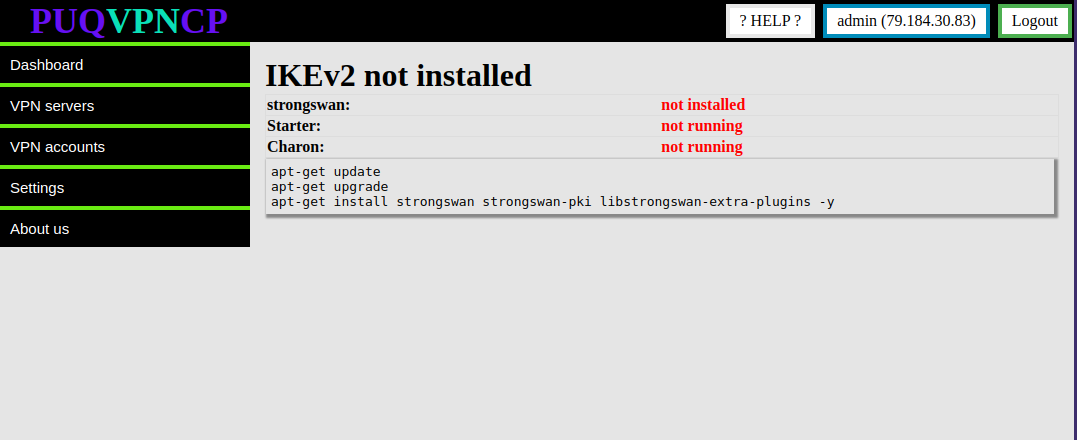
Please complete the package installation process according to the given instructions. Run these commands as root in a terminal/CLI window
5c. Installing DNS server
Please click "Configuration" button in DNS server box to be moved to installation Bind9 package.
Please complete the package installation process according to the given instructions. Run these commands as root in a terminal/CLI window
6. Edit the configuration file if necessary.
If you need to change basic server parameters after installation, you can edit the configuration file and change parameters such as IP address, port number, SSL setting or changing the path to files. You must restart the server after making changes.
nano /etc/puqvpncp/puqvpncp.conf 7. Restart
For the server to start working properly, you must restart the server.
service puqvpncp restart8. Status
To quickly know the status of a server service, just issue the following command
service puqvpncp statusAfter issuing this comment, you should see a similar result. Pay attention to the status information - the service is loaded and active.
● puqvpncp.service - PUQVPNCP
     Loaded: loaded (/etc/systemd/system/puqvpncp.service; enabled; vendor preset: enabled)
     Active: active (running) since Wed 2022-11-23 13:29:09 CET; 3h 0min ago
   Main PID: 4180349 (puqvpncp)
      Tasks: 9 (limit: 9509)
     Memory: 31.0M
        CPU: 1min 18.873s
     CGroup: /system.slice/puqvpncp.service
             └─4180349 /usr/sbin/puqvpncp
9. Additional settings after installation
Once you have finished installing the necessary packages, please proceed to the configuration section. For proper operation, additional configuration of, among others, a firewall is necessary.