Mikrotik IKEv2 client configuration
Order now | Download | FAQ
Configuring Mikrotik as an IKEv2 Client.
Make sure you have an up to date routerOS system.
Version must be at least: 6.49.7
[admin@VPN-CLIENT] > system package print
Flags: X - disabled
 #   NAME                                 VERSION                                 SCHEDULED
 0   ntp                                  6.49.7
 1   ppp                                  6.49.7
 2   dhcp                                 6.49.7
 3   mpls                                 6.49.7
 4   security                             6.49.7
 5   advanced-tools                       6.49.7
 6   system                               6.49.7
 7   openflow                             6.49.7
 8   multicast                            6.49.7
 9   routing                              6.49.7
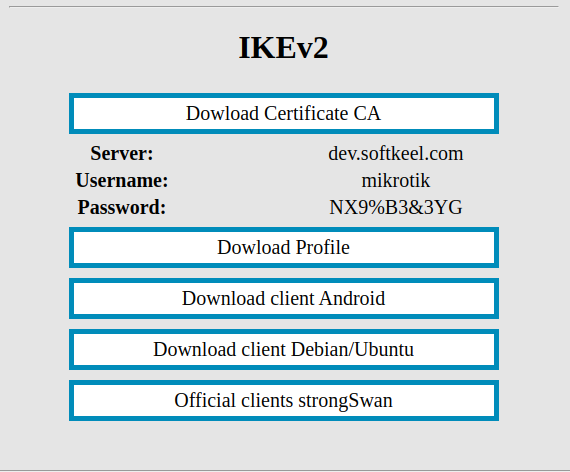
Open a one-time link to obtain authorization data and a root certificate.
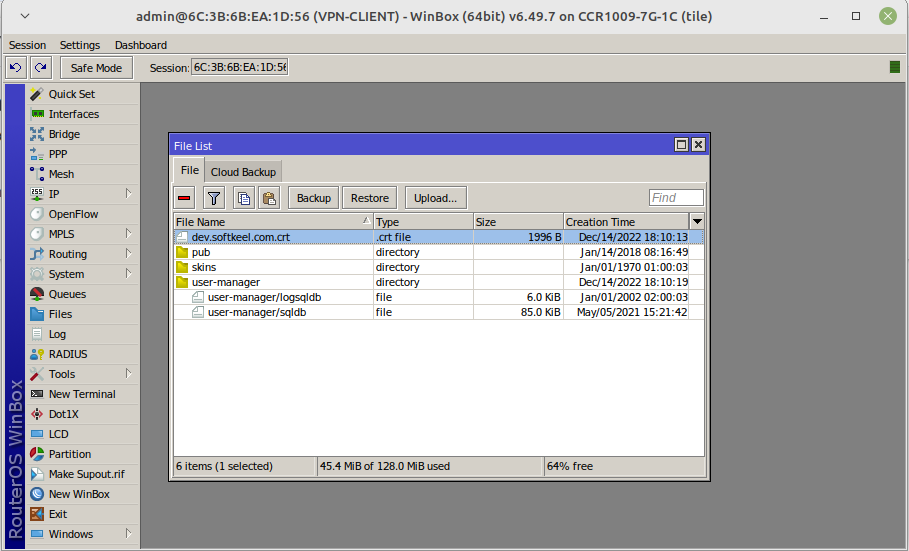
Download the certificate and place it on the Mikrotik router using the Winbox program
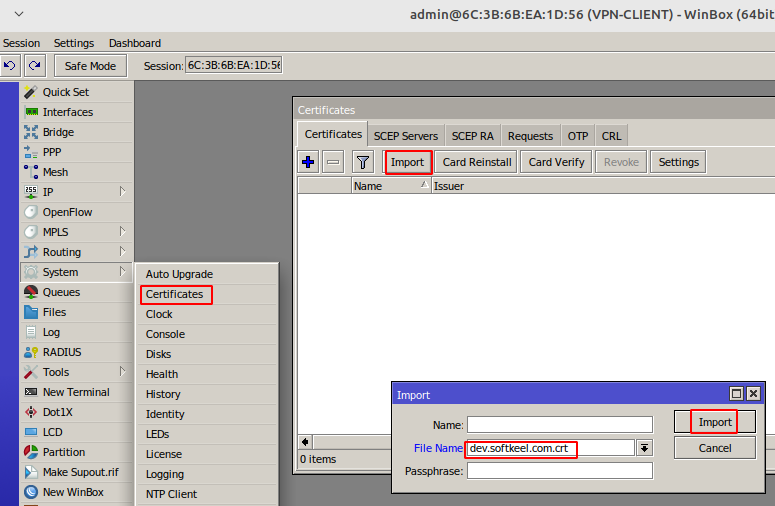
Import the certificate into the system
To create an IKEv2 connection, we will use the console
Open a terminal and enter the following commands
the example contains the following data. You need to replace them with your own.
| Server: | dev.softkeel.com | address=dev.softkeel.com |
| Username: | mikrotik | my-id=user-fqdn:mikrotik AND username=mikrotik |
| Password: | NX9%B3&3YG | password=NX9%B3&3YG |
| certificate | dev.softkeel.com.crt_0 | certificate=dev.softkeel.com.crt_0 |
It is a strong recommendation to use only the terminal command line in setup.
We encountered cases when, during the configuration of Mikrotik through winbox, some parameters were not correctly entered into the configuration. Commands entered through the terminal are always correctly processed.
/ip ipsec settings
set accounting=no
/ip ipsec mode-config
add name=MY_VPN responder=no
/ip ipsec policy group
add name=MY_VPN
/ip ipsec profile
add dh-group=modp1024 enc-algorithm=aes-256 name=MY_VPN
/ip ipsec peer
add address=dev.softkeel.com exchange-mode=ike2 name=MY_VPN profile=MY_VPN
/ip ipsec proposal
add name=MY_VPN pfs-group=none
/ip ipsec policy
add dst-address=0.0.0.0/0 group=MY_VPN proposal=MY_VPN src-address=0.0.0.0/0 template=yes
/ip ipsec identity
add auth-method=eap \
eap-methods=eap-mschapv2 generate-policy=port-strict \
mode-config=MY_VPN \
peer=MY_VPN policy-template-group=MY_VPN \
certificate=dev.softkeel.com.crt_0 \
my-id=user-fqdn:mikrotik \
username=mikrotik \
password=NX9%B3&3YG
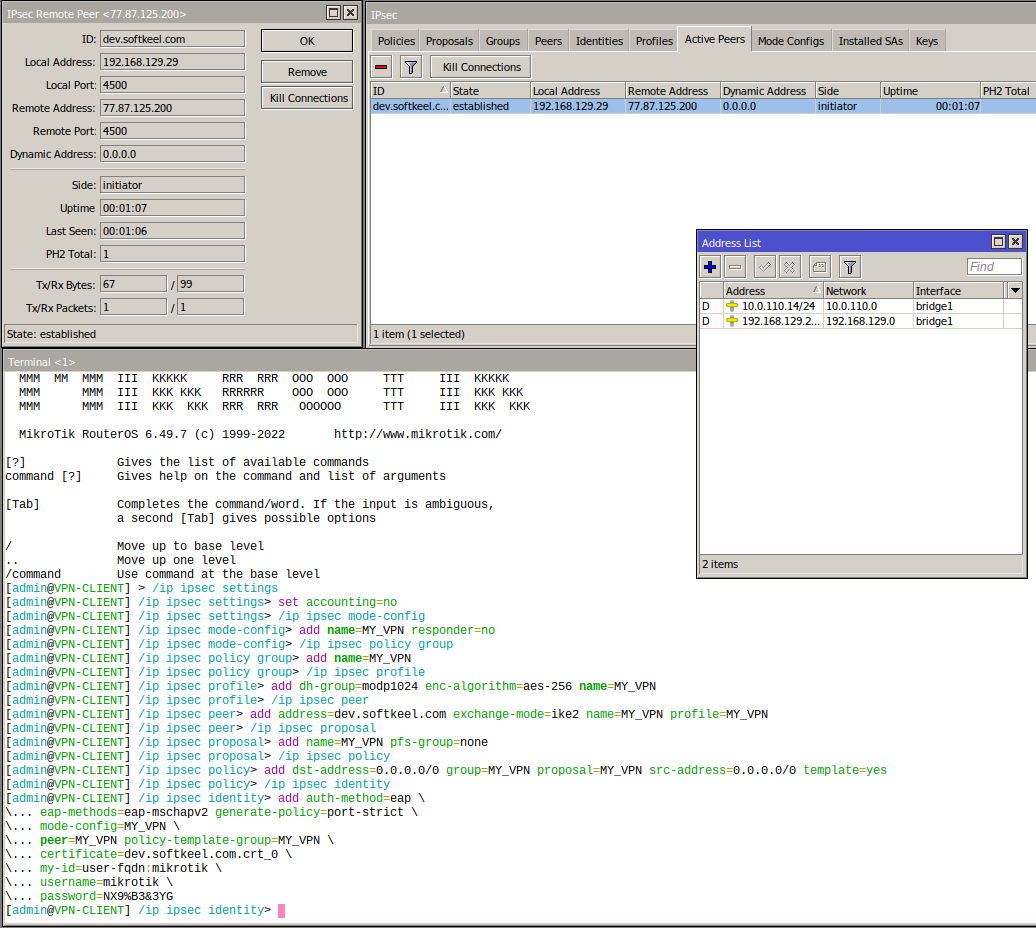
After the work done, you can see the connection status in the IP->IPsec configuration
You also need to configure the traffic routes you need at your discretion.


No Comments