Admin area
PUQ Customization module WHMCS
Order now | Download | FAQ
To set a date for when a service will be suspended, follow these steps:
-
Locate the specific service for which you want to configure the suspension. This can typically be done through the service management section or client management area of your administration panel.
-
Access the configuration settings for the chosen service. This may involve selecting the service and navigating to its details page or accessing an edit option for the service.
-
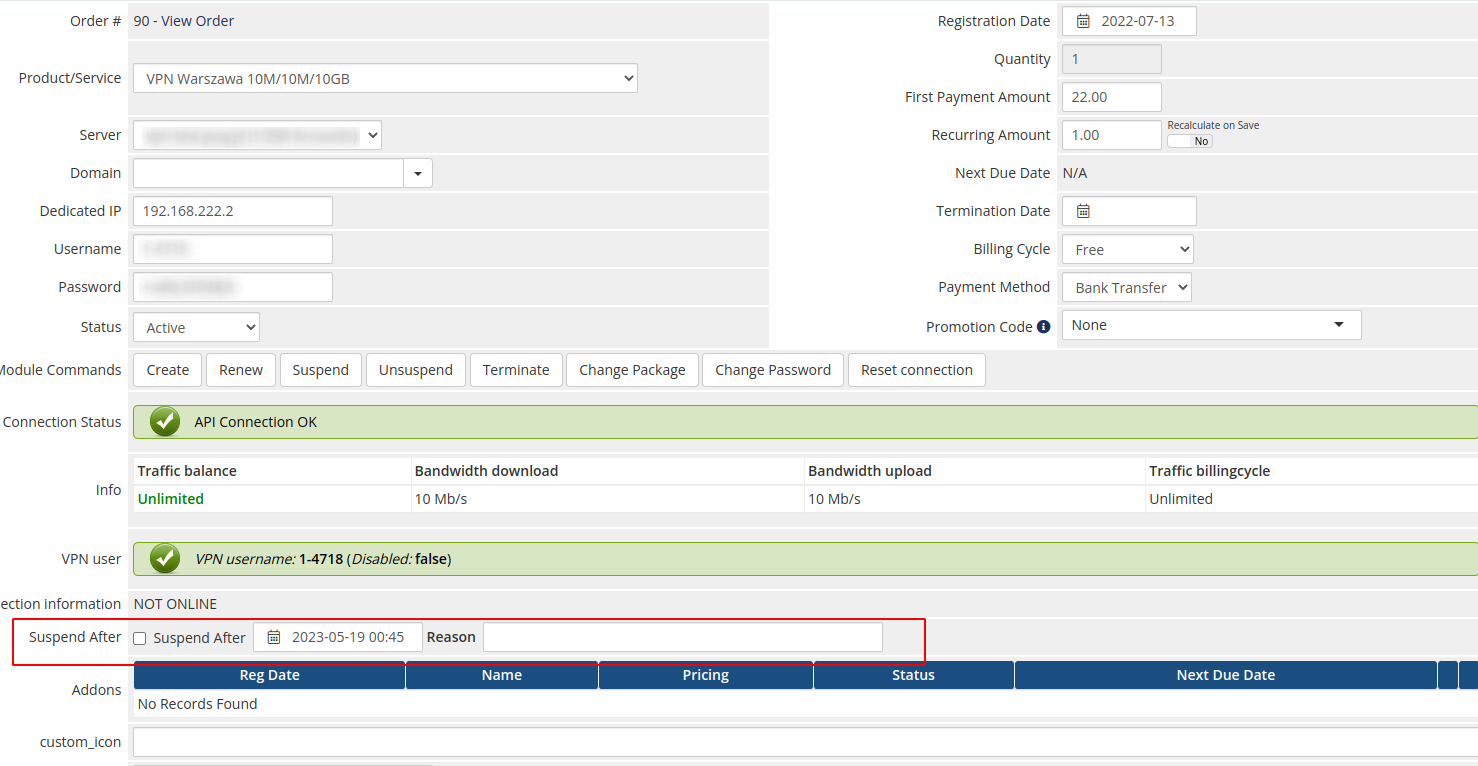
Look for the "Suspend After" field or checkbox within the service configuration. Enable the checkbox to activate the suspension feature.
-
Enter the desired date and time when the service should be suspended. This can usually be done by selecting a calendar date and inputting the time or by entering the date and time manually in a specific format.
-
Provide a reason or explanation for the suspension. This helps communicate the purpose of the suspension to both the client and the support team.
-
Save the changes to update the configuration for the service. This ensures that the specified suspension date and reason are applied.
By following these steps, you can effectively set a specific date and time for suspending a service, ensuring that it will be automatically blocked according to your configuration.