Custom Template
PUQ Customization module WHMCS
Order now | Download | FAQ
To add your custom template to display in the client area during maintenance mode, you must have WHMCS installed and configured, including our WHMCS Addon "PUQ Customization" with access to the whmcs system and to the whmcs file system with administrator rights.
Your template should be named
custom.tpl, otherwise, it will contradict the logic of this extension, and your template will simply not be displayed.It is also crucial that you use the following variables in your template for proper data transmission:
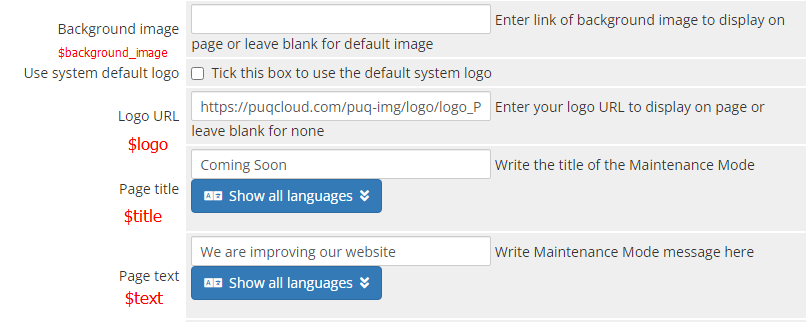
{$background_image} - link to the background image
Example usage:
<style>
        body {
            margin: 0;
            padding: 0;
            background-image: url("{$background_image}");
            background-size: cover;
            background-position: center;
            font-size: 2vw;
        }
</style>
{$logo} - link to the logo
Example usage:
<body>
	<img src="{$logo}" alt="Logo">
</body>
{$title} - title for the page
Example usage:
<head>
    <title>{$title}</title>
</head>
<body>
	<h1 class="title">{$title}</h1>
</body>
{$text} - message about the technical work
Example usage:
<body>
	<h1 class="text">{$text}</h1>
</body>
To add a timer, insert the following code in the appropriate place:
{if $enabled_counter eq 'on'}
	{include file='templates/timer.tpl'}
{/if}
Now that your template meets the requirements, connect it to the MaintainceMode extension.
Move the
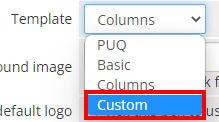
custom.tpl file to addons-> puq_customization-> extensions-> MaintainceMode-> templatesThen, in the configuration, select the Template as "Custom."
Congratulations! If you have followed the instructions precisely, your template is successfully configured!